Gaggia Classic Pro PID temperature starting points by roast level
This page is built as a working reference, not only a one-time article. Save it for later. Use it when you open a new bag of coffee, adjust your workflow after a roast change, or want a clearer starting point before making random grind changes.
Suggested PID starting points
These values are practical starting points for a Gaggia Classic Pro with a PID. They are not universal truths. Coffee density, dose, basket choice, and target style still matter. Use them as a first position, then adjust by taste.
| Roast level | Suggested PID starting range | What to expect | Common adjustment direction |
|---|---|---|---|
| Light roast | 95 to 97 C | Helps push sweetness and reduce hollow sharpness when extraction is otherwise well controlled. | If the cup still feels thin or sharp, test slightly hotter before making large grind changes. |
| Medium-light roast | 94 to 96 C | Often a strong range for clarity with enough body. | If bitterness rises too early, step down slightly and retest. |
| Medium roast | 93 to 95 C | Usually the easiest range for balanced daily espresso. | If the shot feels flat, move a little hotter. If it feels dry, try slightly cooler. |
| Medium-dark roast | 91.5 to 93.5 C | Can protect sweetness without pushing too much roast bitterness. | If the cup tastes harsh or smoky, test lower before changing dose. |
| Dark roast | 90 to 92 C | Often gives a rounder result and keeps bitterness under better control. | If the shot feels too heavy or burnt, lower temperature first. |
Why this reference exists
Many home baristas change grind size first because that variable feels easiest to control. But when the roast level changes, brew temperature can become a cleaner first adjustment. This is especially true when your previous recipe worked well and the new coffee suddenly feels too bright, too flat, or more bitter than expected.
That is why a reference page like this has long-term value. You do not need to remember every number. You only need one practical place to restart from.
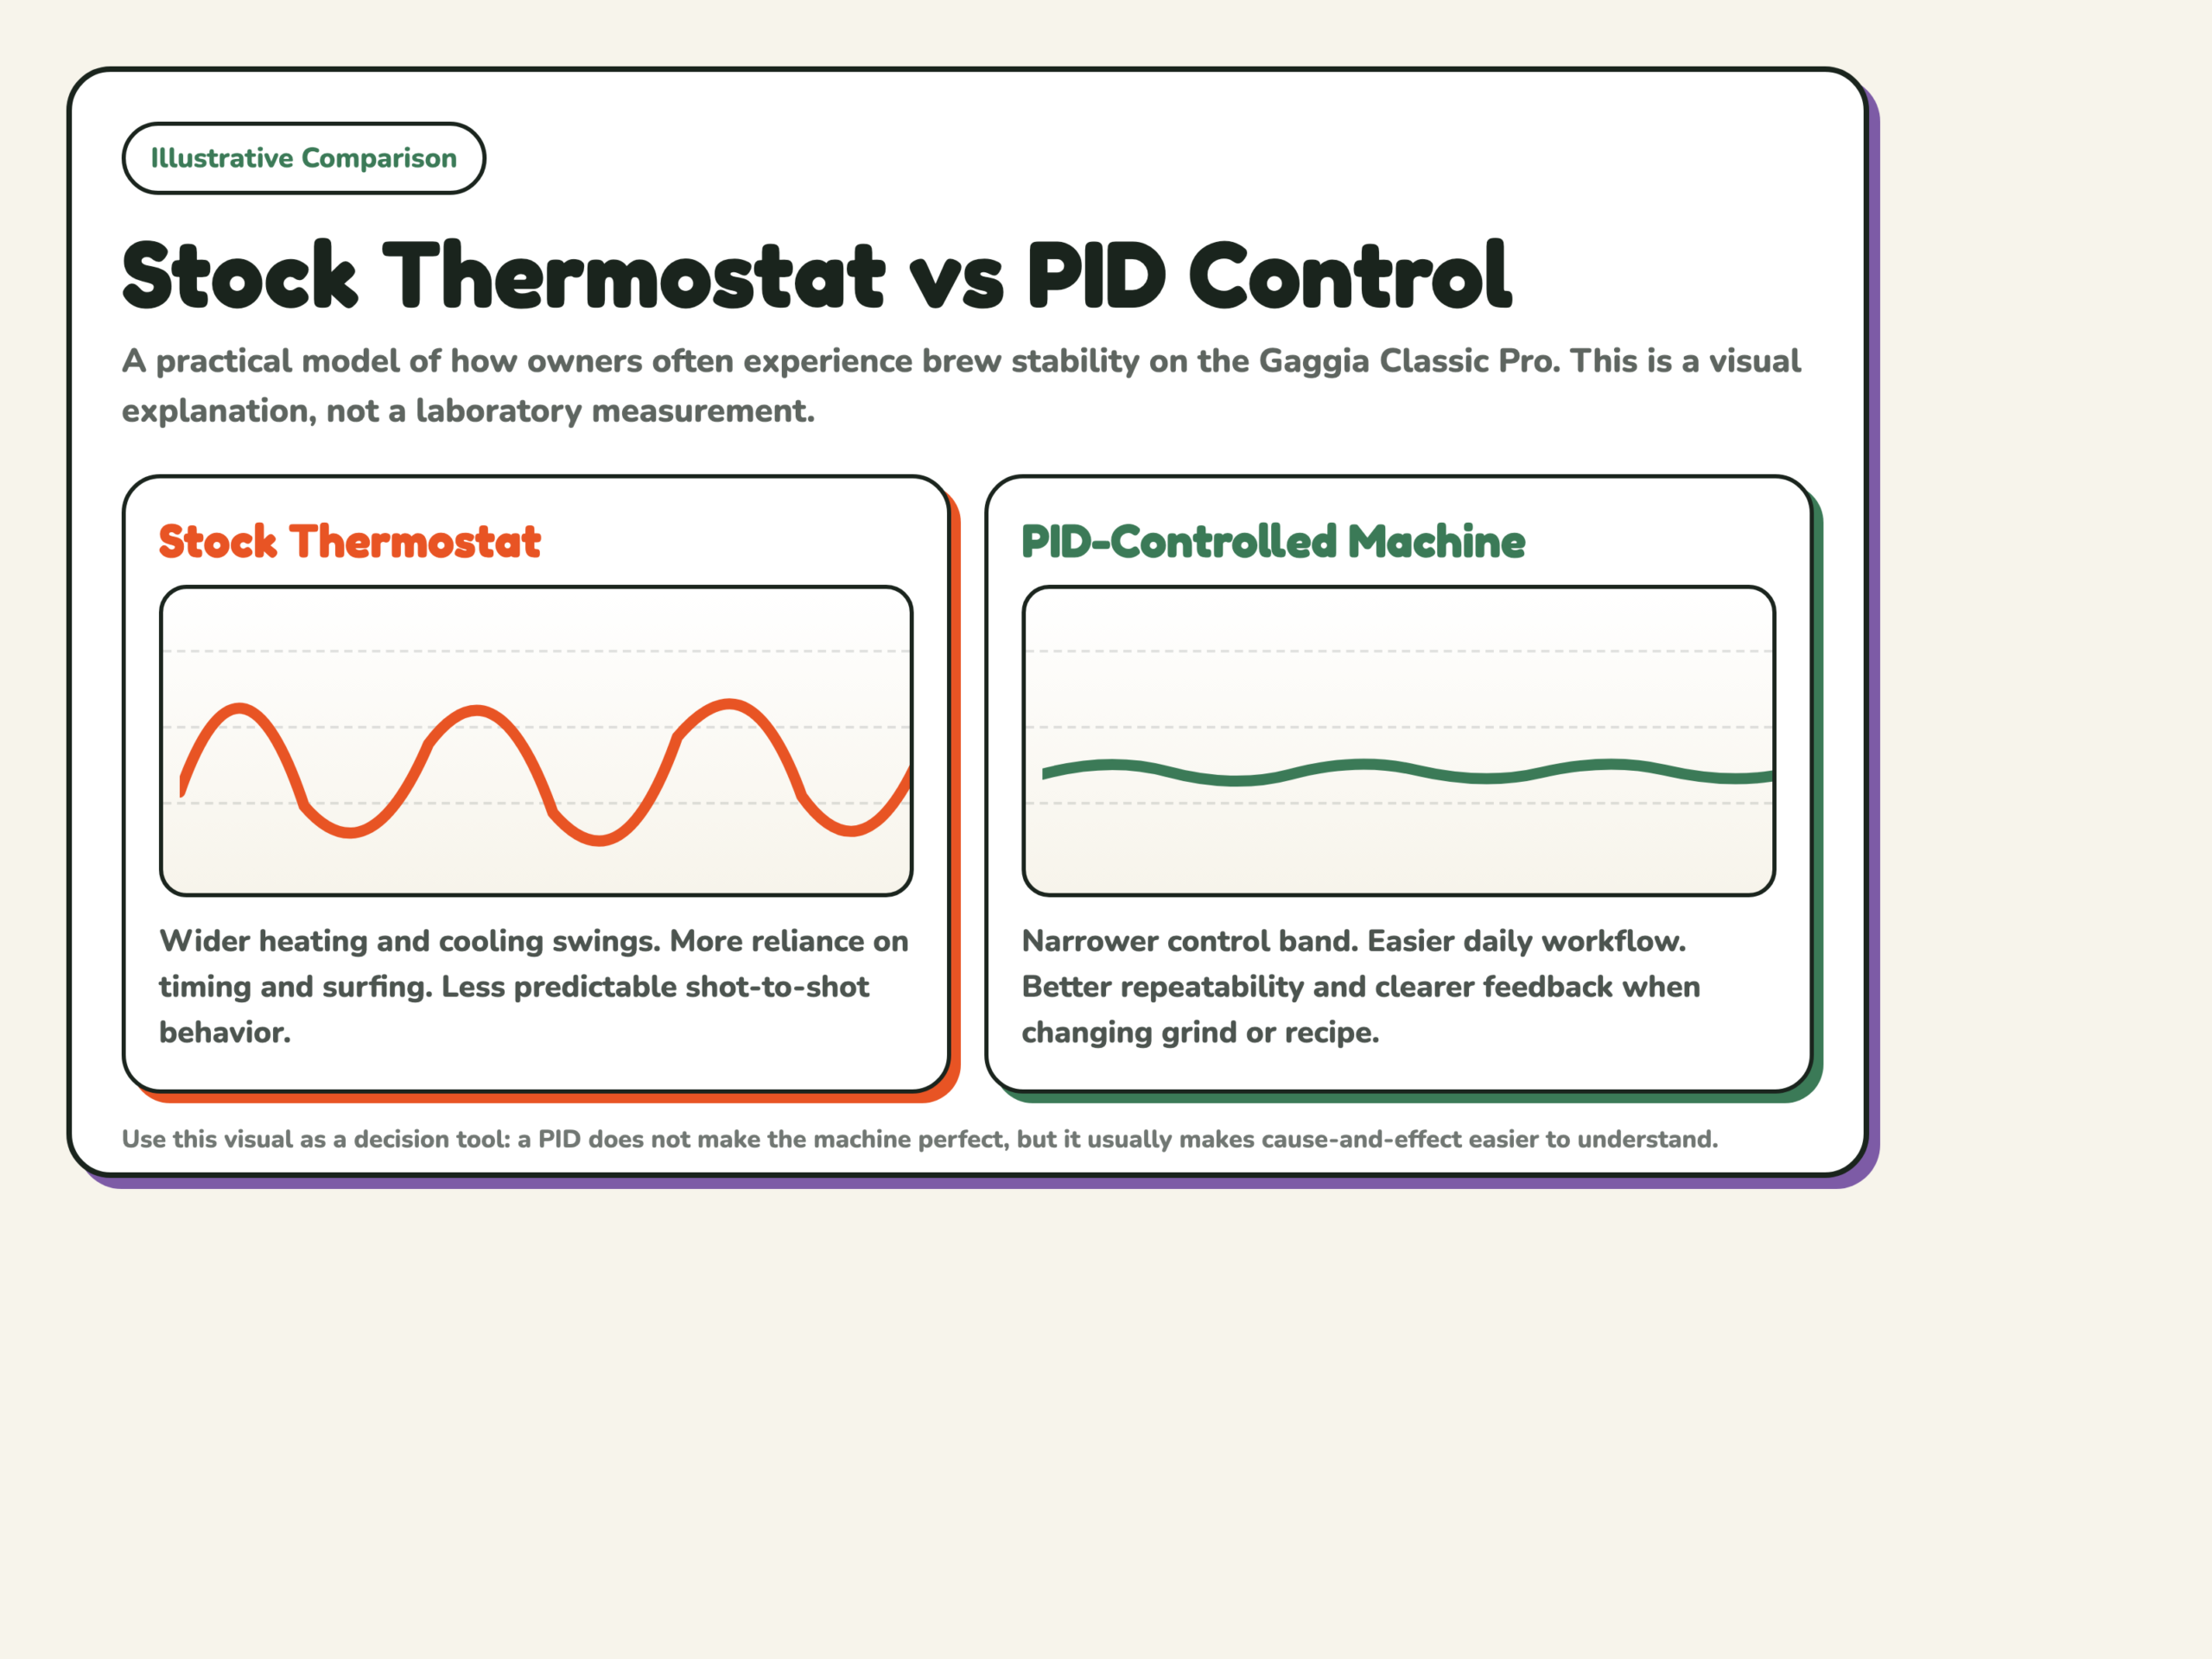
Stock thermostat versus PID control
The image below is a simplified explanatory chart. It is not presented as a laboratory measurement. Its purpose is to show the practical difference that users are usually trying to solve: a wider stock swing versus a narrower, easier-to-repeat PID-controlled target.
| Workflow question | Stock machine experience | PID-controlled experience |
|---|---|---|
| Can I repeat yesterday’s shot more easily? | Harder, because temperature timing can move the result more. | Easier, because one large source of variation is reduced. |
| Can I trust the cup as feedback? | Only partly, because several variables may be moving at once. | More often, because cause and effect becomes clearer. |
| Does one new coffee require less guesswork? | Usually no. The machine can feel harder to read. | Usually yes. Starting points become more useful. |
Next step: turn the reference into action
If this page helped clarify the theory, these are the next pages worth opening. Together they turn one useful reference into a working upgrade path.