
Thermodynamics
Temperature drift and when a PID is truly necessary.
We help home baristas understand their machines, choose better upgrades, and enjoy coffee gear worth keeping.
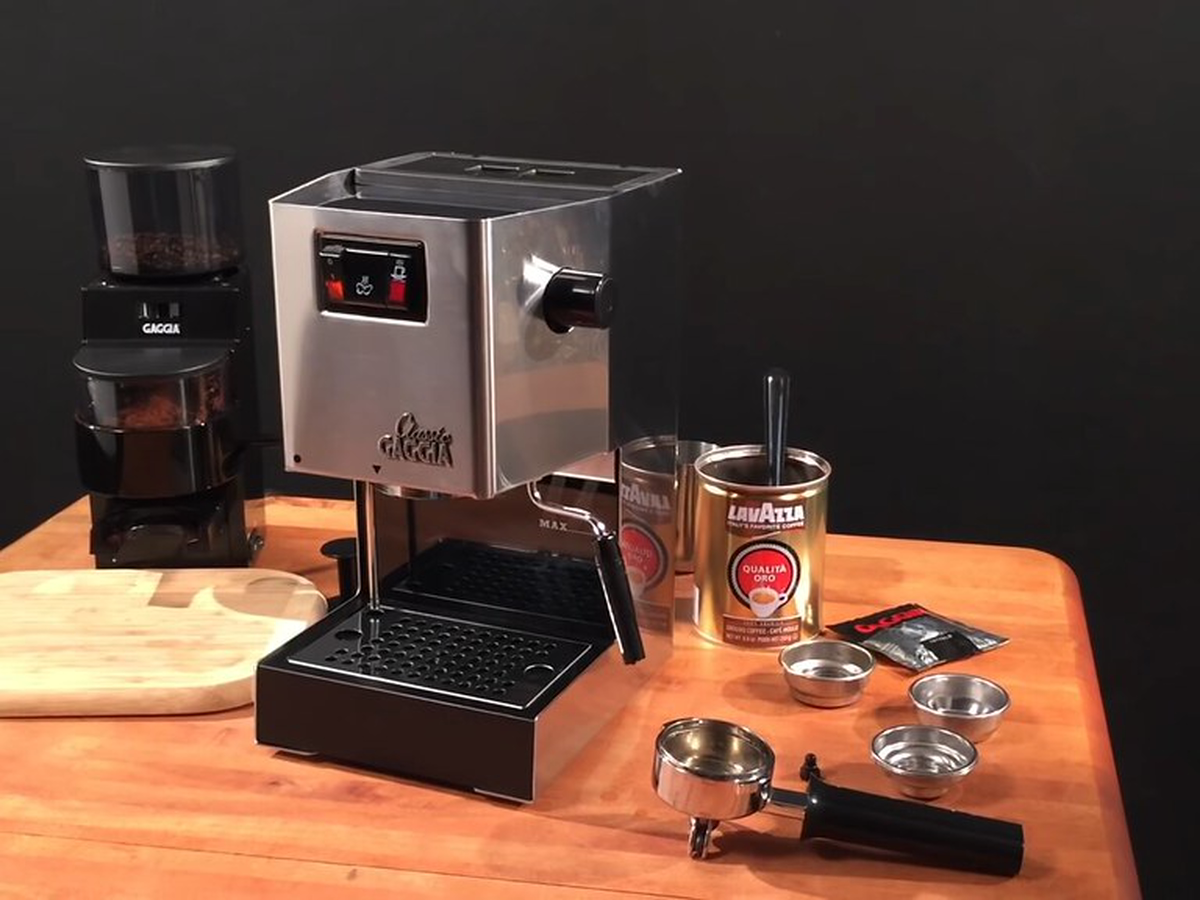
Pick your machine. Each one has a weak spot the factory left in — here's the mod that actually fixes it, and the order we'd do them in.
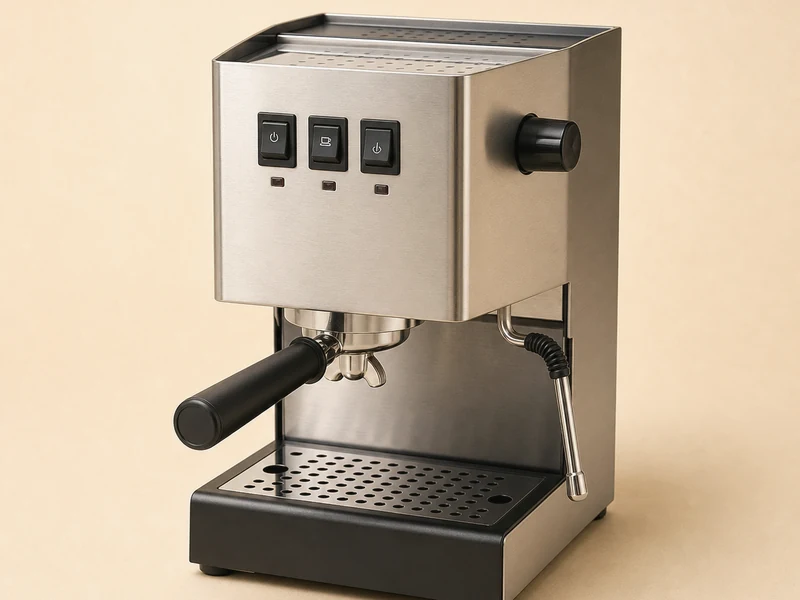
The open-source mod motherboard. 9 bar OPV spring, PID, dimmer — start here.
Explore mods →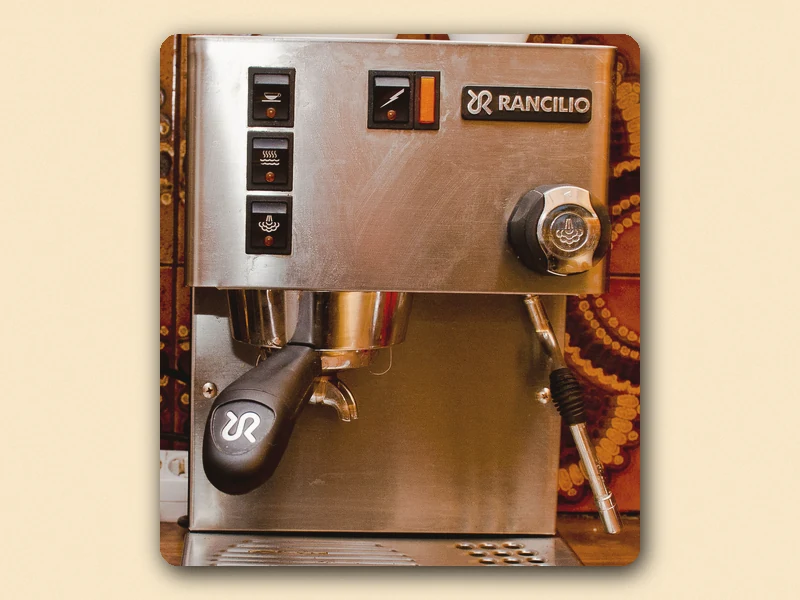
Rock-solid single boiler. Begs for PID and Auber-style temp control.
Coming soon →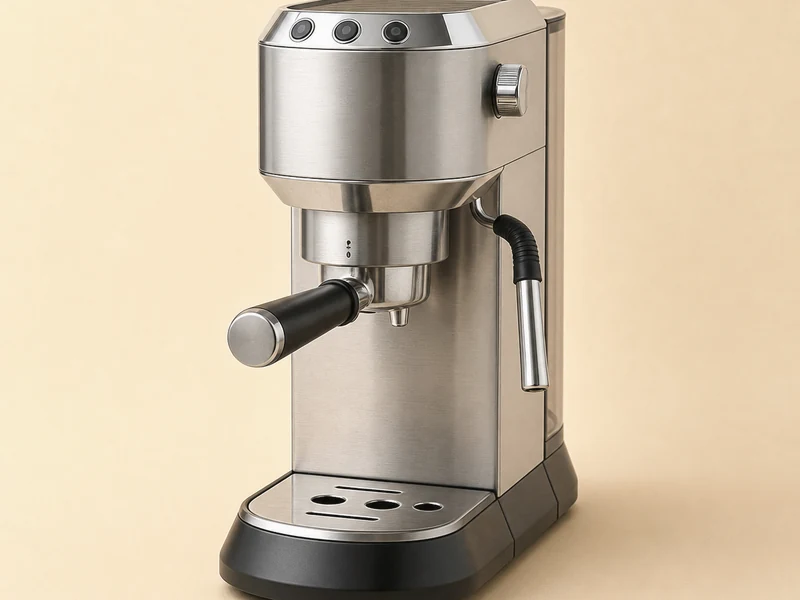
Huge installed base. Non-pressurized basket & Silvia steam wand swap.
Coming soon →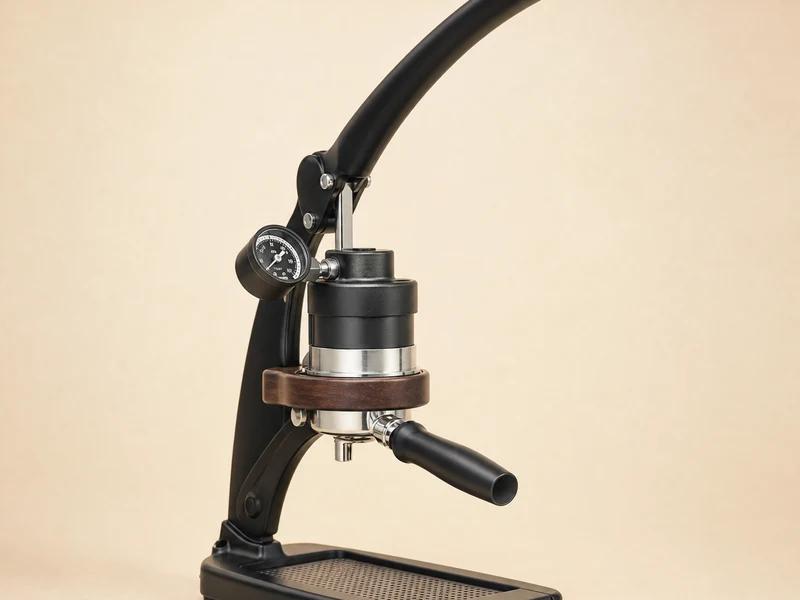
Pure pressure profiling by hand. Wood kits & thermal sleeves for the obsessed.
Coming soon →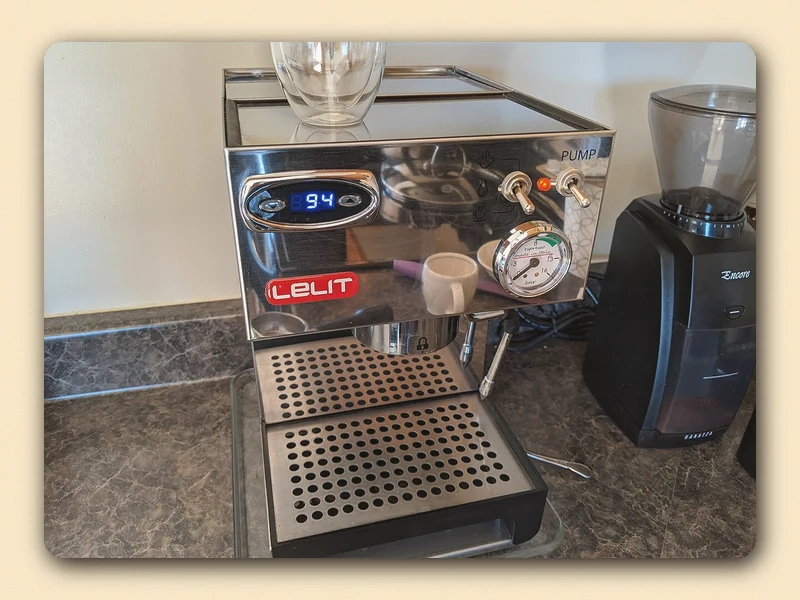
Stock PID, but 57mm parts are scarce. We carry the long-tail precision basket.
Coming soon →Tell us what the shot tastes like or what the machine is doing. We'll point you at the fix — and the part that keeps it from happening again.
Channeling from 15 bar factory pressure. A 9 bar OPV spring kills the spray.
Diagnose → SymptomScale & boiler coating. Flush, descale, and check the solenoid valve.
Diagnose → SymptomSingle-hole wand & workflow. Upgraded wand + routine = microfoam.
Diagnose → Symptom10–15°C dead zone. PID locks brew temp to 0.1°C for light roasts.
Diagnose →Learn the logic before you buy the part. Thermodynamics, electrical safety, water, workflow — the stuff that keeps a machine alive and your shots consistent.
Temperature drift and when a PID is truly necessary.
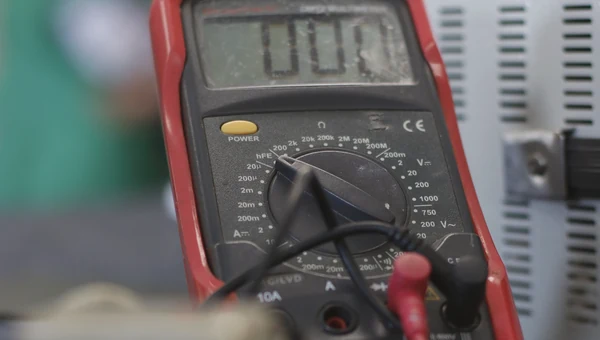
Multimeter checks & mindset for safe internal mods.
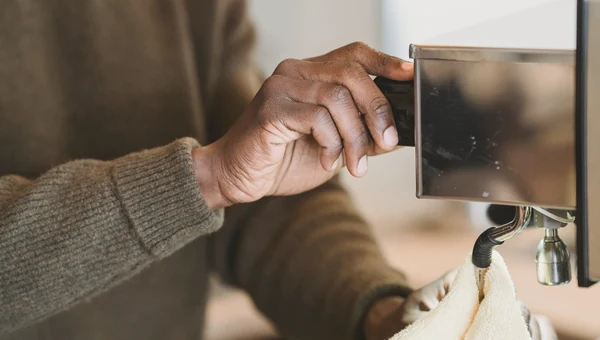
Prevent boiler damage without killing flavor.
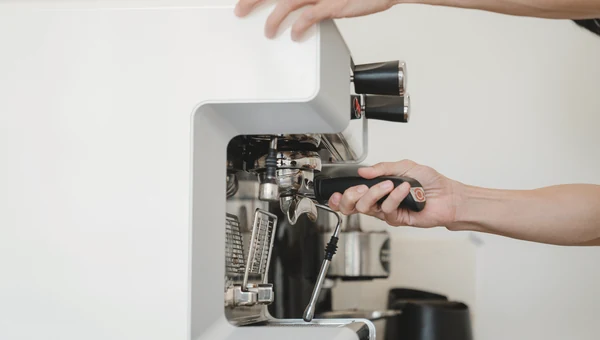
Repeatable routines to make the machine easier to judge.
Every part here fixes one thing — heat, pressure, touch, or workflow. No filler.
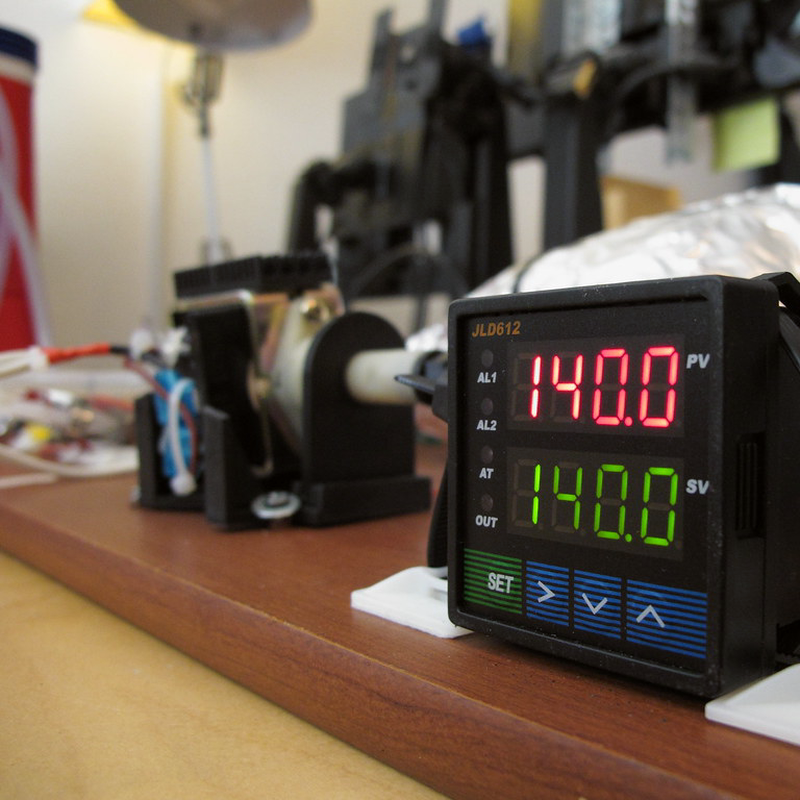
Lock in brew temp for ultimate consistency.
View details →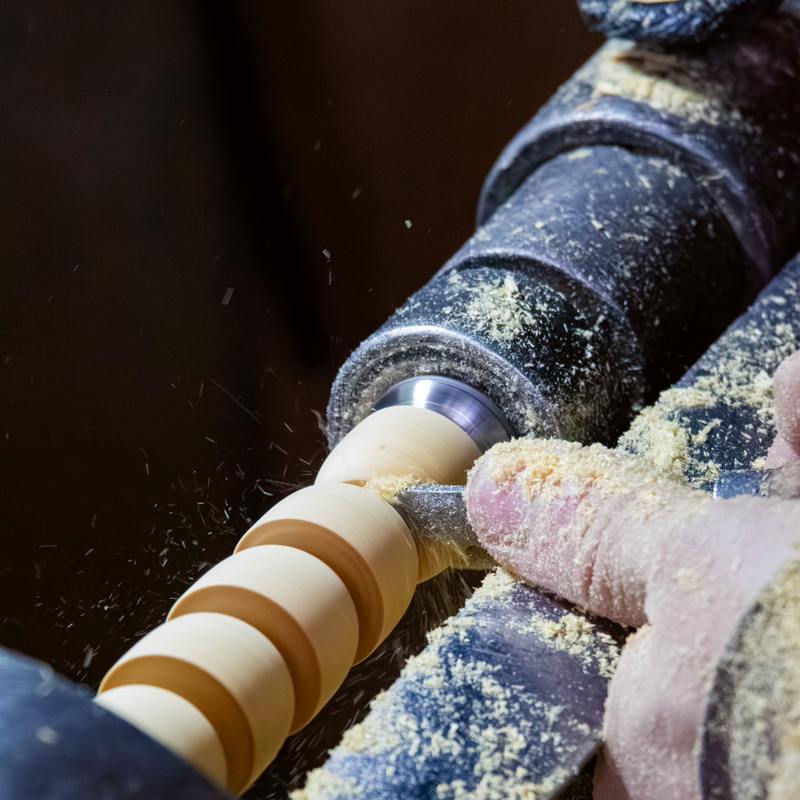
A safer, warmer touchpoint for milk work.
View details →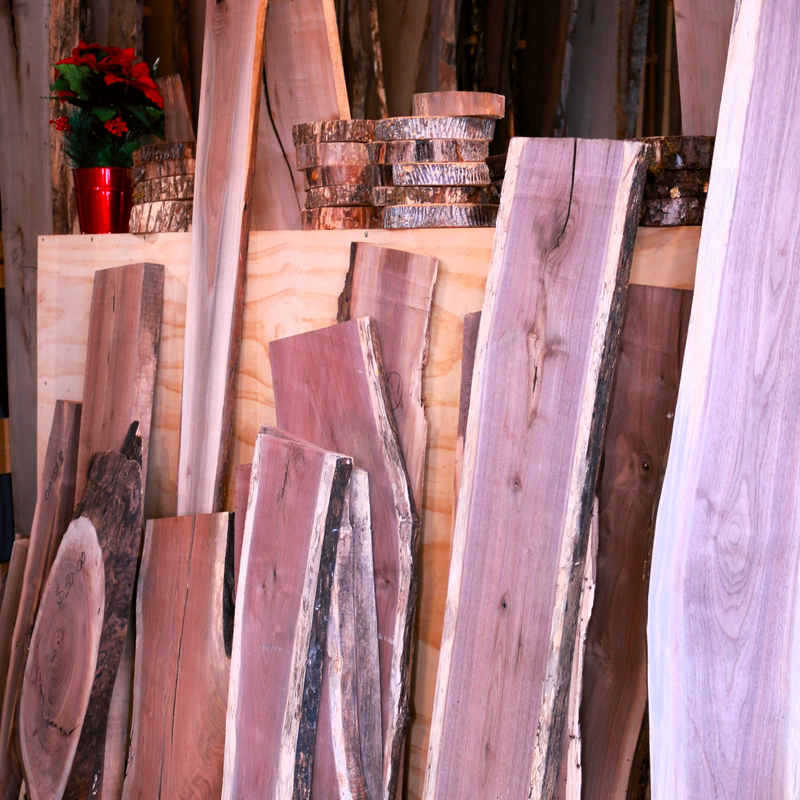
Soften the industrial look with real wood.
View details →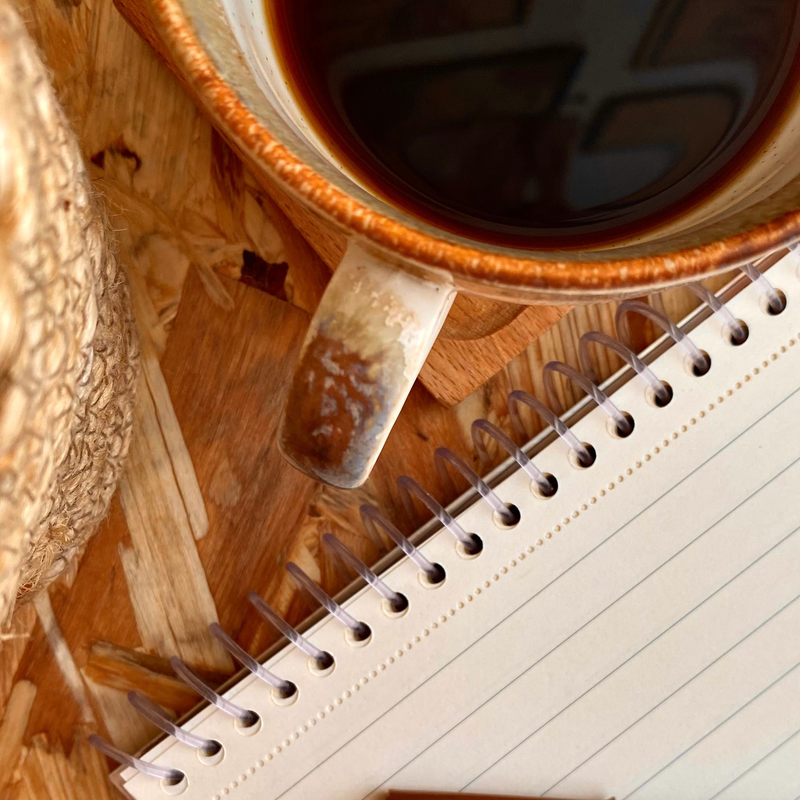
Keep essential extraction data at the bench.
View details →It tackles the machine's biggest flaw: temperature unpredictability.
Small touches like wooden knobs create a safer, premium feel.
A good supplier supports you during the install, not just at checkout.
Real teardowns, installs, and before/after shots. Click a poster to play — no autoplay.
Every screw in order. What you’ll touch during a PID install.
Safety: Confirm the exact Gaggia model revision before disassembly. Work only with the machine unplugged, cool, and depressurized.
SSR, thermocouple, and routing — safe and clean.
Safety: This is a third-party reference, not a substitute for the instructions supplied with the exact PID kit. Disconnect mains power before opening the machine.
Before/after the Rancilio wand mod on a Gaggia.
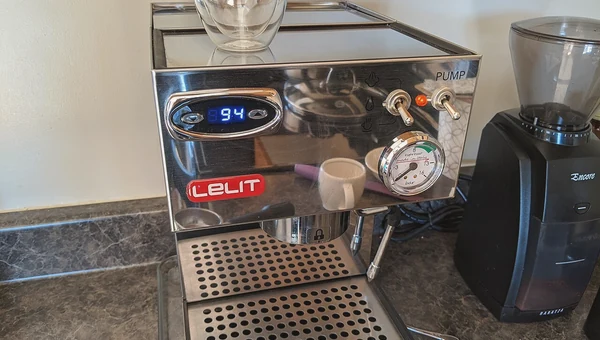
Gaggia vs Silvia vs Dedica vs Flair vs Lelit Anna.
Pages worth bookmarking. Come back when a new coffee or a modding idea shows up.
From a frustrating machine to one that behaves.
"The guide explained the logic first. Installation felt much less risky after that."Barista · Germany
"I finally understood why my shots changed. The product and article worked perfectly together."Barista · Italy
"It felt like buying from a dedicated specialist, not a random parts bin."Barista · Poland
Diagnose a bad shot, buy the part, or just learn the theory. Pick one.
 English English
  Italiano
 Deutsch
 Español
 Français
 العربية
 日本語
日本語
 한국어
한국어
 香港中文
香港中文
 Nederlands
 Português