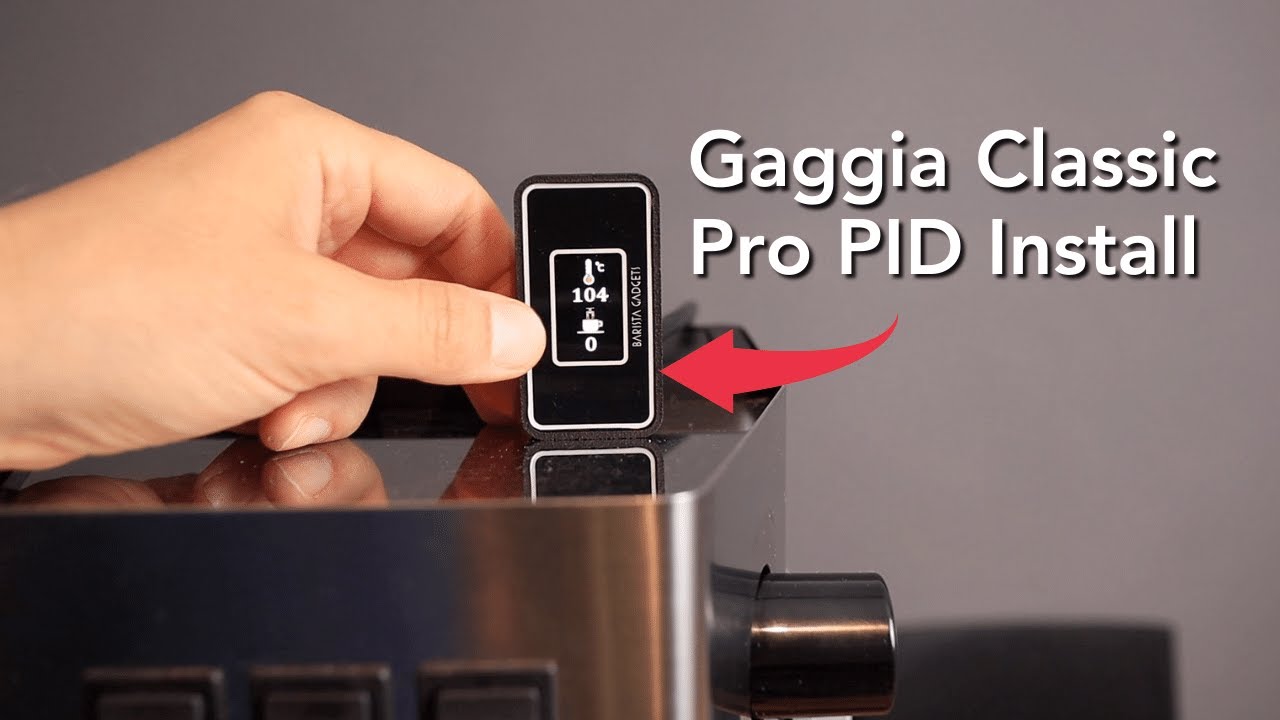
Read the machine label
Use the full RI model code and manufacturing region from the label under the machine.

Choose by machine revision, supply voltage and the control you want to add.
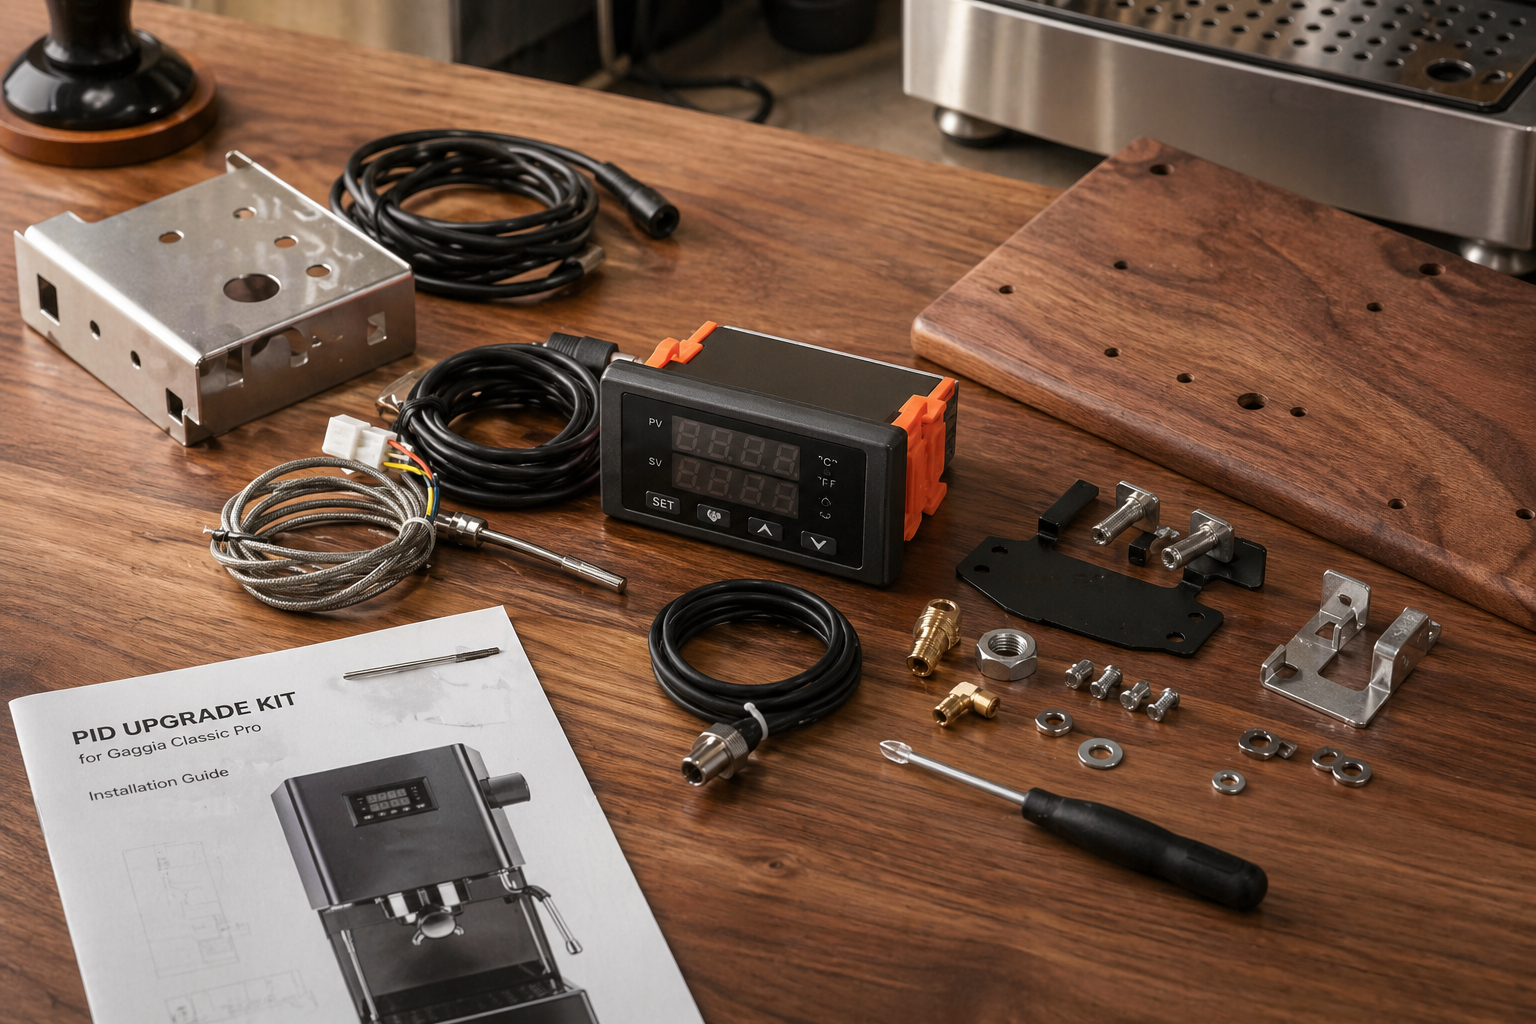
The machine name on the front is not enough to choose a wiring kit.
Use the full RI model code and manufacturing region from the label under the machine.
Do not treat 120V and 220-240V kit listings or instructions as interchangeable.
Classic Pro, Evo Pro and E24 can require different parts or connection details.
Decide whether you need brew control only, steam control or a wider machine modification.
A PID can look identical on the outside while the harness, sensor and instructions are meant for a different machine.
| Machine family | What to confirm | Practical decision |
|---|---|---|
| Classic and Classic Pro | Full RI model code, region and supply voltage | Choose a kit that names the exact machine or model family in its current manual. |
| Classic Evo Pro | Production revision, connector details and vendor update notes | Use Evo-specific instructions when the kit vendor provides a separate wiring path. |
| Classic E24 | Boiler generation, sensor fitting and explicit E24 support | Do not infer E24 fit from an older Classic Pro or Evo listing. |
| EU auto-off models | Standby circuit, supply voltage and region-specific manual | Follow the matching EU instructions rather than a US installation video alone. |
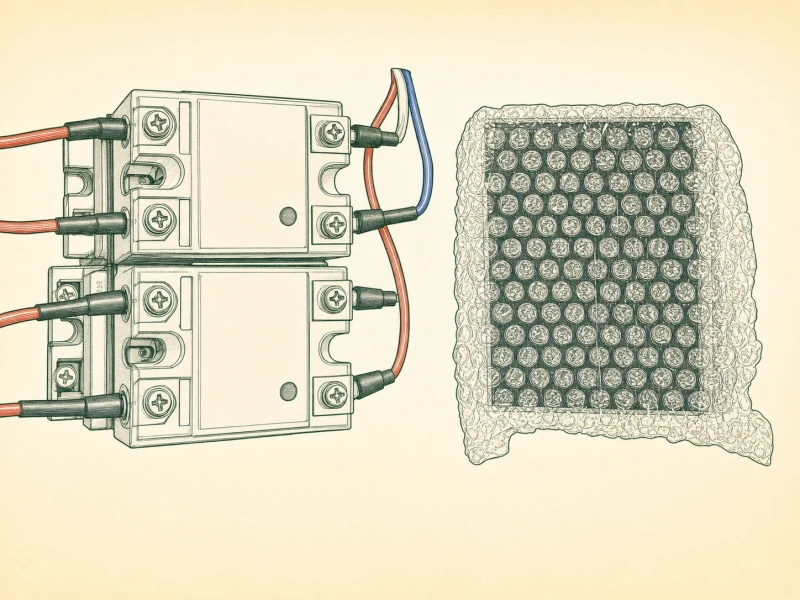
The controller uses a temperature sensor and relay to manage boiler heating around a chosen setpoint.
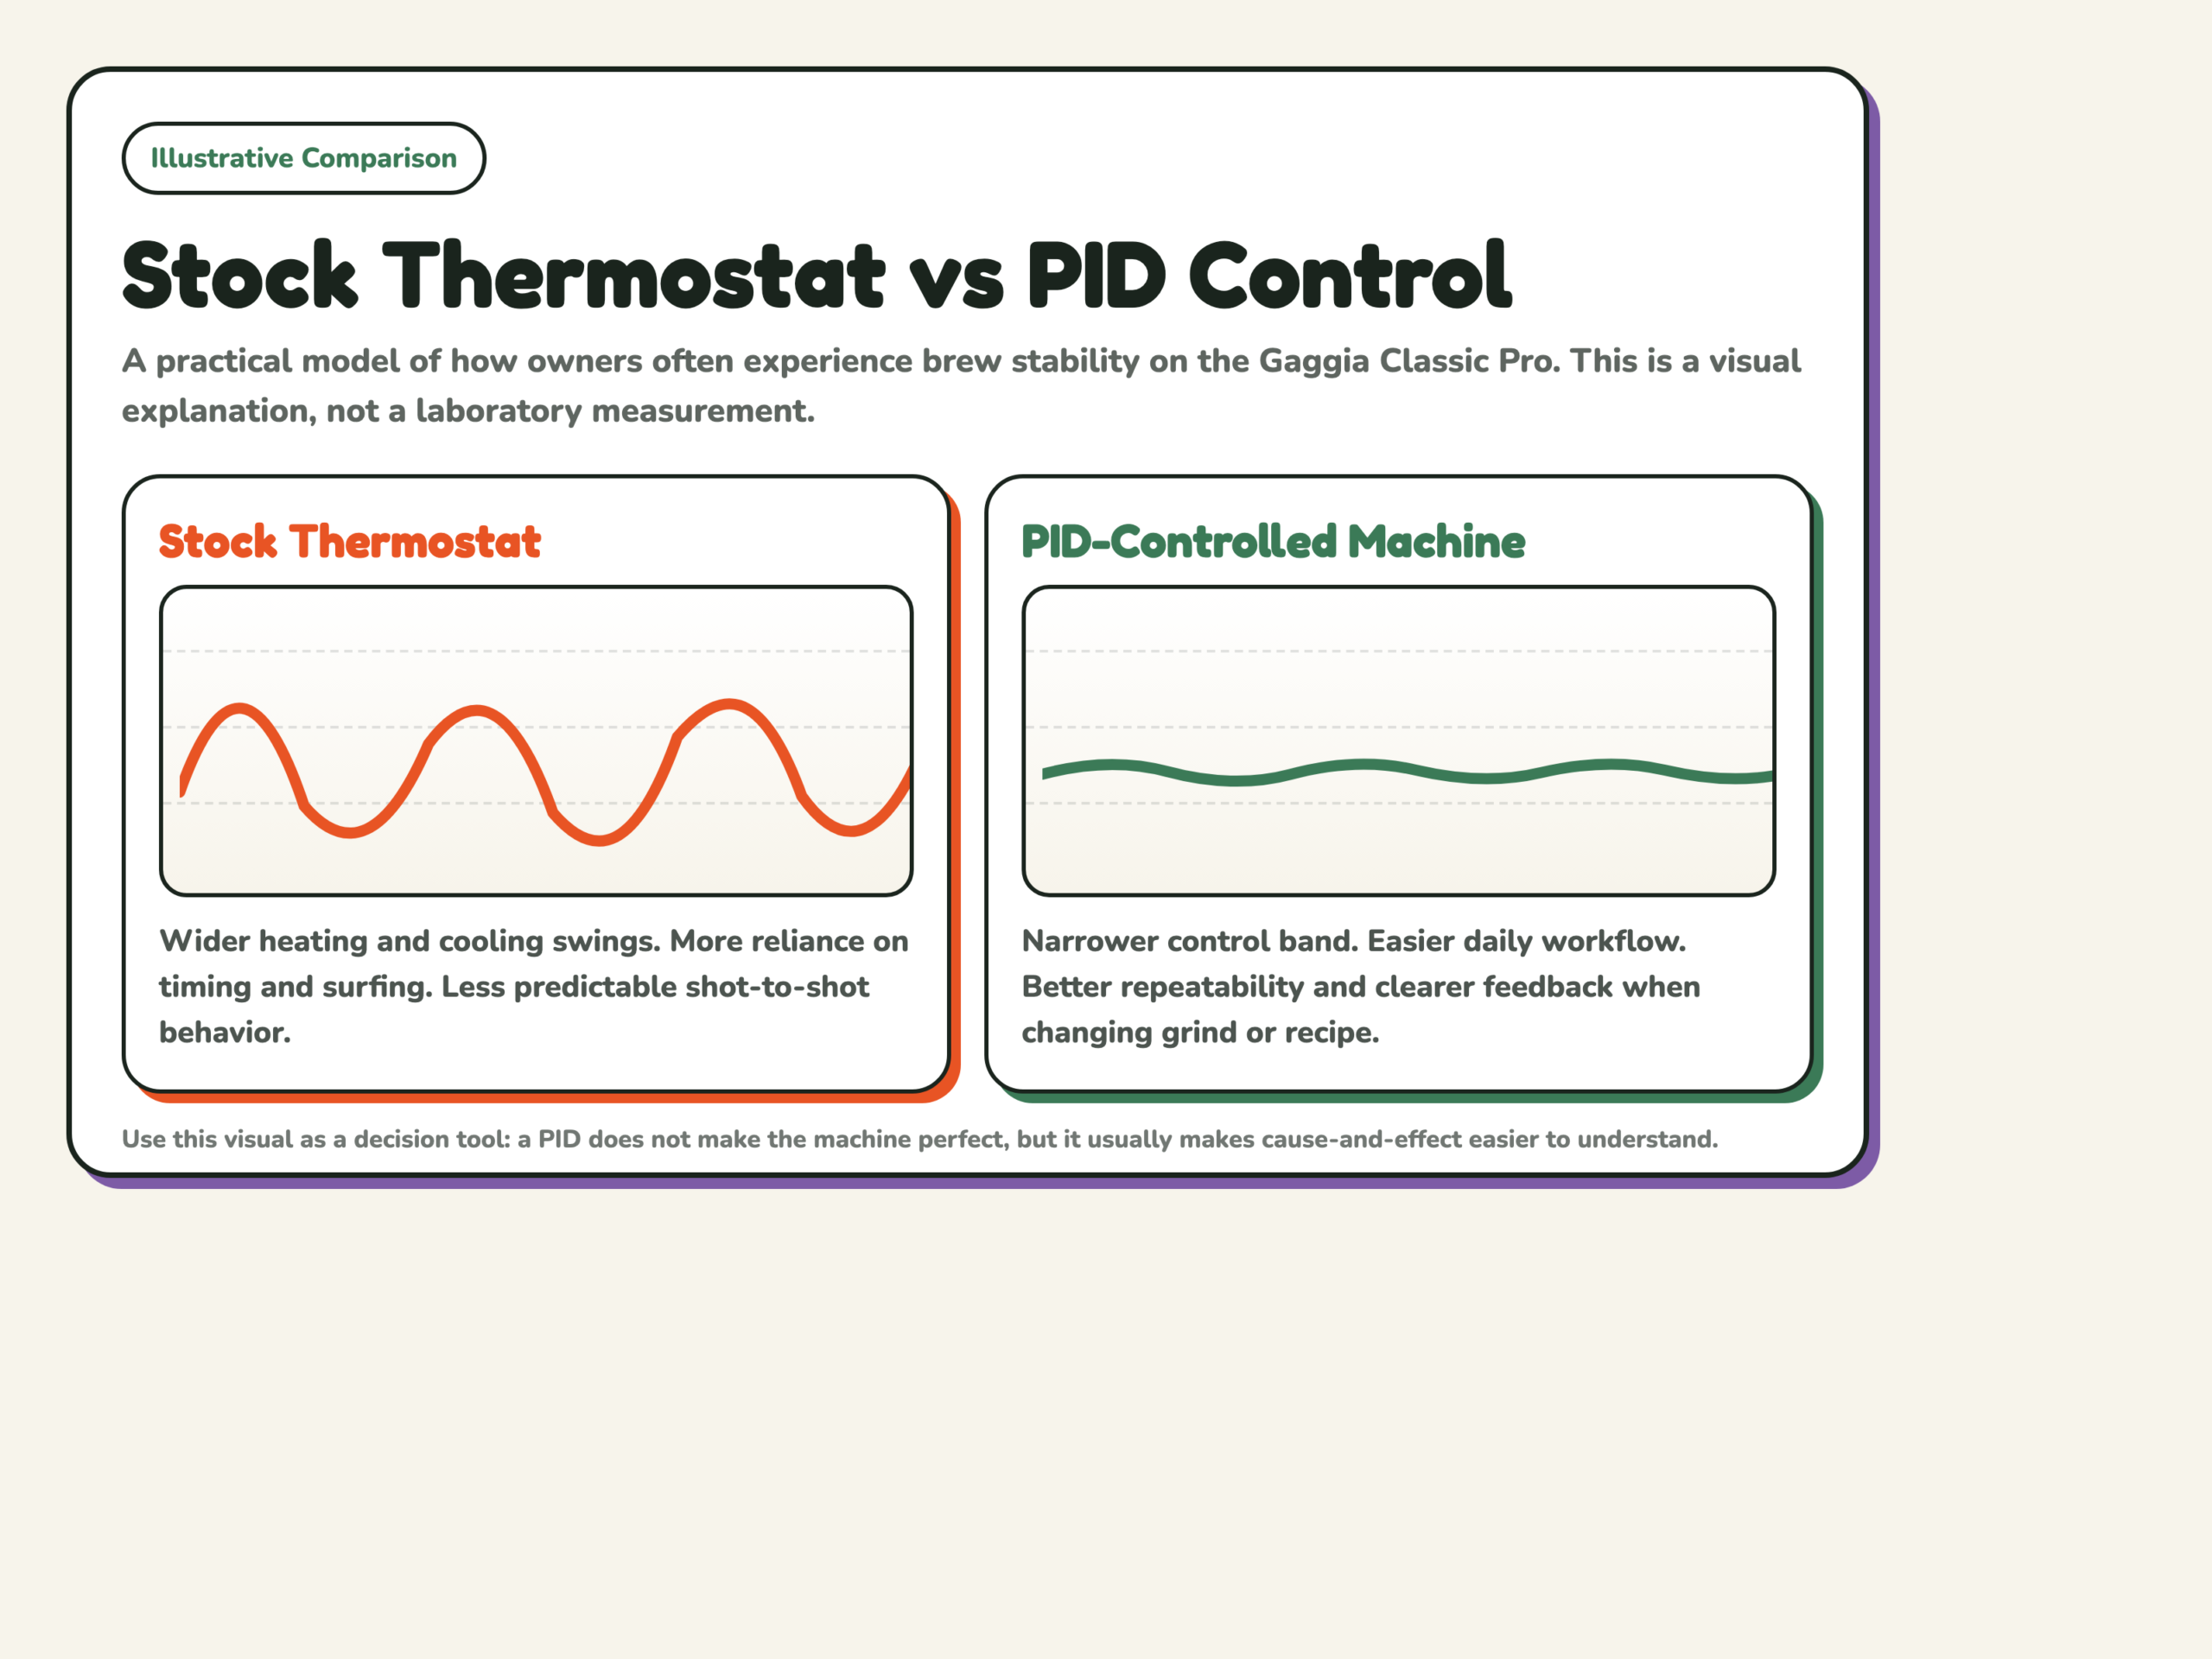
More functions mean more wiring, setup and troubleshooting. Choose the functions you need before comparing kits.
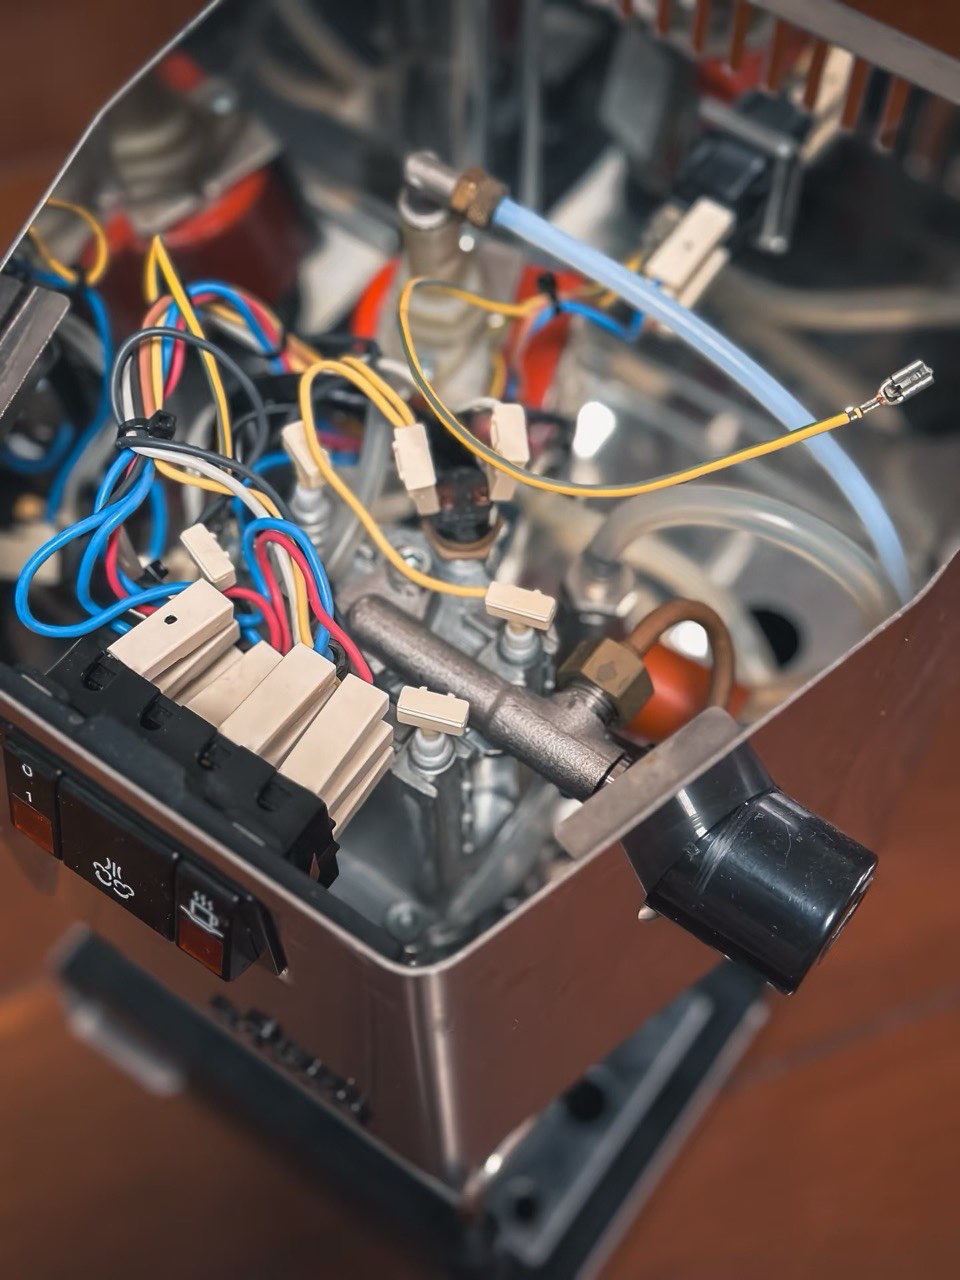
This is the direct path when repeatable brew temperature is the goal. Confirm the sensor fitting, relay, harness and instructions for your machine.
Check whether steam control uses a separate relay and whether your kit manual covers that circuit.
Pre-infusion or pump control changes more of the machine. Treat it as a separate project with its own wiring plan.
Compare machine fit, control scope and installation requirements before choosing a listing.
This is a comparison of supplier documentation. We have not tested these kits side by side. The supplier links below are ordinary links; no commission is attached to them.
| Kit | Consider it for | Check before ordering |
|---|---|---|
| Shades of Coffee Pro / Evo / E24 PID | Brew and steam temperature control, with separate kit options for later Classic revisions. | The supplier listing names E24 and US/EU model codes. Match the wiring option to the machine; the PID kit does not add pre-infusion or a shot timer. Recheck the current listing before ordering. |
| Auber KIT-GG | Brew temperature control with the original switches retained. | Auber lists 120V and 230V support. Steam and pump control are excluded. RI9403 needs a different kit; E24 fit needs confirmation from Auber. The full manual is available after purchase. |
| Auber KIT-GGP | Brew and steam temperature control plus a programmable pre-infusion timer. | Check the count-up or count-down version and Evo connector requirements. Timed pump control is not pressure profiling. The current page does not explicitly confirm E24 compatibility. |
| Coffee Sensor PID kits and boxes | Comparing the controller kit, enclosure and separate dimmer options. | The category lists a Pro / 2019 / Evo 2023 kit. Confirm the selected variant’s voltage, steam function and included enclosure directly with Coffee Sensor; do not assume that every item in the category is a complete kit. |
| Sungaze Gaggia PID kit | Brew and steam temperature control plus flow control, according to the supplier’s kit listing. | Sungaze has separate guides for the original Classic, Classic Pro, and Evo Pro / E24. Confirm your supply voltage and switch connectors with Sungaze before ordering. Check the guide for your model. |
Supplier sources checked September 17, 2026. We have no verified sales figures for these kits and do not rank them by sales.
Compare wired PID kits and wider Gaggiuino projects against the machine you own.
A Gaggia PID install opens the machine and changes mains-voltage wiring. Some suppliers provide the full manual only after purchase; ask about the installation requirements before ordering.
If you cannot identify live, neutral and earth, or verify the machine is de-energized with a multimeter, use a qualified technician.
The first setpoint is only a starting point. These pages cover the checks and adjustments that follow.
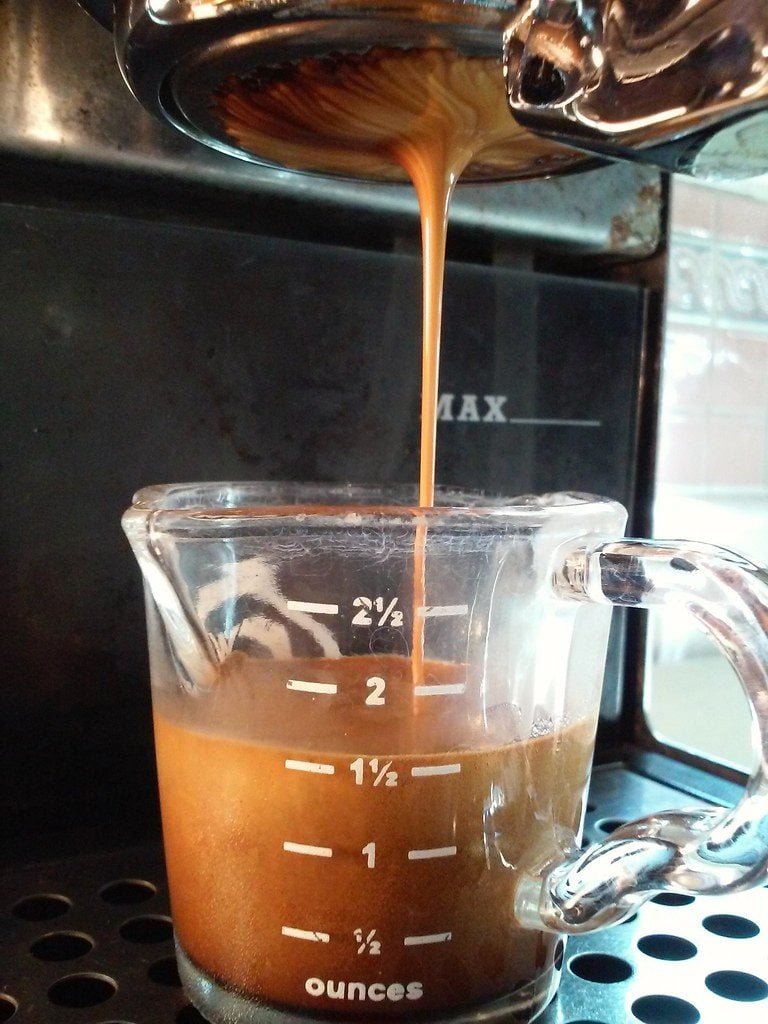
A Gaggia Classic PID kit is useful when brew-temperature repeatability is the problem you are trying to solve. A Gaggia Classic PID kit will not correct grind, distribution, scale or a weak pump. Check those basics first, then use the upgrade-order page to decide whether temperature control belongs next.
A Gaggia Classic PID kit should be chosen against the exact model code, production revision and supply voltage. Do not assume a Classic Pro listing also covers an Evo Pro or E24. Use the vendor's current compatibility table and installation manual, then compare them with the label under your machine before ordering.
A Gaggia Classic PID kit must match the machine's supply voltage and the vendor's region-specific instructions. Relays, wiring routes, connectors and auto-off circuits may differ between versions. Confirm the voltage on the machine label and order only from a listing that clearly names that voltage and machine revision.
A Gaggia Classic PID kit installation involves opening the machine and working around mains-voltage wiring. A beginner needs the correct manual, the tools specified by the kit maker and a multimeter, plus the ability to verify the machine is de-energized. If those checks are unfamiliar, ask a qualified technician to carry out the installation.
A Gaggia Classic PID kit displays the temperature measured at its sensor, which is not automatically the same as water temperature at the coffee bed. The offset lets a specific controller account for that relationship. Start with the kit maker's instructions, then use repeatable brewing results rather than copying an unrelated machine's number.
 English English
 Deutsch