
You do not need a coffee-branded scale to start weighing coffee. A kitchen scale can work if it reads grams, tares reliably, supports your equipment and stays on through the brew. A dedicated coffee scale becomes useful when you need smaller displayed increments, quicker feedback, a better fit or a timer beside the weight.
Try the scale you own before buying another. The useful upgrade is a feature that fixes a problem in your routine, not the word “coffee” on the box.
Header photo: a portafilter on a scale, by markolaz, CC BY 2.0. The photograph is preparation context, not a scale-performance test.
Can your kitchen scale do the job?
For filter coffee, you need a practical way to weigh the dry coffee and the water you add. Counter Culture’s V60 guide lists a gram scale and a timer separately. An integrated timer is convenient, but a separate timer can follow the same recipe.

Check the display with your empty server and dripper in place. Can you still see it and press tare without shifting the equipment? For espresso, check the combined height of scale and cup under the outlet. A scale that is easy to use on the counter may be awkward on a small drip tray.
A scale showing whole grams can be a useful starting point for a larger filter batch. It will not show a change smaller than its displayed step. If your recipe needs small dose adjustments, that limitation gives you a specific reason to consider finer readability.
Which features are worth paying for?
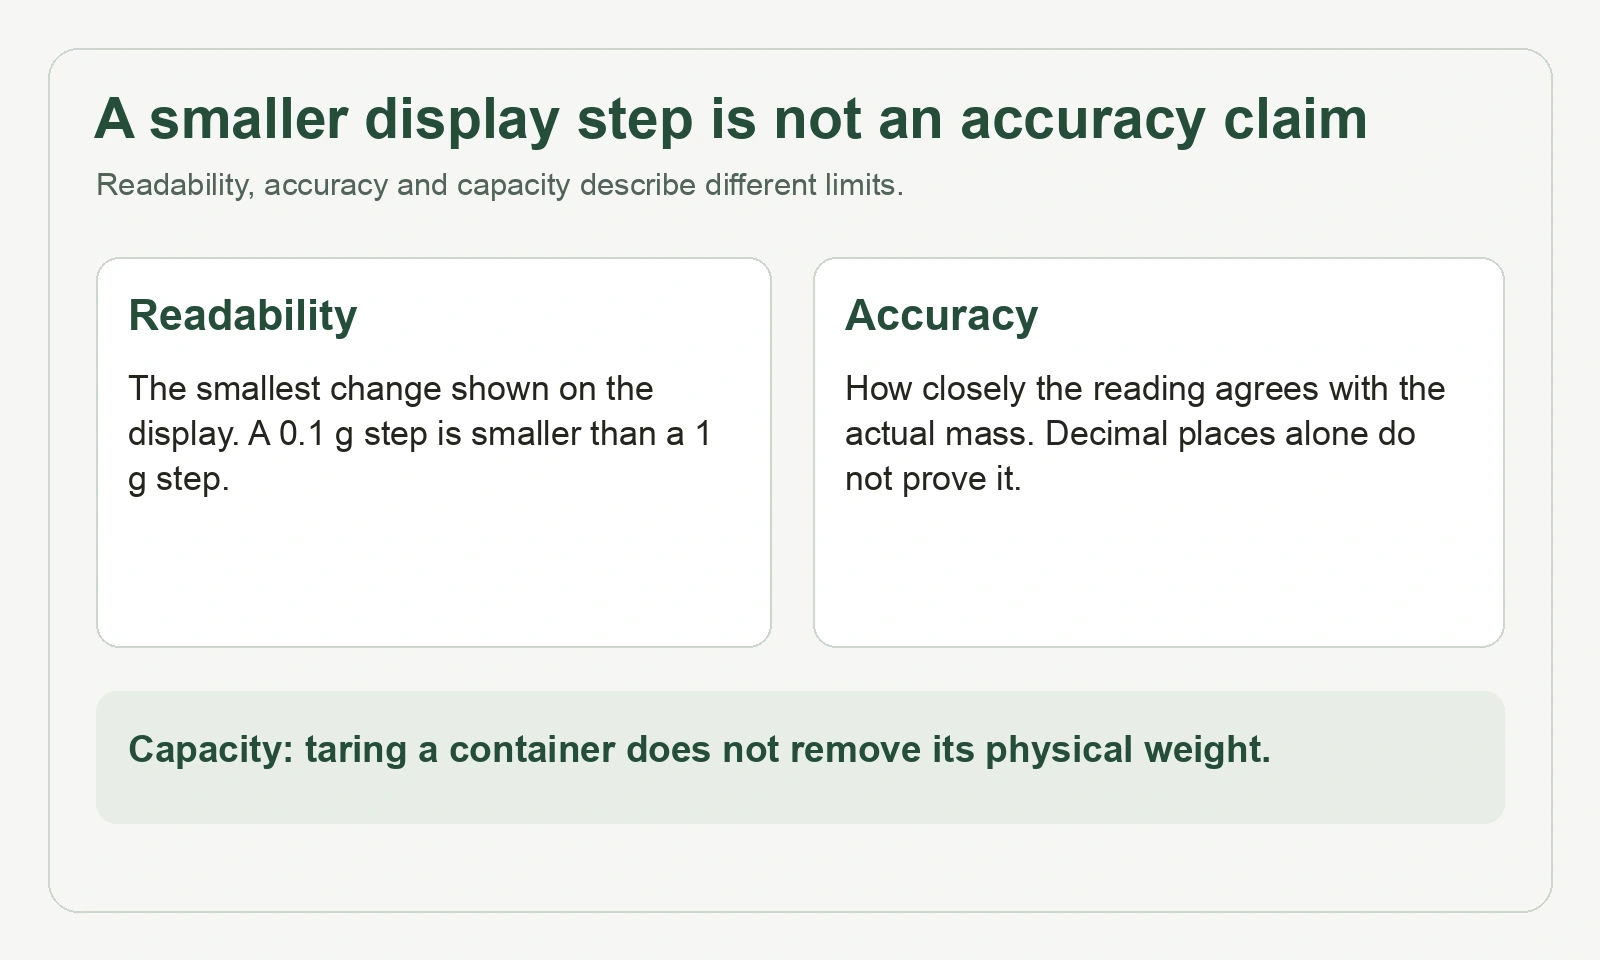
Readability and accuracy are different. A 0.1 g display step lets you see smaller changes than a 1 g step. It does not, by itself, prove that every reading is within 0.1 g of the true mass. Repeatedly showing the same number is also different from proving that number is correct.

Read the full specification. Hario’s current VSTN-INT-2000B listing gives different display intervals across its weighing range. It also explicitly says the scale is not water resistant. Neither fine readability at one load nor a coffee-specific name establishes every operating limit.
Capacity must cover the physical load. Count the brewer, vessel, coffee and water. Taring removes the vessel’s contribution from the displayed reading; the vessel still sits on the platform. Check the manual rather than treating a zero display as a fresh load allowance.
For espresso, response and fit deserve attention. You need to see the changing beverage weight while deciding when to stop. Check the actual model under your cup, including display visibility, spill guidance and the clearance above it. Do not infer response speed from the number of decimal places.
Choose timing behavior deliberately. Some automatic timers start at the first drip rather than when you start the pump. Flair’s Brew Scale documentation describes first-drip modes and a manual mode. Record the convention when comparing recipes; the espresso log guide explains why.
The official Flair tutorial demonstrates dosing and output measurement on that scale. Its modes are not instructions for every kitchen scale. Open on YouTube.

A simple trial before replacing the scale
Start on a firm, level surface, following the scale’s instructions. Use an empty, dry cup or your cold brewing equipment. Keep within the rated load and protect the scale from spills. This checks usability and repeatability; it is not a calibration procedure.

- Fit the cold setup. Make sure nothing touches a wall, the counter or another object in a way that supports part of the load.
- Tare, then repeat. Place the same dry object on the platform several times. Notice whether the reading returns consistently. Use a known calibration weight only as the maker directs; an ordinary object checks repeatability, not accuracy.
- Add gradually. With a stable cup on the scale, carefully add small amounts of room-temperature water without splashing. Can you follow the changes and stop near a chosen amount?
- Include the pauses. Leave it through the pauses in your usual recipe. If it shuts off or loses the displayed weight, check its settings or manual.
Keep it if those checks work for your brew. Upgrade for the specific failure: insufficient readability, awkward fit, delayed feedback or an unsuitable shutoff. If readings behave erratically, first check batteries, placement and the maker’s troubleshooting guidance.

Quick questions
Must I buy a scale before trying coffee brewing?
No. You can start with your brewer’s instructions. A scale becomes useful when you want to repeat a measured recipe or know which amount changed. Borrow one before buying if you are unsure.
Do I need Bluetooth or automatic modes?
Only for a job you want them to do. Grams, tare and a separate timer can support a basic measured recipe. Read the automatic mode’s start and stop behavior before trusting its numbers.