
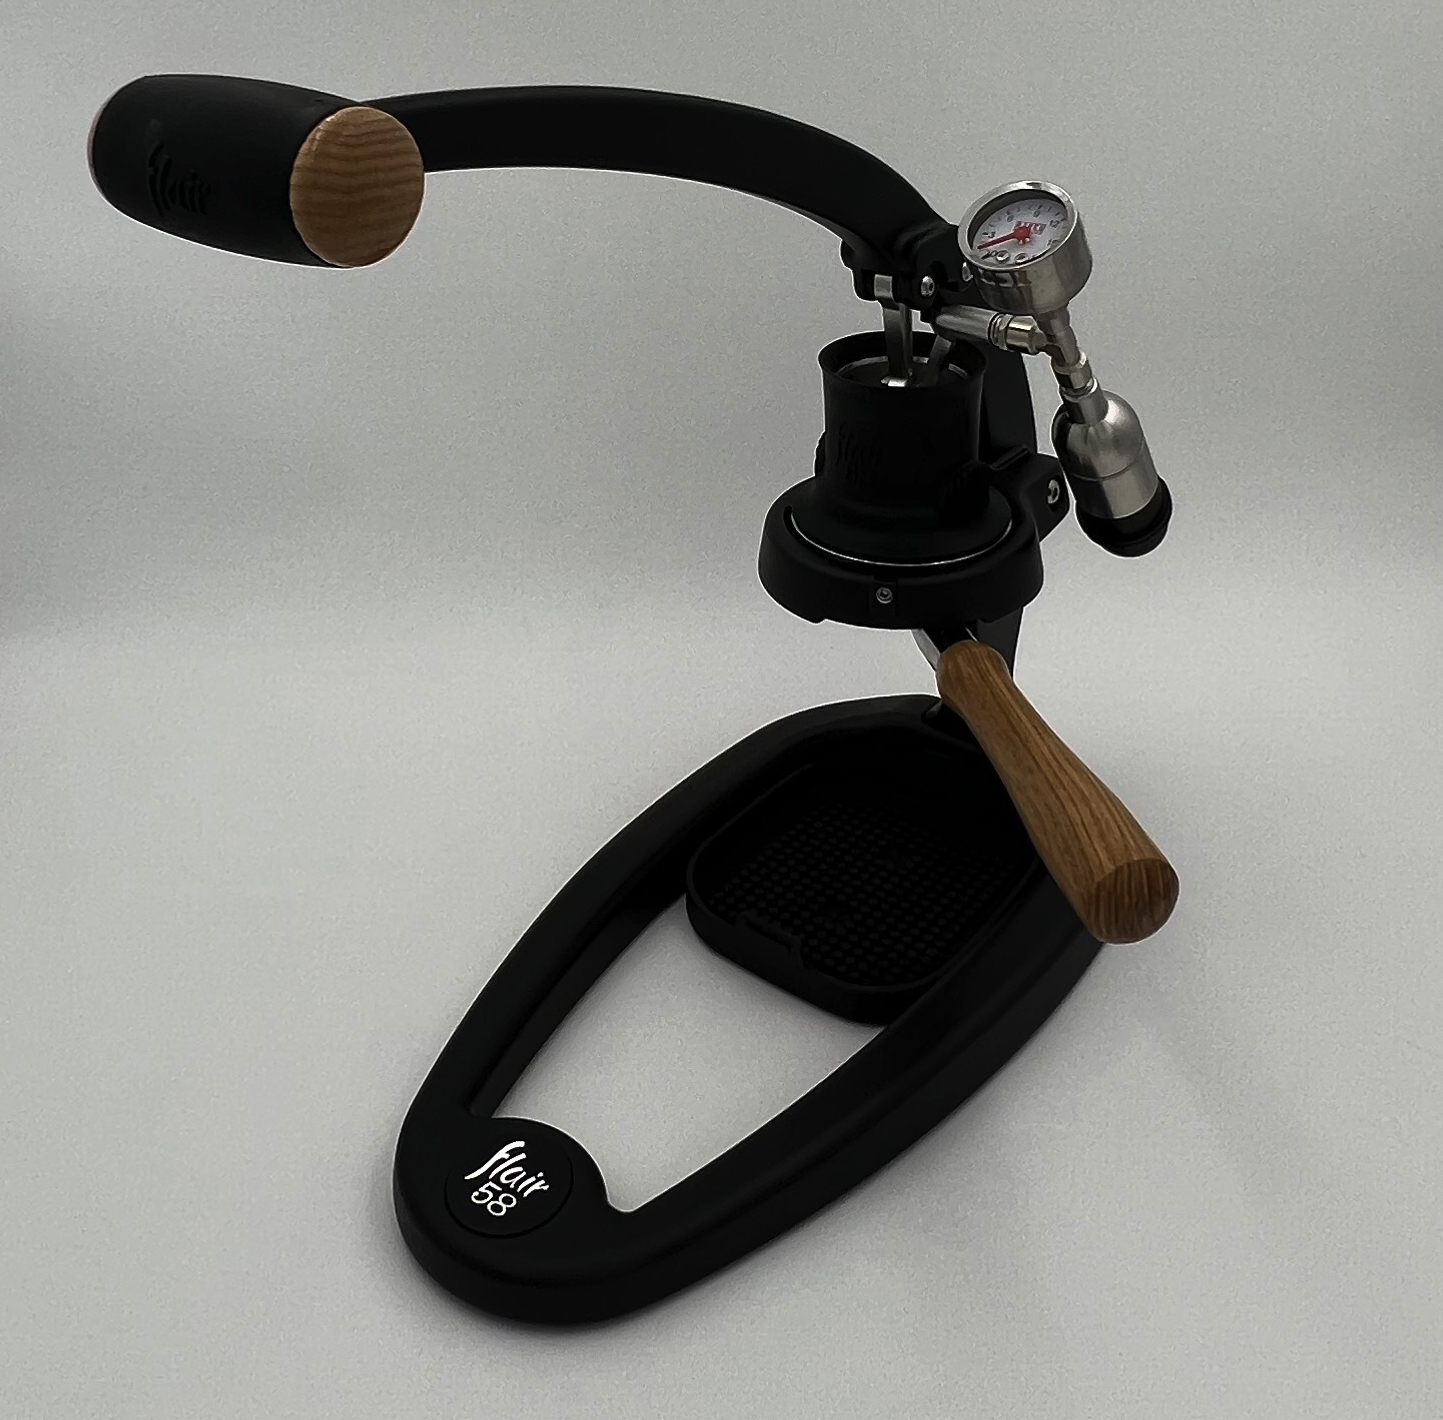
If a Flair 58 suddenly loses pressure, the plunger shifts, or the lever feels different halfway through a shot, do not replace every O-ring. The same gauge symptom can come from the coffee bed, compressible air, the gauge path, or a real hydraulic leak.
Official Flair video: Flair 58 Stem Guider & Locking Hook
Open on YouTube — linked from Flair’s official Flair 58 tutorial page.
Revision boundary: Flair publishes separate 58 instructions for machines purchased before/after May 2023, and Plus 2 has its own current manual. Match the valve-plunger/hook procedure to your hardware.
1. Which kind of pressure drop do you have?
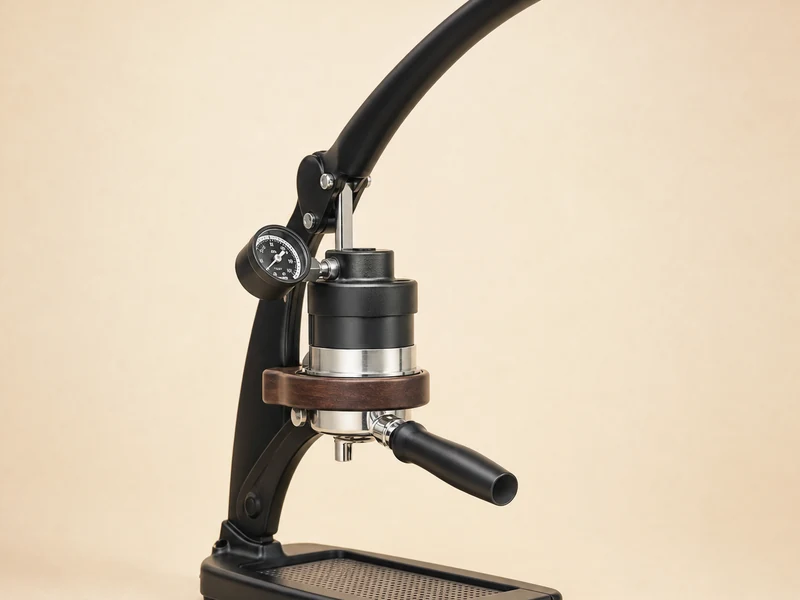
| Observation | Start here |
|---|---|
| Lever easier + flow faster | Grind, puck resistance, channeling |
| Lever still hard + gauge falls/zero | Gauge/stem path |
| Visible water at top/gauge/plunger | Seal/O-ring seating and condition |
| Plunger jumps/tilts, no clear leak | Full fill, air pocket, guide/hook, plunger orientation |
| Lever reaches end of travel on large yield | Water volume/travel limit |
Pressure is the result of your lever force acting against a sealed hydraulic system and coffee-bed resistance. The gauge number alone cannot identify the failed part.
2. Does the Flair 58 have to hold exactly 9 bar?

No. Flair’s current Plus 2 manual uses roughly 6–9 bar and 30–35 seconds as a brewing reference, while Flair’s wider support guidance says pressure/time vary with taste and model. Flair also publishes flow-profiling tutorials because manual lever pressure can intentionally change through a shot.
A smooth repeatable decline is therefore different from a sudden pop/drop accompanied by leaking, a plunger shift or a large change in lever force. Do not repair a machine merely because the needle did not stay fixed at 9 bar.
3. Lever gets easier and espresso gushes: test the puck first
Flair’s low/no-pressure support is explicit: if there is no clear water leak at a seal, low pressure is related to coffee-bed resistance. Grind finer first; if the grinder cannot go finer, dose or a low-flow basket can become relevant.
If flow suddenly races as pressure falls, a channel or loss of puck resistance can mimic hardware failure. Keep dose/yield fixed and move finer. If resistance returns predictably without leakage, that A/B result supports the coffee branch. Use the Flair fast-shot guide or, when the same bag gradually changed, the same-grind/suddenly-faster guide.
4. Lever stays hard but the gauge falls: test the gauge path

Flair gives this exact split: if the lever clearly has pressure/resistance but the gauge does not register it, troubleshoot a potential gauge defect/path rather than grinding finer forever.
For a leaking/condensing gauge, Flair says to inspect the O-rings on the gauge and in the stem pocket for nicks, tears, debris and poor seating. Reinstall the gauge snugly; over-tightening can disturb the pocket O-ring. Use the gauge-specific guide when hand force and gauge disagree.
5. Water pops or sprays from the top: stop and inspect the seal
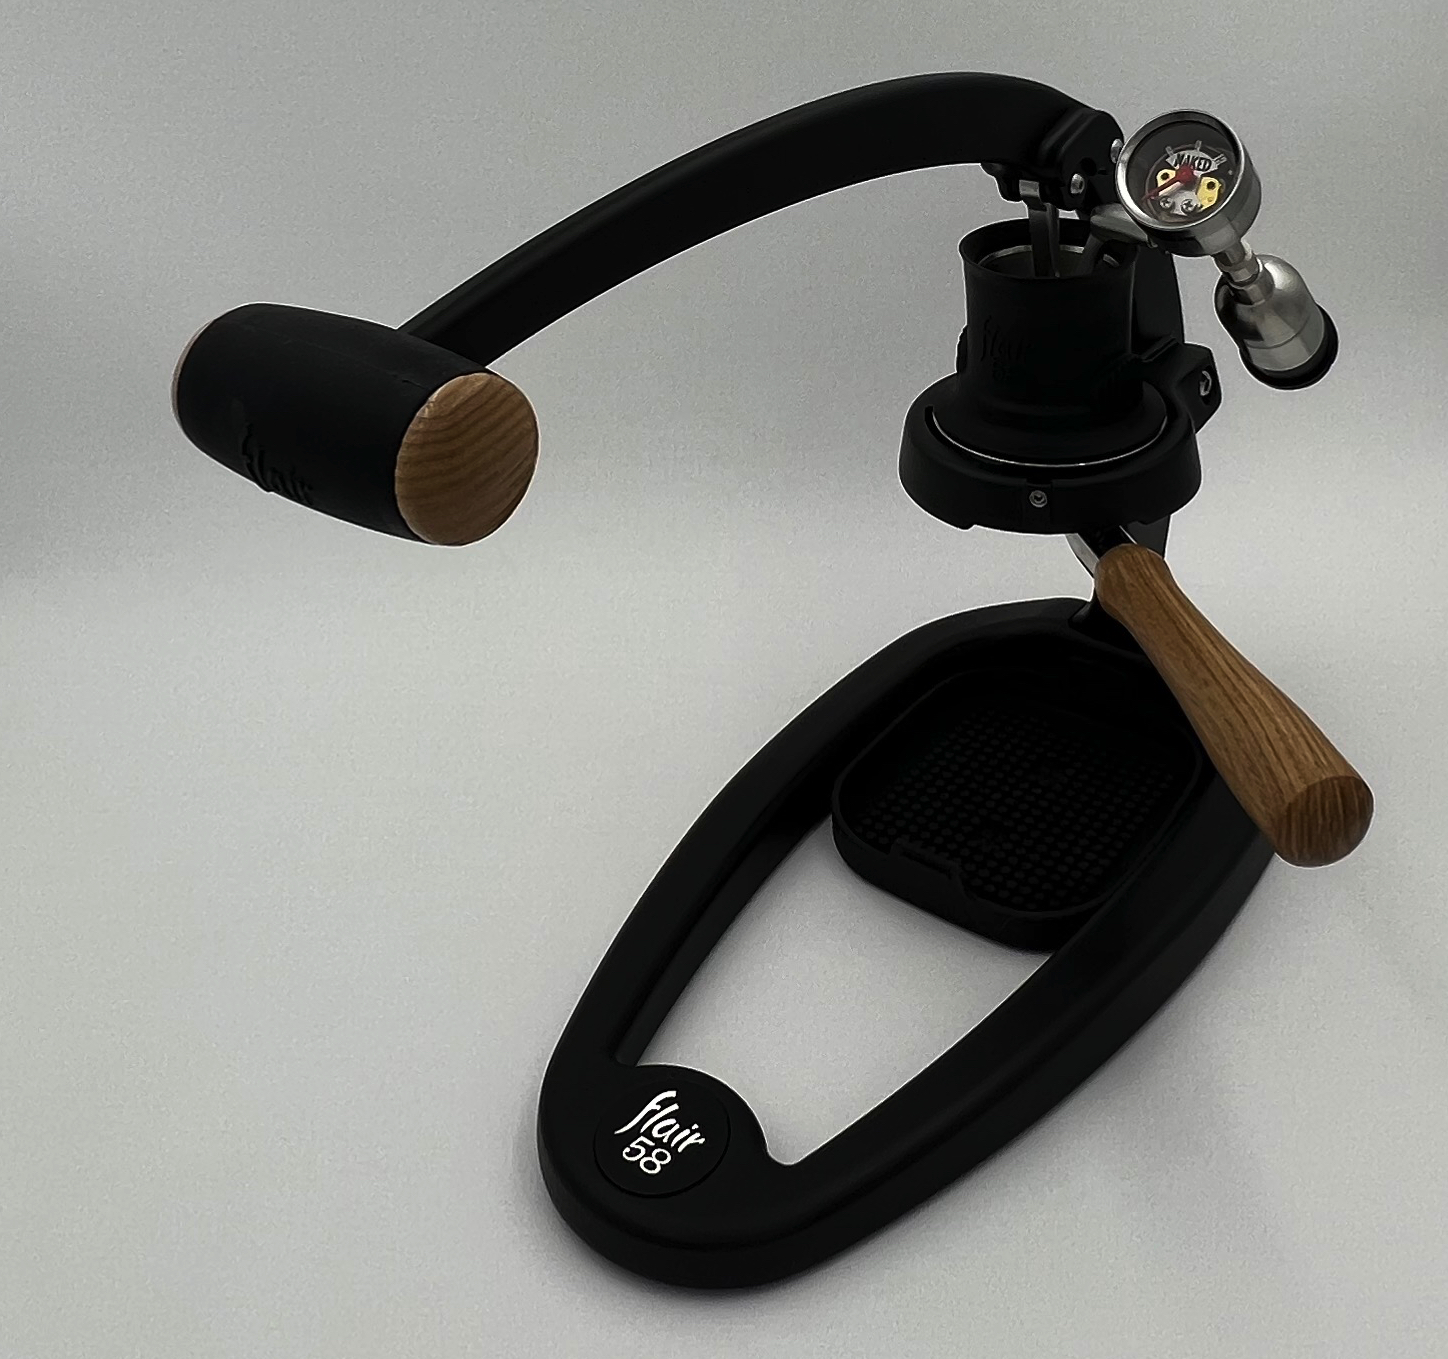
Visible water outside the intended brew path changes the diagnosis. A finer grind cannot repair a hydraulic leak. Stop, depressurize carefully, cool the machine and inspect the actual leaking interface.
A March 2025 owner reported top-side spray around 7–9 bar with a momentary pressure drop; the community focused on plunger/gauge O-ring sealing. That case demonstrates the symptom, but physical inspection still has to identify which seal is leaking.
Flair’s own cleaning guidance says to rinse/dry the plunger, apply only a light amount of food-safe oil to its O-rings and wipe away excess.
6. Plunger jumps or tilts: eliminate air and alignment first
Flair explicitly says the chamber should be completely filled before extraction. Trapped air can compress, change resistance and alter plunger travel. With the valve plunger, fill to the rim, raise the lever enough to unseat the valve, continue raising so water enters below, then top off with the lever fully raised.
Flair also says to use the Stem Guider for consistent travel when applicable. Its assembly instructions distinguish single-slot and double-slot plungers and note that the plunger can rotate over time and need reorientation.
7. Can an O-ring look fine but still cause abnormal plunger movement?
Yes, but this is owner evidence, not a universal Flair rule. In August 2026, a Flair 58 owner reported aggressive plunger repositioning despite cleaning/lubricating the rings. Replacing an O-ring that looked acceptable but had become stretched/soft produced a large improvement.
That supports replacement when repeatable symptoms remain after fill/alignment/maintenance checks. It does not justify replacing seals whenever the lever shifts slightly.
8. Lever reaches the bottom and pressure fades: check shot volume
Flair lists a 90 ml reservoir and up to roughly 55 ml beverage yield, varying with dose and coffee absorption. If you are pulling a large-ratio shot and the lever reaches the end of useful travel before target yield, late pressure loss can be a volume/travel limit rather than a leak.
A 2024 owner described a 16 g → 48 g turbo-style shot where flow/pressure fell as the lever bottomed out. Use Flair’s official capacity as the boundary; do not replace seals from that pattern alone.
9. Revision matters before you copy a plunger fix
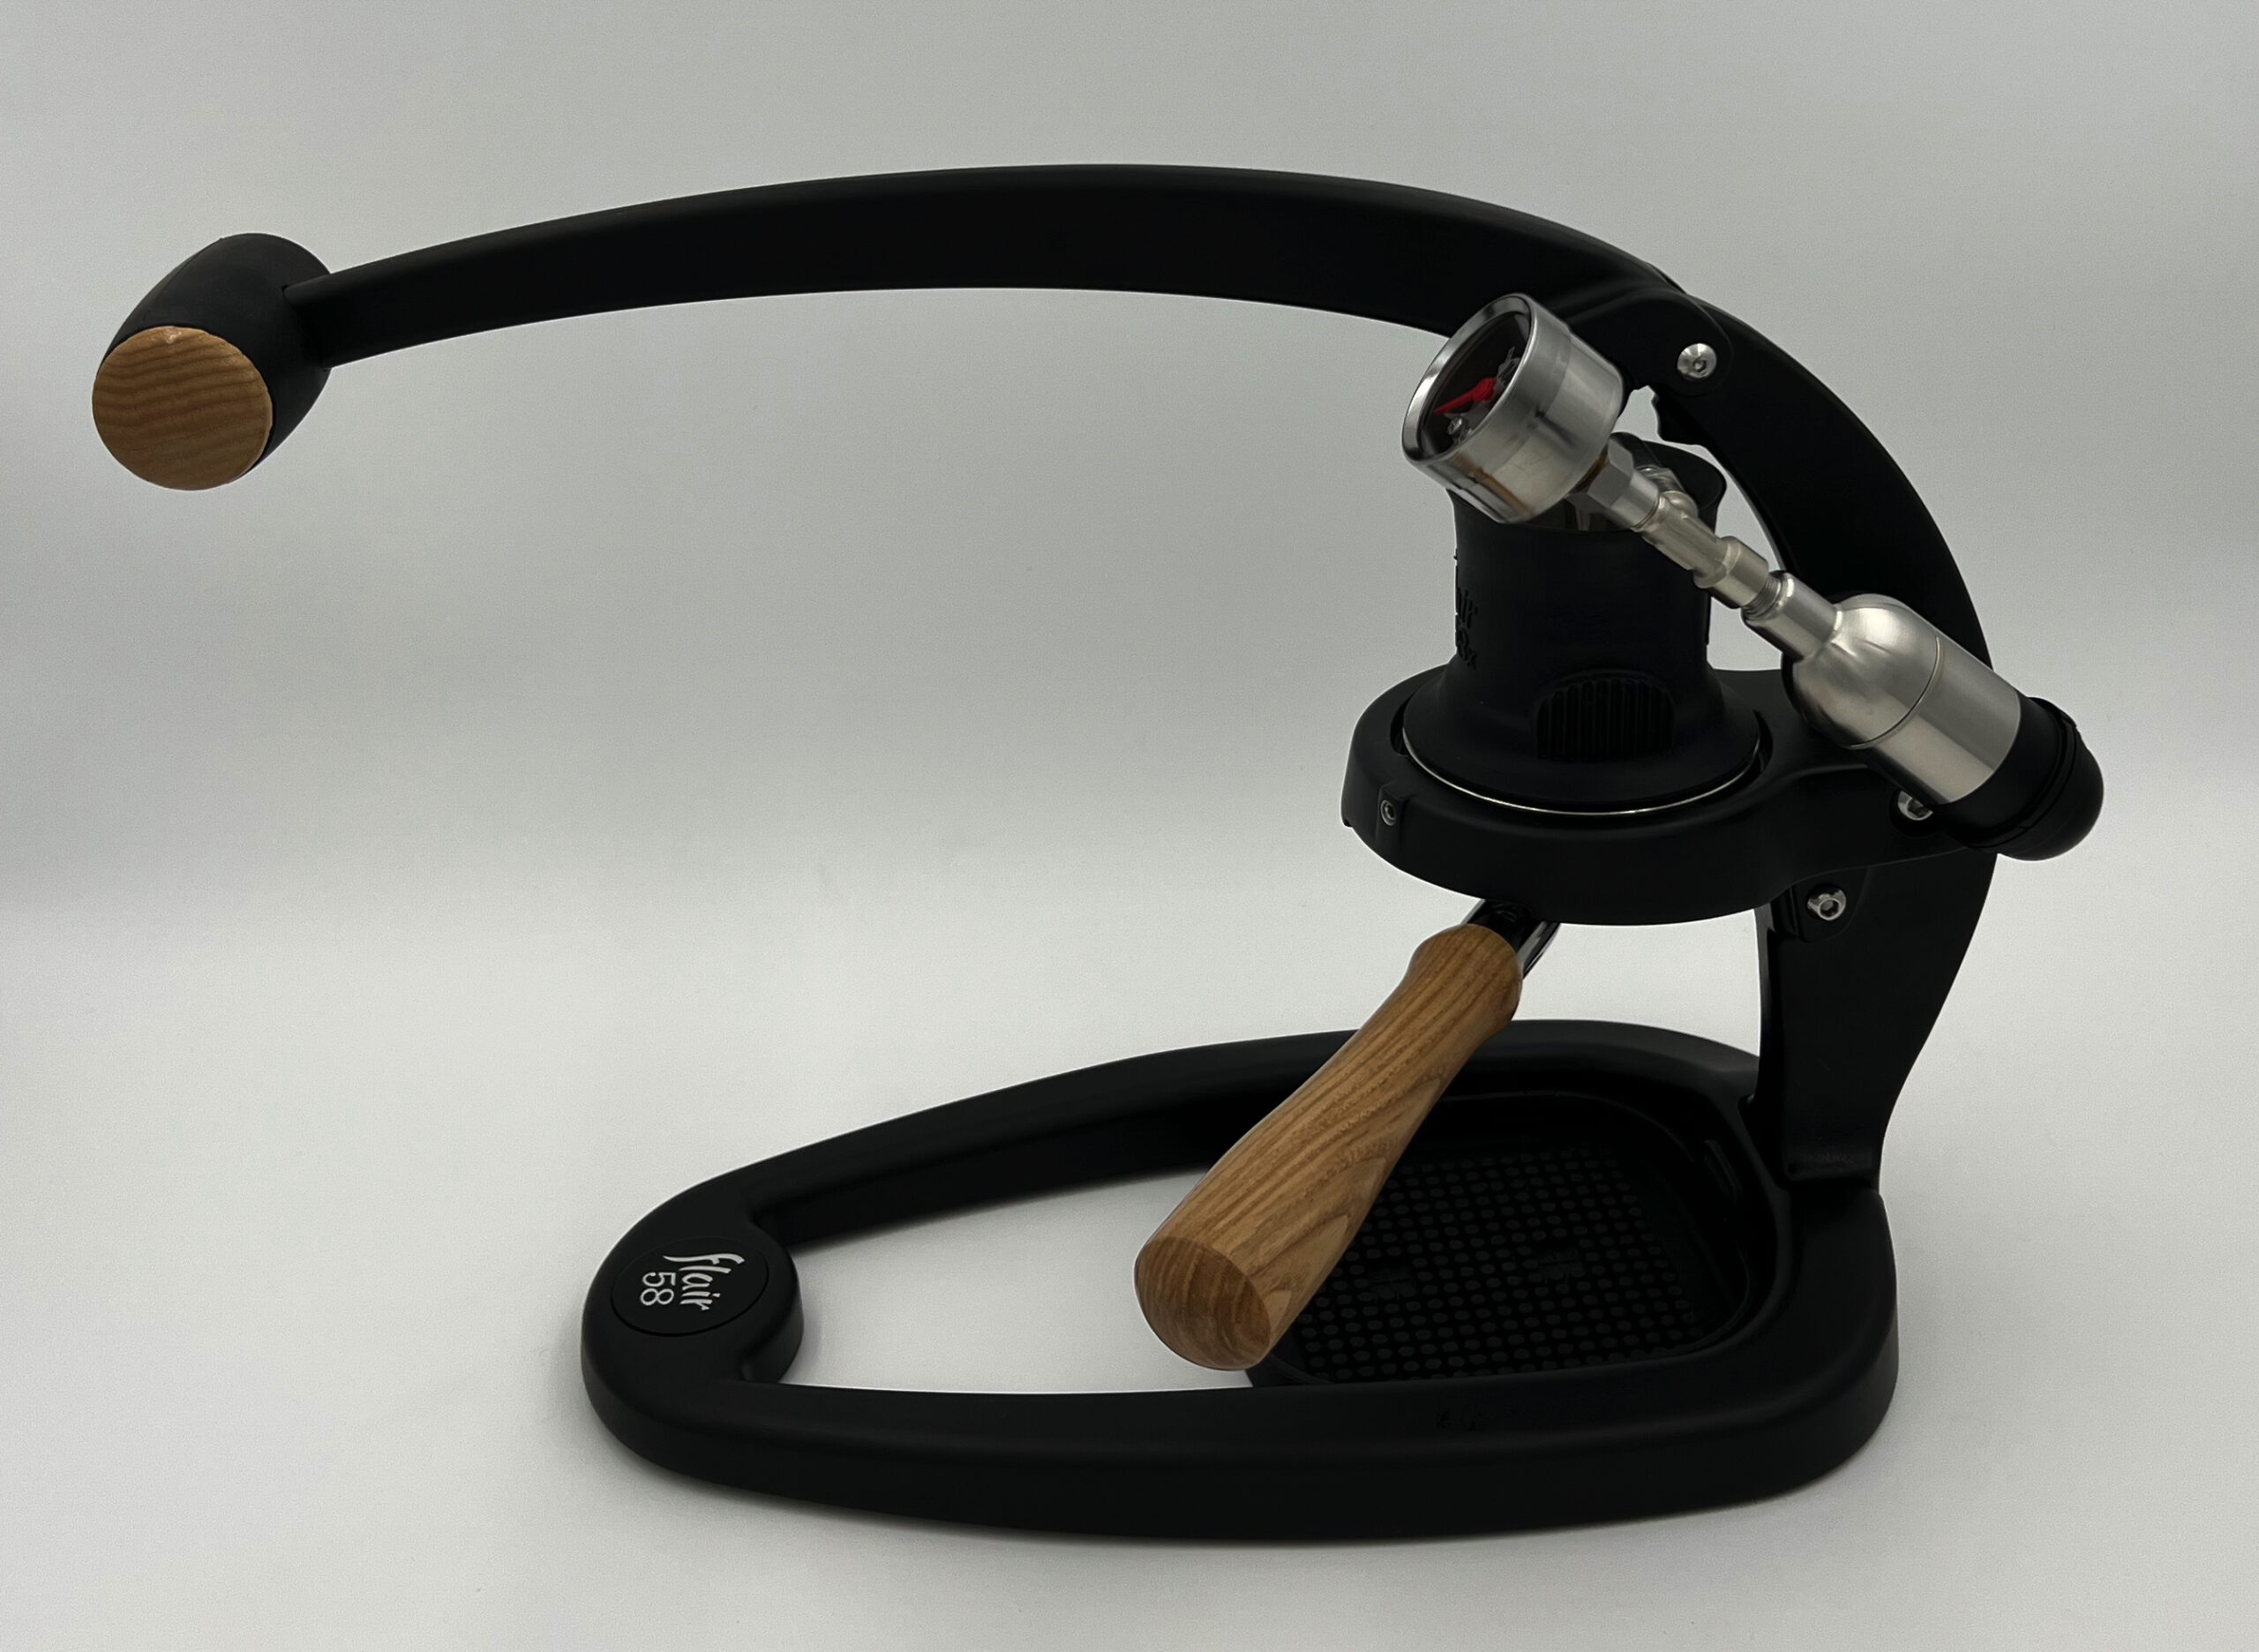
Flair splits official 58 tutorials into pre-May-2023 and post-May-2023 machines, while Plus 2 has separate current documentation. Double-slot and single-slot valve plungers use different stem engagement. Flair notes that the plunger can incrementally rotate with use.
Identify your hardware before copying an O-ring placement or “twist the plunger” fix. Use the official Flair 58 tutorial router.
10. Controlled test before buying seals, a gauge or a grinder
- Identify 58-family revision/plunger hardware.
- Inspect for visible leaks before brewing.
- Fill completely and top off to minimize air.
- Use one coffee, basket, dose and yield.
- Record lever force, gauge pressure and flow together.
- Easy lever + fast flow → grind/puck branch.
- Hard lever + dead gauge → gauge/stem branch.
- Plunger jump without leak → fill/guide/orientation/O-ring travel.
- Visible leak → stop and inspect that seal.
- Lever bottoms out on a large yield → compare recipe with volume/travel limit.
For general high/low pressure use the Flair pressure guide. Never force the lever into the gauge’s danger zone; Flair instructs users to stop and move coarser when resistance becomes excessive.

References
- Flair — 58 gauge / low-pressure diagnostic split
- Flair — filling the 58 with the valve plunger and avoiding air pockets
- Flair — plunger travel, lubrication and full-fill guidance
- Owner case — abnormal plunger repositioning improved after O-ring replacement, August 2026
- Owner case — top-side spray with momentary pressure drop, March 2025
Evidence boundary: Flair documentation establishes coffee-bed resistance, gauge troubleshooting, chamber filling, plunger maintenance and revision-aware assembly. Owner cases show real seal/plunger failure patterns but are not treated as universal diagnoses.