
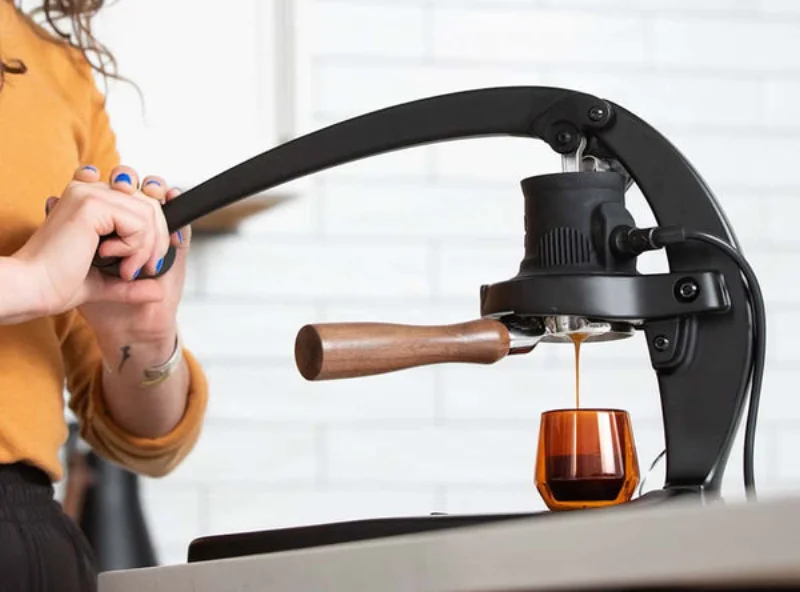
If coffee grounds keep collecting above the Flair 58 puck screen—or you forgot the screen and coffee reached the brew chamber—cleaning the visible mesh is only part of the job. Flair’s own guidance separates routine puck-screen rinsing from brew-head cleaning, and the electrically heated 58 should not be put under a faucet.
1. What does Flair officially say to clean after every shot?

Flair’s current support guidance says to remove the puck screen after brewing and rinse it under high-pressure water. The screen is not decorative: Flair says it helps distribute water and reduces coffee grounds being pulled back into the brew head.
That means a screen visibly packed with coffee fines should be cleaned before the next shot rather than allowed to dry repeatedly with oils trapped in the mesh. For deeper cleaning, Flair specifically mentions ultrasonic cleaning as an option for the puck screen.
2. What if you forgot the puck screen and grounds entered the brew head?
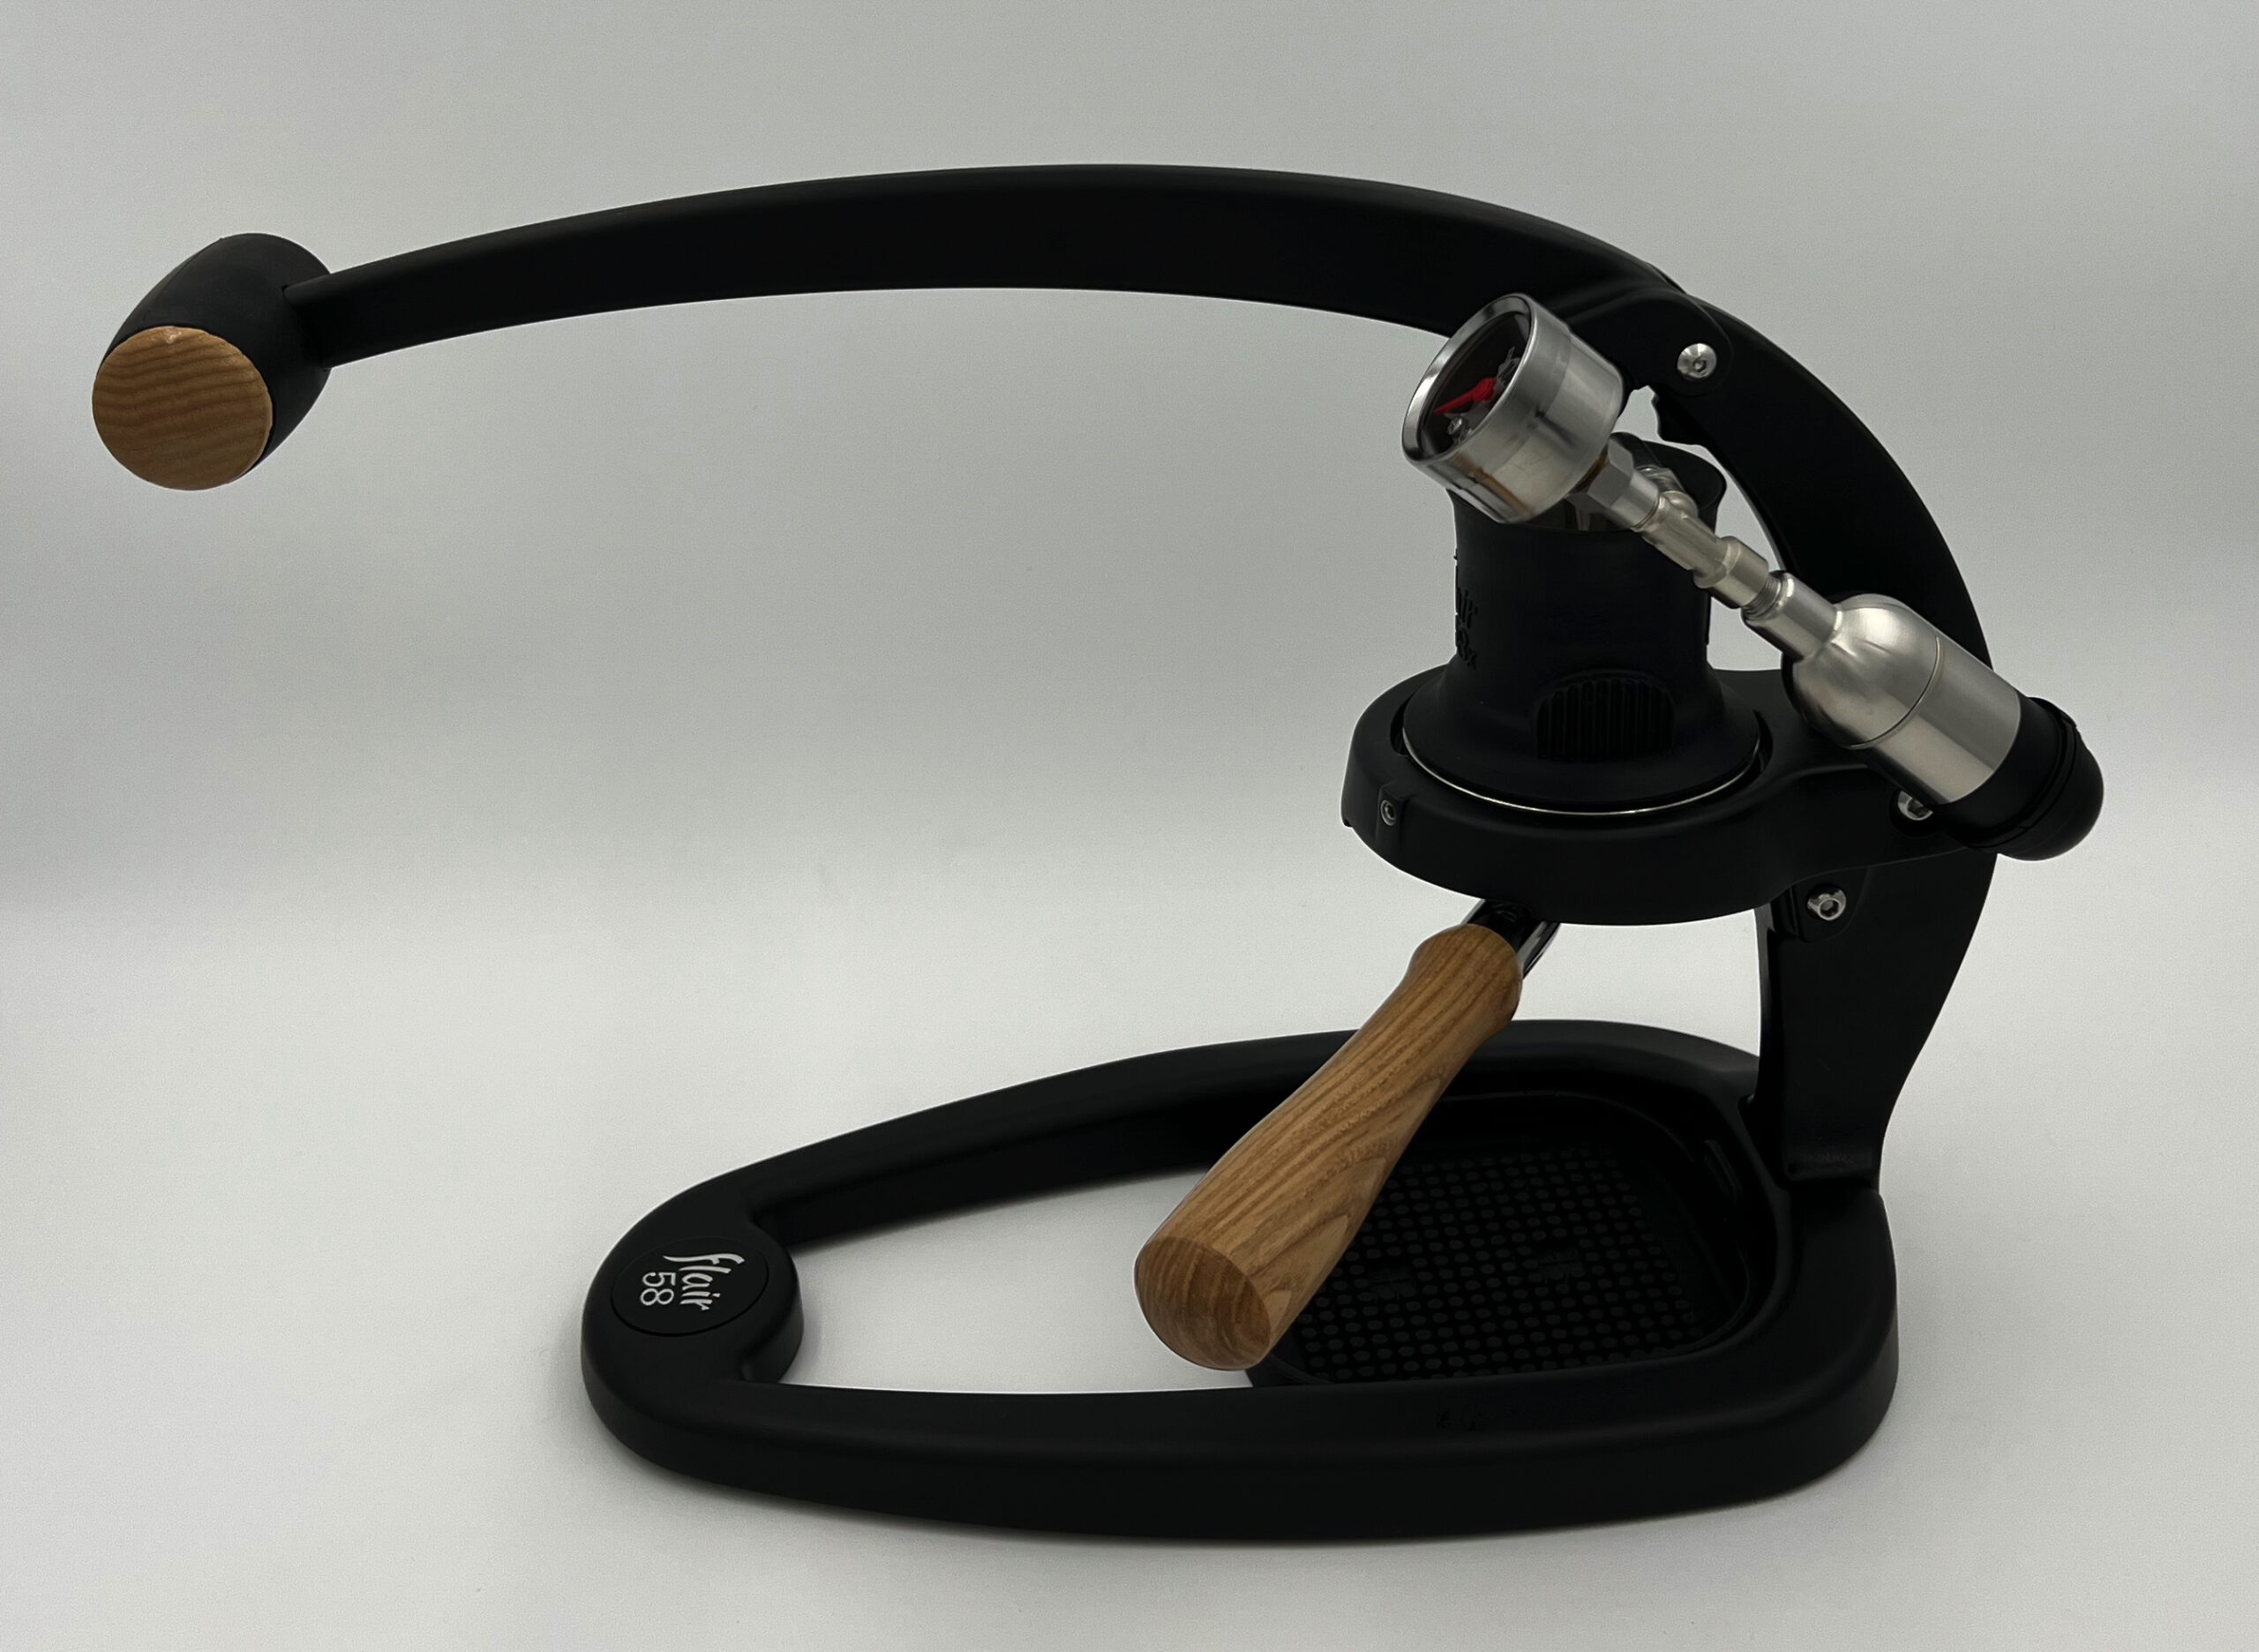
Do not panic, but do not keep brewing through loose grounds either. Remove the portafilter and puck, let the machine cool, and inspect the lower brew-head area and valve-plunger path for visible coffee residue. Clean only the components your exact Flair 58/58+/58+2 instructions allow you to remove or rinse.
Real owner reports show that forgetting the puck screen can allow grounds into the chamber. Those reports are useful for identifying the symptom, but the cleaning method still comes from Flair’s model-specific instructions rather than a forum teardown.
If the plunger movement, valve behavior or seal feel changes after contamination, stop treating the issue as cosmetic. Grounds around a sealing surface can create a different hydraulic problem.
| Observation | Next step |
|---|---|
| Only screen has fines/oils | Rinse/deep-clean screen |
| Loose grounds visible in chamber | Cool machine; clean accessible/removable components per manual |
| Seal/plunger movement feels abnormal | Inspect correct revision’s plunger/seal procedure |
| Pressure behavior changes after contamination | Move to pressure/seal diagnosis rather than repeated brewing |
3. Can you rinse the Flair 58 brew head under the faucet?
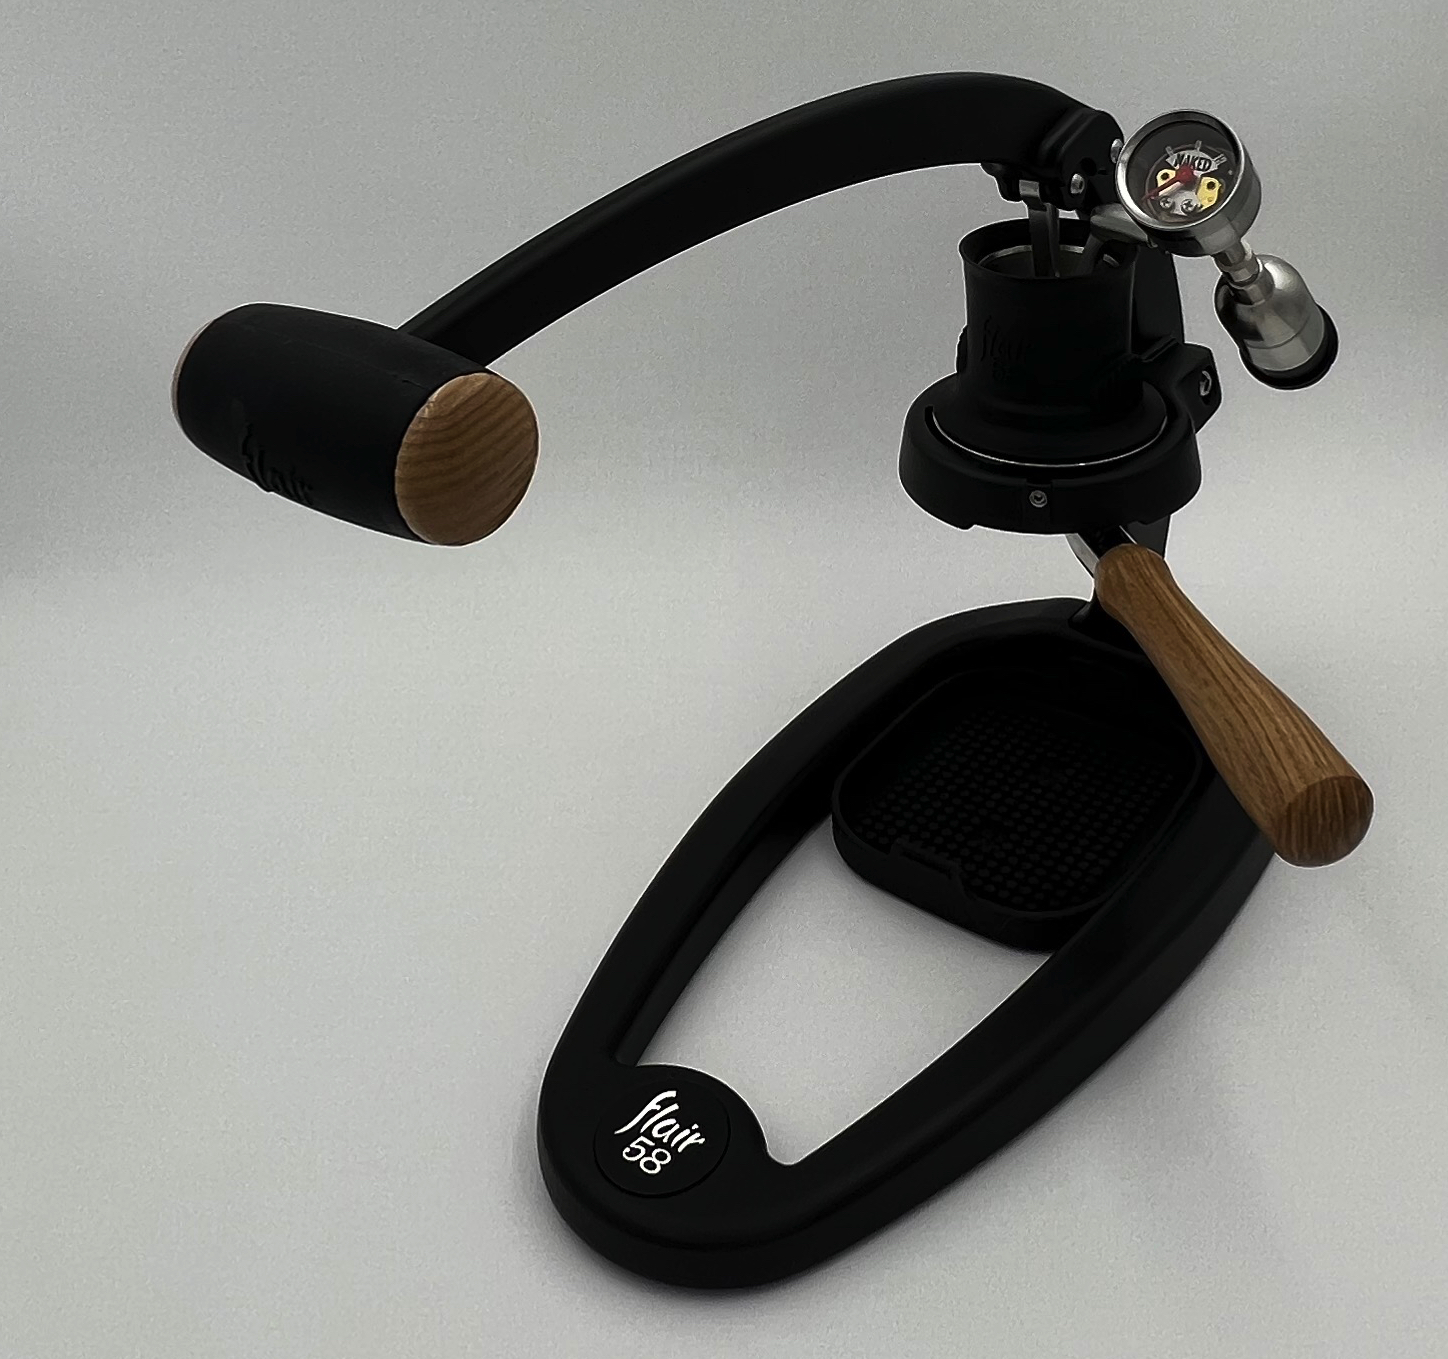
Not the electrically heated assembly as a whole. Flair’s cleaning guidance warns against placing the heated Flair 58 under running water because water can enter electrical components. This is a critical boundary between cleaning a removable puck screen and washing the machine itself.
Use a damp cloth for the frame/external surfaces and follow the current manual for removable brew-head/plunger parts. The exact 58 revision matters because Flair has changed plunger and preheat hardware across generations.
A 2026 owner case involving odd smell/taste after cleaning is a useful reminder that “more water” is not automatically “more clean” on an electrically heated lever machine. It is not proof of a specific electrical failure; it is a reason to follow Flair’s water-exposure boundary.
4. How do you deep-clean the puck screen without turning maintenance into a repair?

Start with the least invasive method: strong water rinse after every shot. When oils/fines remain embedded, use a deeper cleaning method compatible with stainless espresso parts; Flair specifically identifies ultrasonic cleaning for the screen. Rinse thoroughly before returning it to coffee contact.
Do not use the puck screen as an excuse to ignore dose/headspace. A screen occupies physical space above the puck. If the loaded portafilter becomes difficult to lock or the screen is being crushed into the shower area, lower the dose and repeat a dry-fit check.
Also separate cleaning from dialing. A freshly cleaned screen may restore flow that had been partially restricted by oils; if the shot then runs differently, re-dial rather than concluding the machine changed pressure by itself.
| Maintenance | Purpose | Frequency trigger |
|---|---|---|
| High-pressure water rinse | Remove loose grounds/fines | After each shot |
| Deep/ultrasonic screen clean | Remove embedded oils/fines | When rinse no longer clears mesh |
| Accessible chamber inspection | Find migrated grounds | After missing/misplacing screen |
| Seal/plunger inspection | Resolve abnormal movement/leak | Only when symptoms justify it |

5. What should a correct Flair 58 cleaning workflow look like?

- Finish the shot and remove the portafilter.
- Remove and rinse the puck screen immediately.
- Knock out the puck and rinse/clean the basket.
- Inspect for grounds where they should not be.
- Let the machine cool before deeper disassembly.
- Keep running water away from the heated/electrical assembly.
- Deep-clean the puck screen when ordinary rinsing no longer clears it.
- Reassemble according to the manual for your exact 58 revision.
- Run a controlled test shot and verify lever feel, pressure and flow are normal.
Flair’s official brewing video is useful here because it shows the intended 58/58x setup and brewing sequence rather than an improvised teardown:
If pressure is abnormal after cleaning, use the Flair 58 pressure diagnosis. If the gauge no longer responds despite strong lever resistance, use the gauge-not-moving guide. For the wider machine workflow, use the Flair 58 guide.
References
- Flair Espresso — How do I clean the Flair 58?
- Flair Espresso — Flair 58 puck screen
- Flair Espresso — Flair 58 Plus 2 manual
- Flair Espresso — 2023 Flair 58 & 58x Brewing Guide
- Owner case — cleaning/water exposure concern
Podcast status: SCRIPT_READY / AUDIO_PENDING. Audio is a non-blocking enhancement for this article.