
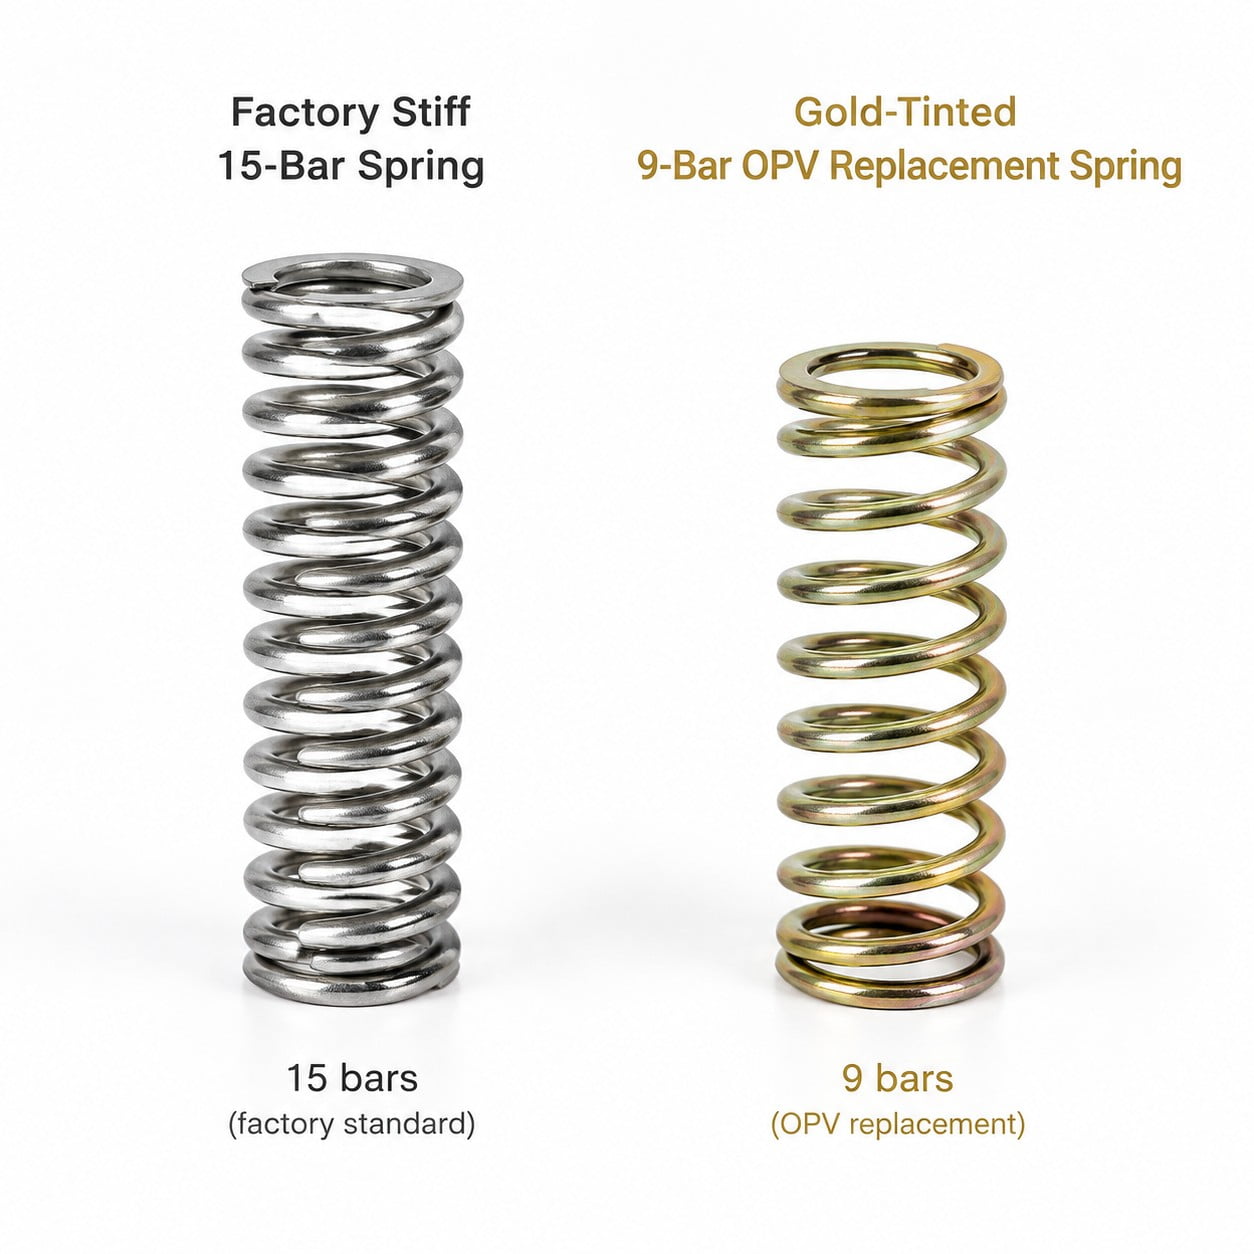
The Gaggia Classic Pro ships with a factory 15-bar over-pressure valve (OPV) spring designed for pressurized baskets and ESE pods. For commercial unpressurized baskets, 15 bar causes severe puck channeling, harsh bitterness, and muddy extractions. Swapping to a calibrated 9-bar OPV spring ($19) lowers peak brew pressure to the espresso standard in under 15 minutes.

Why 15-Bar Factory Pressure Ruins Fresh Espresso
Commercial espresso recipes are developed at 8 to 9 bar of dynamic pressure. When a vibration pump pushes 15 bar into a puck, the water compresses the bed so violently that water fractures fissures (channels) through the coffee. This causes simultaneous over-extraction (bitter tannins from the channel walls) and under-extraction (sour notes from unextracted dry spots). Installing the HBM Gaggia Classic Pro 9 Bar OPV Spring Kit ($19) releases excess pressure smoothly through the water tank return line.
| Step # | Action & Mechanical Tool | Crucial Precaution | Inspection Checkpoint |
|---|---|---|---|
| 1. Safety Prep | Unplug power cord; allow boiler to cool | Do not open while chassis is hot | Confirm power switch LED is off |
| 2. Top Cover Removal | Phillips screwdriver, 2 top screws | Lift cover carefully; watch ground wire | Rest cover gently to the side |
| 3. Locate OPV Valve | Follow clear silicone hose from pump | Identify brass valve near boiler side | Note hose routing to tank |
| 4. Hose Disconnection | Pull silicone hose off brass barb | Do not tear aged silicone tubing | Wipe any stray moisture with towel |
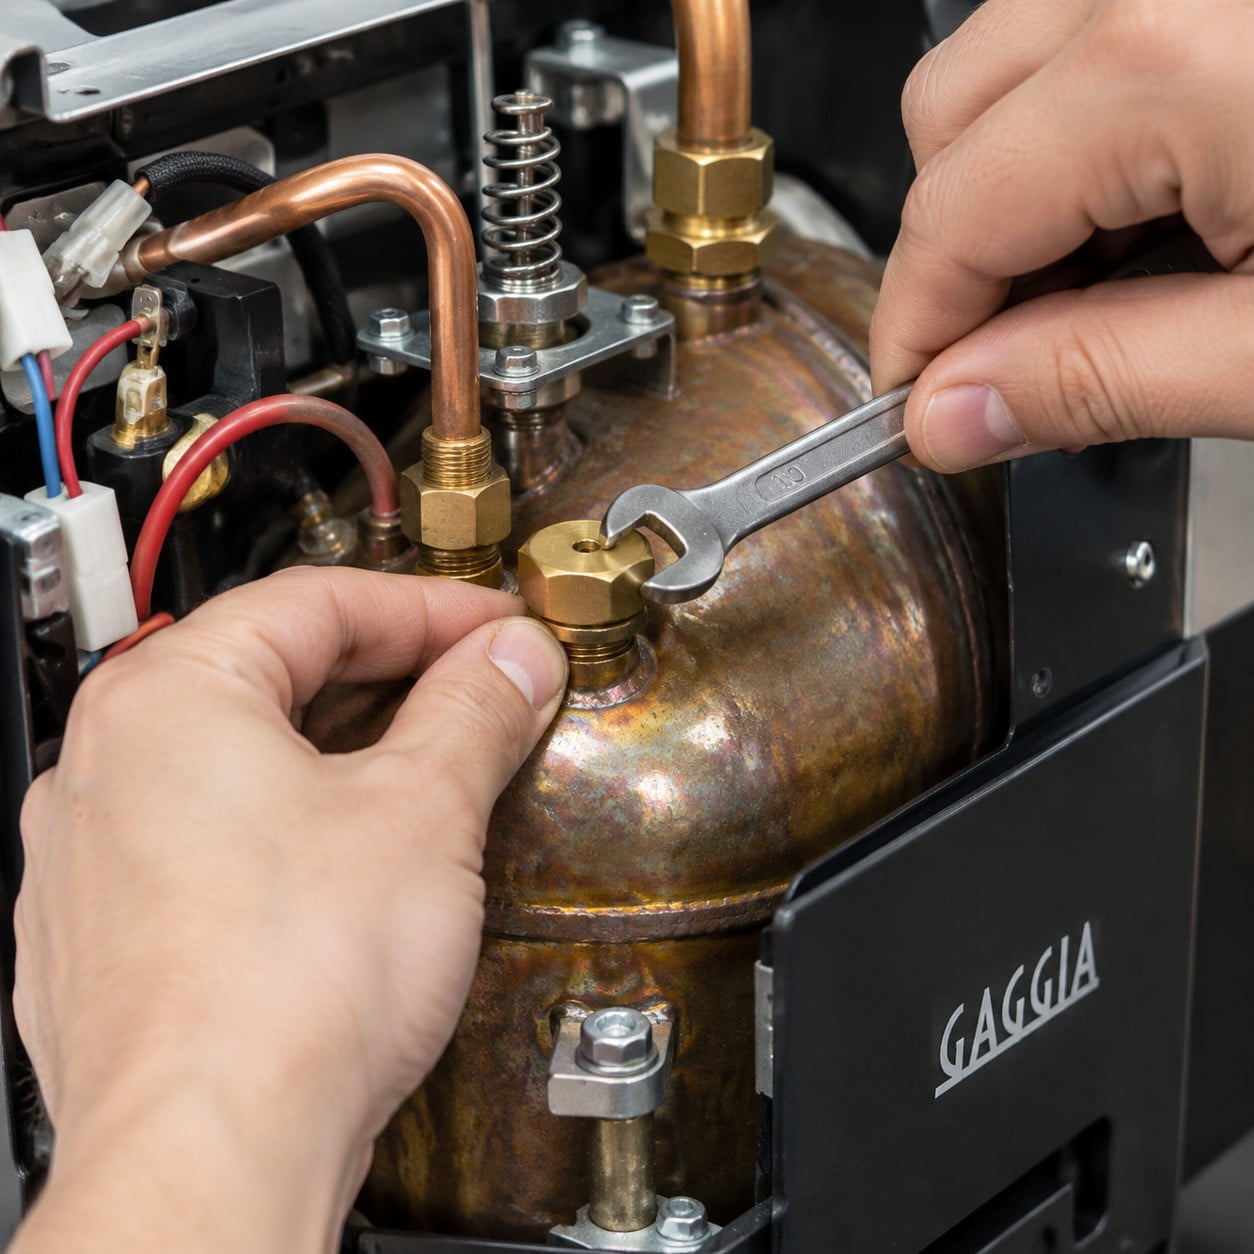
| 5. Remove Spring | 10 mm or 17 mm wrench to unscrew brass cap | Spring sits under compression; hold cap | Remove stock stiff 15-bar spring |
| 6. Install 9-Bar Spring | Insert 9-bar spring and thread brass cap | Thread by hand first; do not cross-thread | Snug gently with wrench; reattach hose |

Step-by-Step Replacement Instructions
Begin with the machine completely unplugged. Remove the two Phillips screws inside the water funnel on the top cover. Lift the stainless cover slightly, disconnect the ground wire if necessary, and peer inside. The OPV valve is the brass fitting situated near the pump output with a silicone hose clamped to its nipple. Pull off the silicone hose, use a 10 mm or 17 mm wrench to unscrew the brass nipple cap, withdraw the factory stiff spring, insert your new 9-bar spring, and reinstall the cap until snug. Reconnect the hose and replace the cover.
Dialing In Your Grind After 9-Bar Installation
After installing the 9-bar spring, your existing grind setting will flow faster because water is no longer compressing the bed under excessive 15-bar force. You will need to adjust your grinder 1 to 2 steps finer to re-establish a 25-to-30 second extraction time. If you also want stable temperature control, combine this upgrade with a Gaggia PID kit ($169).
Frequently Asked Questions
Does the 9-bar OPV spring mod void the Gaggia warranty?
The mod is Fully reversible. If warranty service is needed, you can reinstall the stock 15-bar spring in 10 minutes without leaving traces.
Does the older pre-2015 Gaggia Classic use this spring?
No. Pre-2015 Classics have an adjustable OPV with an internal 5 mm hex socket. The spring kit is for the Gaggia Classic Pro (2019+), Evo Pro, and E24.
How do I know if my Classic Pro already has a 9-bar spring?
North American Gaggia Classic Evo Pro (RI9380) and 2024 E24 editions shipped from select distributors already have a 9-bar spring installed from the factory.
Will the 9-bar spring reduce my steam power?
No. The OPV only regulates water pressure during brewing. Steam pressure is created by thermal expansion from the steam thermostat and is completely unaffected.
Why does water drain into my tank during brewing after this mod?
This is normal and correct operation. The 9-bar OPV diverts excess pressure and water back into the reservoir via the return hose.
Related products: Pressure control.