
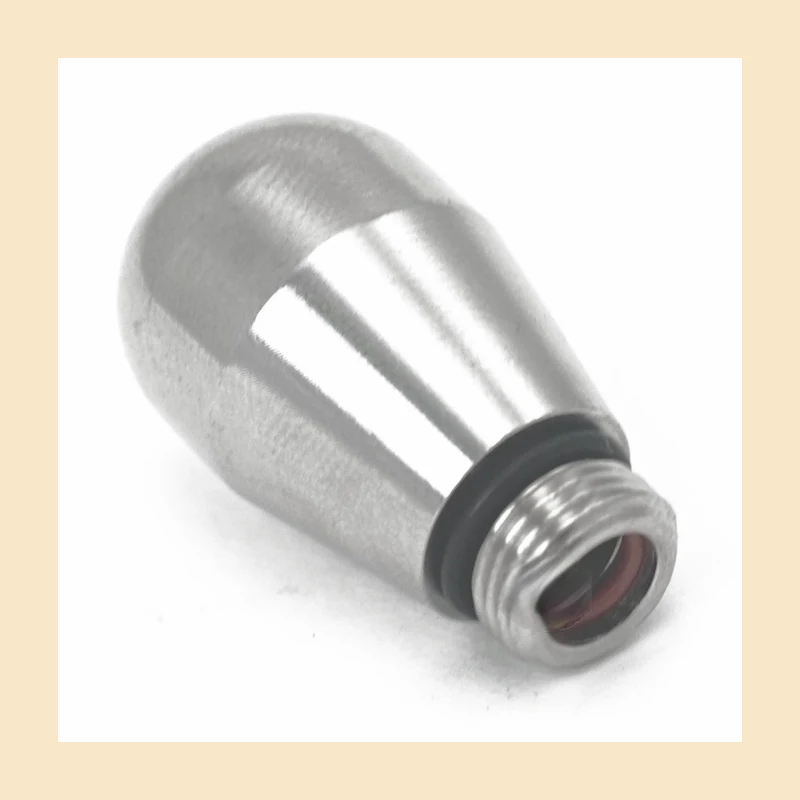
If water appears under a Lelit Anna PL41TEM or PL41EM, the puddle location alone does not identify the failed part. Water can originate outside the chassis, at the group seal, from the steam-valve path, from the OPV return hose, or from a pressurized boiler joint.
Revision warning: PL41 is not one universal parts layout. Lelit technical-support documentation distributed by 1st-line warns that there are four PL41 versions and parts can differ. Confirm the exact model, voltage and hardware before ordering a hose, gasket, valve or boiler part.
1. First prove whether the leak starts outside or inside the Anna
Dry the tank recess, drip tray, group area, case and counter. Refill and reseat the tank, then leave the machine off long enough to see whether water appears without pump pressure or heat.
If it leaks while off, start with the reservoir, tank hoses, spills and gravity-fed connections. If it remains dry until brewing, the pressurized path moves up the list. If water visibly starts at the group/portafilter, stay outside the chassis until that branch is resolved.
2. Use the operating condition to narrow the leak
| When the leak appears | First branch to investigate |
|---|---|
| Machine off | Tank, hoses in tank, external spill/gravity-fed path |
| Only as pump/pressure rises | OPV return connection, pressure fittings, boiler joint |
| Only around portafilter during brewing | Group gasket, basket rim, lock/fit |
| Only with steam/hot-water valve | Steam tip, valve stem, valve-to-wand connection |
| After transport | Loose/dislodged hose becomes especially relevant |
| After boiler/service work | Connections and seals disturbed by that work |
A January 2026 PL41TEM owner reported an internal leak that began as pressure built and traced it to the upper-boiler/body contact area. That is a different pattern from a tank leak that develops while the machine is idle.
3. Check the OPV return hose before assuming the boiler is cracked
1st-line’s PL41 leaking guide says the hose on the OPV “T” can come off in transport; their documented remedy is to reconnect that friction-held hose. A December 2025 PL41TEM owner with water under the machine later confirmed that the return tube from the over-pressure valve had come off and reconnecting it solved the leak.
That does not mean every pressure-dependent leak is the OPV hose. It means this connection deserves an early visual check—with the machine unplugged and cool—before you buy a boiler. If the leak began immediately after shipping, moving the machine or internal work, this branch becomes more relevant.
4. What if the leak starts at the boiler joint only when pressure builds?
Now a boiler seal/joint becomes more plausible. The PL41TEM parts diagram identifies the upper boiler body (including MC061 in the referenced diagram) and surrounding boiler/group components. A January 2026 owner posted a video showing water emerging from the upper-boiler contact surface as pressure rose; the discussion focused on the boiler gasket/sealing interface.
A second Anna/Anita owner case was updated in March 2026 after teardown: the owner reported a cracked boiler gasket after thousands of shots and replaced the boiler seals. These cases support boiler-gasket failure as a real pattern, but only after the leak is traced to that joint.
5. Could the portafilter/group gasket make water appear under the machine?
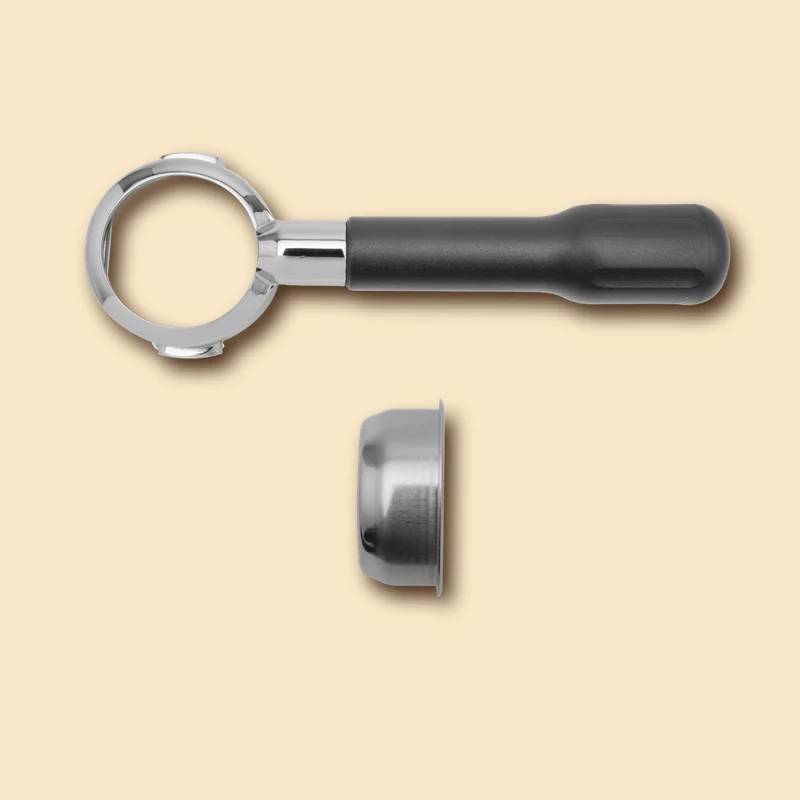
Yes. Water escaping around the basket during a pressurized shot can run down the front or side and end up beneath the chassis. Watch the group while brewing before deciding the leak starts internally.
A February 2025 PL41TEM owner reported no leak with simple water flow but leakage around the portafilter under coffee pressure. Community responses focused on the group gasket and correct portafilter seating. Another 2024 PL41TEM case began after shower-screen cleaning; coffee debris behind the gasket and gasket position became important evidence.
If the leak is clearly around the portafilter rather than inside the case, clean/inspect the group seal and confirm basket/portafilter fit before opening the machine.

6. What if the steam wand or steam valve is the real source?
Separate a few drops from the steam tip from an internal steam-valve leak. The PL41 leaking documentation identifies three steam-path leak locations: the steam-tip hole, the valve connection to the knob stem, and the valve-to-wand connection. It also warns that parts differ across PL41 versions.
A leak at the internal valve/stem can travel down the chassis and look like a bottom leak. If water appears only when the steam/hot-water valve is used, inspect that branch rather than the brew-pressure path.
For weak/no steam rather than chassis leakage, use the Anna steam diagnosis. Do not use a steam-tip drip as proof of a boiler leak.
7. What if the leak started after maintenance, descaling or a steam-wand change?
Treat recent work as evidence about what may have been disturbed. A June 2026 Anna owner developed a no-group-flow problem immediately after replacing the steam wand and lifting the boiler. That case was about flow rather than leakage, but it illustrates why recent physical work should change the order of inspection.
Check the connections, hoses and seals that were actually moved before expanding to unrelated parts. If the machine is still under warranty, document the leak and contact the seller/support before major disassembly.
Do not repeatedly descale an unidentified internal leak. Descaling is appropriate for specific maintenance/valve conditions, not a universal repair for water escaping from a mechanical joint.
8. A safe Anna leak-isolation workflow
- Record exact model, voltage and approximate revision.
- Dry the tank recess, tray, group, case and counter.
- With the machine off, reseat/fill the tank and check for gravity-side leakage.
- Operate normally with panels closed and note whether heat alone starts the leak.
- Run a short brew/group test and note whether leakage follows pump pressure.
- Separately test steam/hot water and note whether the source changes.
- Switch off, unplug and allow hot/pressurized parts to cool.
- If competent to remove the cover, inspect for the newest wet/mineral trail at the OPV return, boiler joint, steam valve and other documented connections.
- Match the location to the correct PL41 parts diagram before ordering anything.
- If confirming the source requires live electrical testing or watching an open wet machine under pressure, stop and use qualified service.

9. What should you record before ordering parts?
| Record | Why it matters |
|---|---|
| Exact PL41 model / voltage | Parts differ across versions |
| Leaks while off? | Separates tank/gravity from pressure-dependent paths |
| Leaks only as pressure rises? | Raises OPV/fitting/boiler-joint branches |
| Visible group leak? | Keeps diagnosis outside the chassis |
| Steam-only leak? | Raises steam valve/stem/wand branch |
| Recent transport or repair? | Raises dislodged/disturbed connections |
| Exact wet/mineral trail | Identifies source better than final puddle location |
If the leak also changes brew pressure, use the Anna pressure/blind-basket guide after the physical leak is controlled. Do not compensate for an active leak by changing the OPV.
References
- LELIT — Anna PL41TEM user instructions
- PL41TEM Anna manufacturer-supplied parts diagram hosted by 1st-line
- 1st-line — PL41 Anna leaking issues and version warning
- Owner case — pressure-dependent upper-boiler leak, January 2026
- Owner case — OPV return hose found disconnected, December 2025
Evidence boundary: the manual and manufacturer-supplied parts documentation establish the machine layout and model/revision boundaries. Repair-site guidance and owner cases identify real leak patterns; they are not treated as proof that every Anna leak has the same failed part.