
Water underneath a Gaggia Classic Pro, Evo Pro or E24 does not automatically mean a cracked boiler. The same puddle can come from the tank area, a pressurized silicone hose or clamp, the steam-faucet seals, the boiler/group joint, or water that started outside the chassis and simply ran underneath it.
Model boundary: this guide is primarily for Classic 2019/Classic Pro, Classic Evo Pro and E24-family machines. Older Classics use different parts diagrams. Record the model code, voltage and market before ordering seals or tubing.
1. Is the leak really coming from inside the machine?
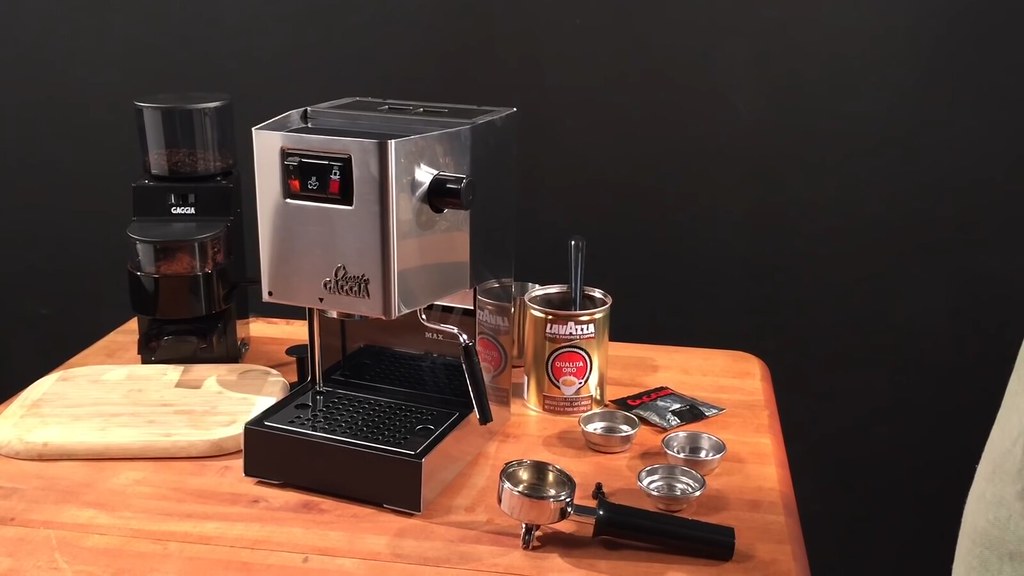
Whole Latte Love’s current Classic Pro leak troubleshooting separates water around the group/portafilter from water originating inside the chassis. A group leak can run down the case and emerge underneath, making the final puddle location misleading.
Dry the exterior, tank recess, drip tray and counter. If water visibly escapes around the locked portafilter during brewing, stay in the group-gasket/basket-fit branch. If the exterior remains dry and water later emerges from the base or rear, an internal or tank-side source becomes more plausible.
2. Why does the exact Classic generation matter?
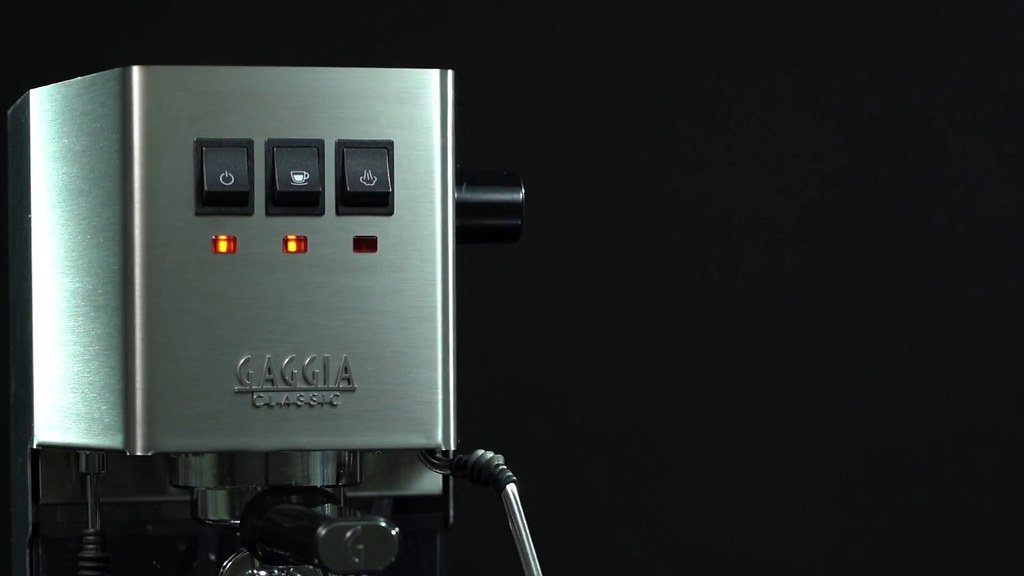
Gaggia North America publishes separate documentation for the older Classic and the Pro/Evo/E24 family. The official 2023 service manual covers Classic 2019 and Evo Pro across multiple voltages and shows that the hydraulic layout changed across production periods. The current Evo/E24 parts diagram also lists model- and region-dependent pump, safety-valve and boiler components.
So an old forum photo showing one OPV, hose or boiler connection is not a universal map. Start with the label on your own machine and the official Gaggia Pro/Evo/E24 manual hub.
3. Use leak timing to choose the branch
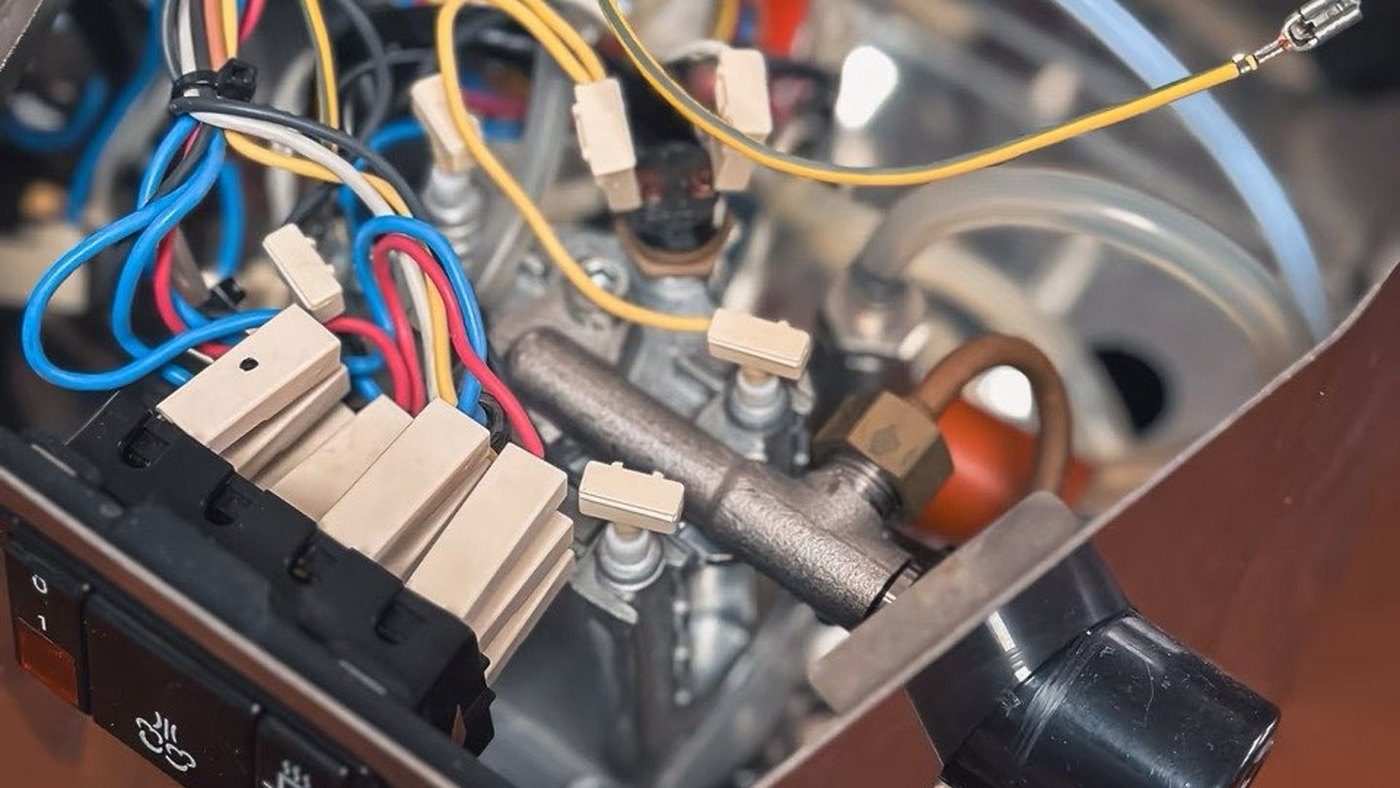
You can narrow the fault without running an open mains-powered machine. Begin completely dry and perform normal closed-case tests one at a time.
| When water appears | Move up the list |
|---|---|
| While machine is off | Tank seating/valve, spill, gravity-fed tank-side leak |
| Only while pump runs | Pressurized tube/clamp, inlet fitting, boiler/group joint, valve connection |
| During heat-up with pump off | Heat-dependent seal/joint, steam-faucet/boiler connection |
| Only when steam knob opens | Steam faucet and steam path |
| Around portafilter during shot | Group seal, basket rim, dose/fit |
| Immediately after internal work | The exact connection that was disturbed |
After each short test, switch off, unplug and let the machine cool before opening the top. Look for the newest wet area, mineral trail or rust path. If confirmation requires watching a live open machine, stop and use qualified service. Gaggia’s service manual says repairs should be performed by people trained to work with electrical devices, and its documented hydraulic circuit can reach roughly 11 bar.
4. Can the orange/braided boiler hose or its clamp leak?
Yes. The official parts diagram lists silicone tubing, Oetiker clamps, the inlet connector and sealing O-rings in this pressure path. Multiple Classic Pro owners have traced internal leaks to the orange/braided hose connection rather than the boiler body.
A January 2025 owner found a leak at the lower orange brew-hose connection while the circuit was under pressure. Earlier cases found a damaged or poorly seated hose near the boiler/inlet connection, sometimes after OPV or other internal work. This is cross-validated evidence that the connection can fail, not proof that every puddle comes from that hose.
If the leak began after an OPV spring, PID, boiler or hose job, inspect the connections that job physically touched once the machine is unplugged and cool. Do not improvise a pressure-path repair with an arbitrary cable tie: Gaggia’s service manual specifically includes fitting/removing Oetiker clamps as a service procedure.
5. Could the steam valve leak inside the chassis?
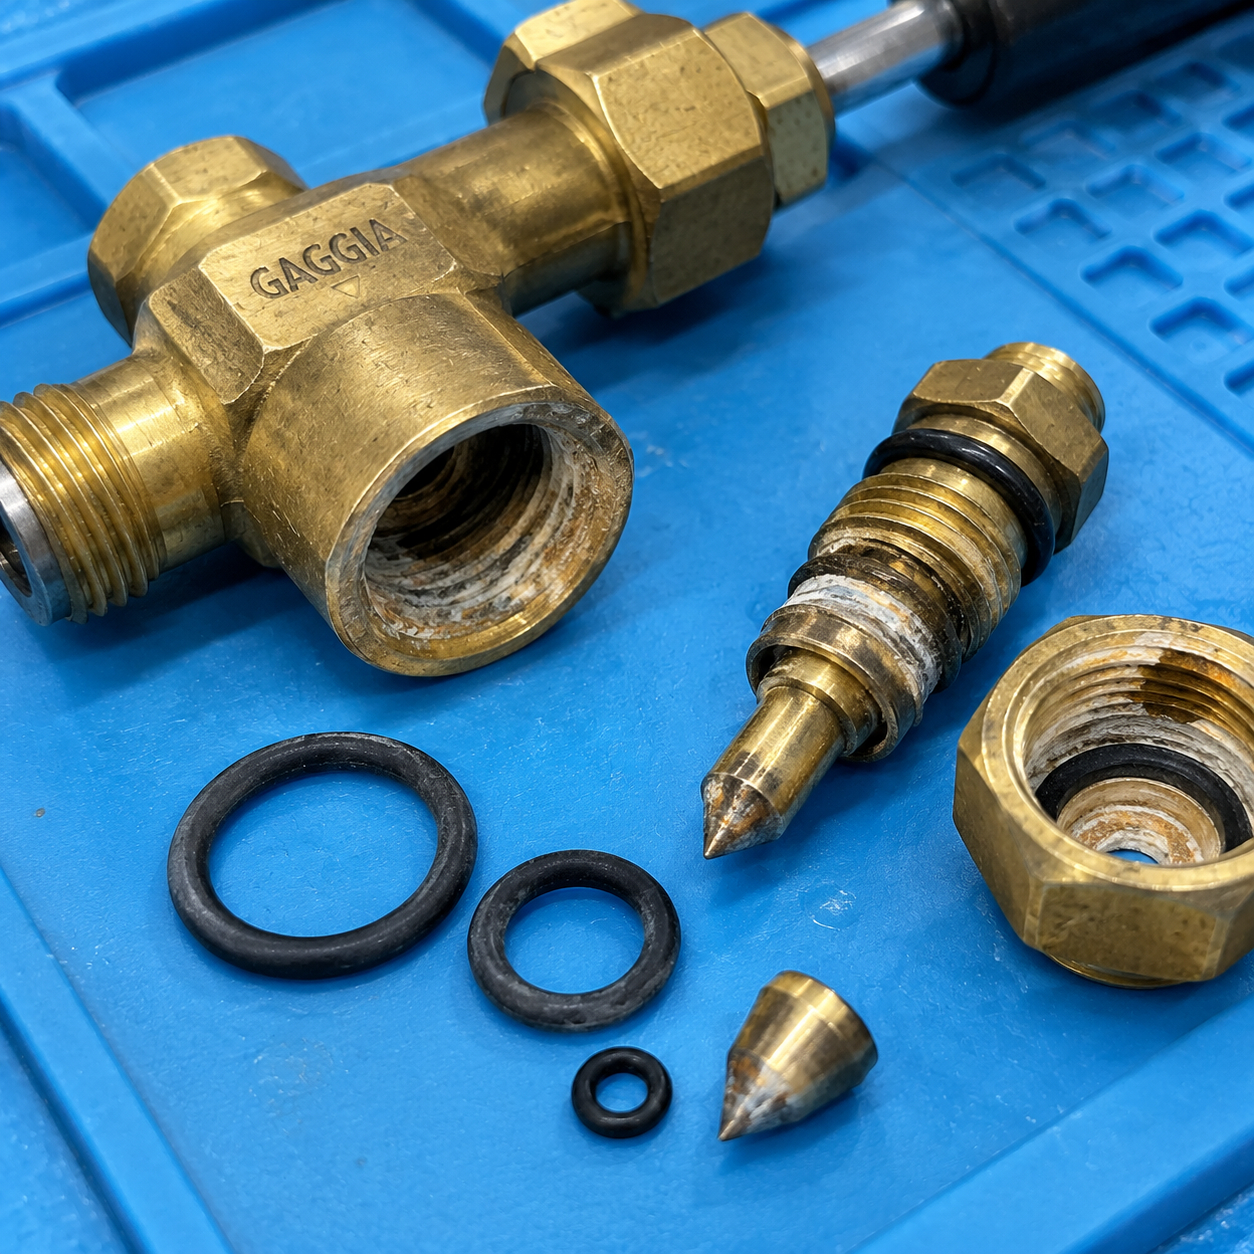
Yes. Separate a drip from the tip of a closed wand from water escaping around the steam-faucet assembly inside the machine. The second can run down the boiler/frame and emerge underneath.
Gaggia’s Evo/E24 diagram includes the brass steam-faucet assembly and sealing O-rings. In an April 2026 first-person case, a Classic Pro owner showed water escaping around that assembly during brewing; another owner with the same symptom reported that replacing the relevant O-ring fixed it. That repair outcome supports the branch, but it does not make every wand drip an O-ring diagnosis.
If the source is visibly the steam valve, continue with the steam-valve rebuild vs replacement guide. If the only symptom is a slow drip from the wand tip, use the steam-wand drip guide.
6. What about the boiler-to-group seal?
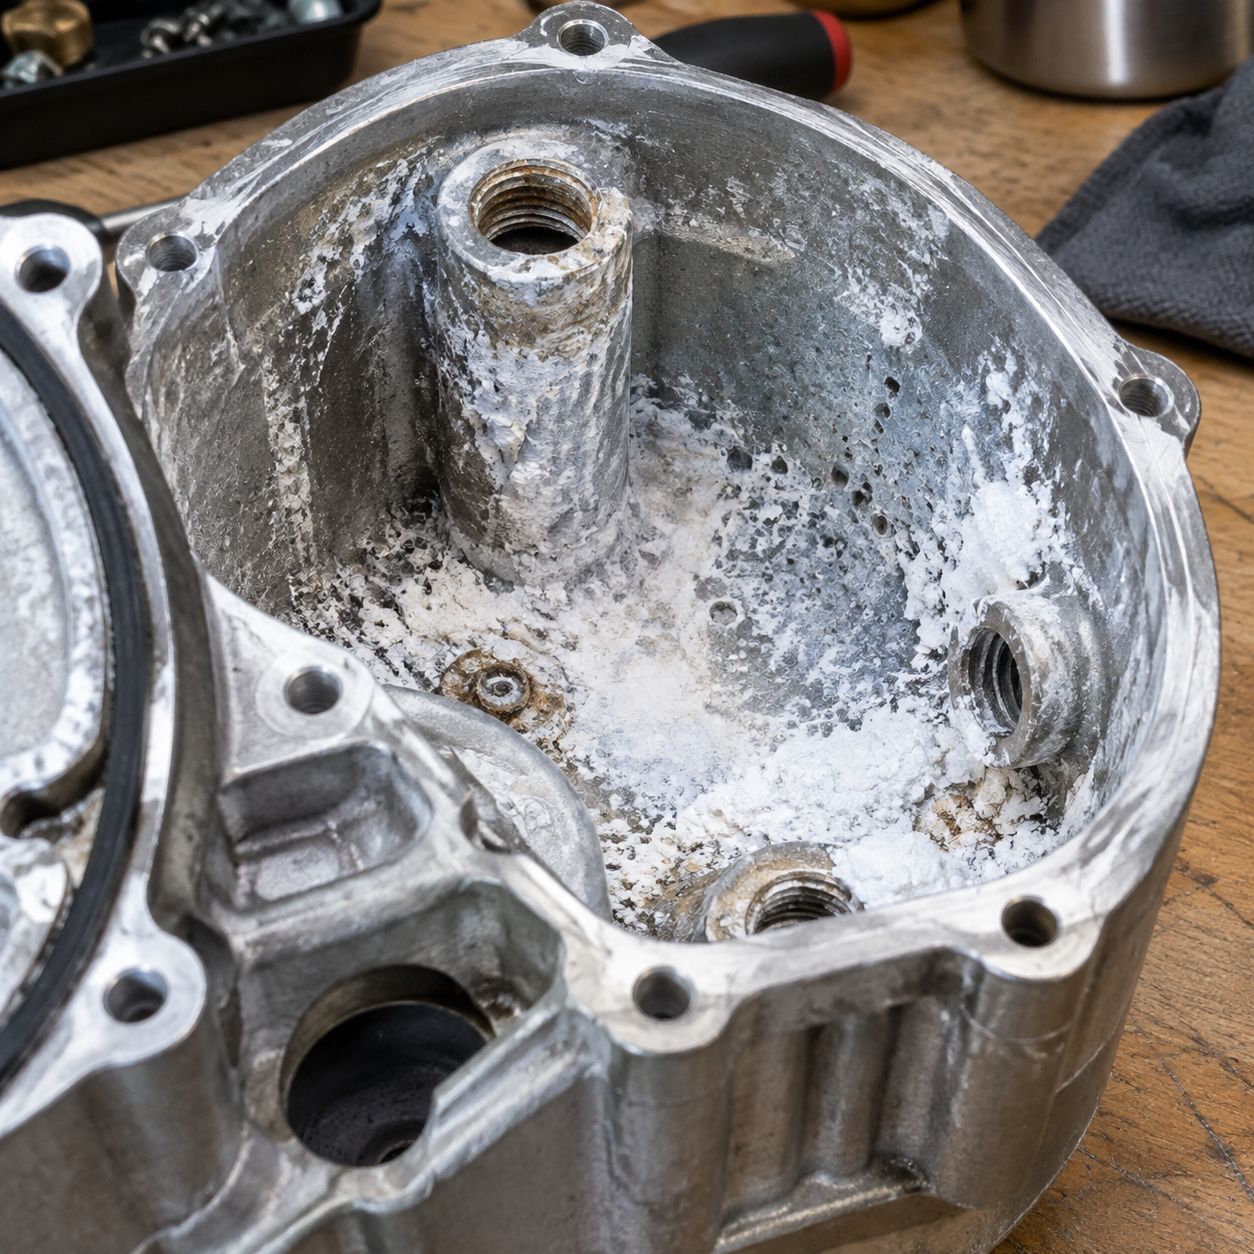
The boiler/group interface is another real sealing point. Gaggia’s exploded diagram lists the boiler assembly, group body and EPDM sealing O-rings. If this interface leaks, water or mineral residue can appear around the joint and travel downward.
A May 2026 Evo owner opened a leaking machine and found a missing seal at the boiler connection. The discussion then disagreed about the exact O-ring count—an excellent reason not to order parts from a comment. Match the official diagram to the exact model and position.
A wet joint also does not prove the boiler itself is cracked. If the boiler body is intact and the failure is at a documented sealing interface, replacing the entire boiler may be unnecessary.
7. When is a damaged boiler actually plausible?
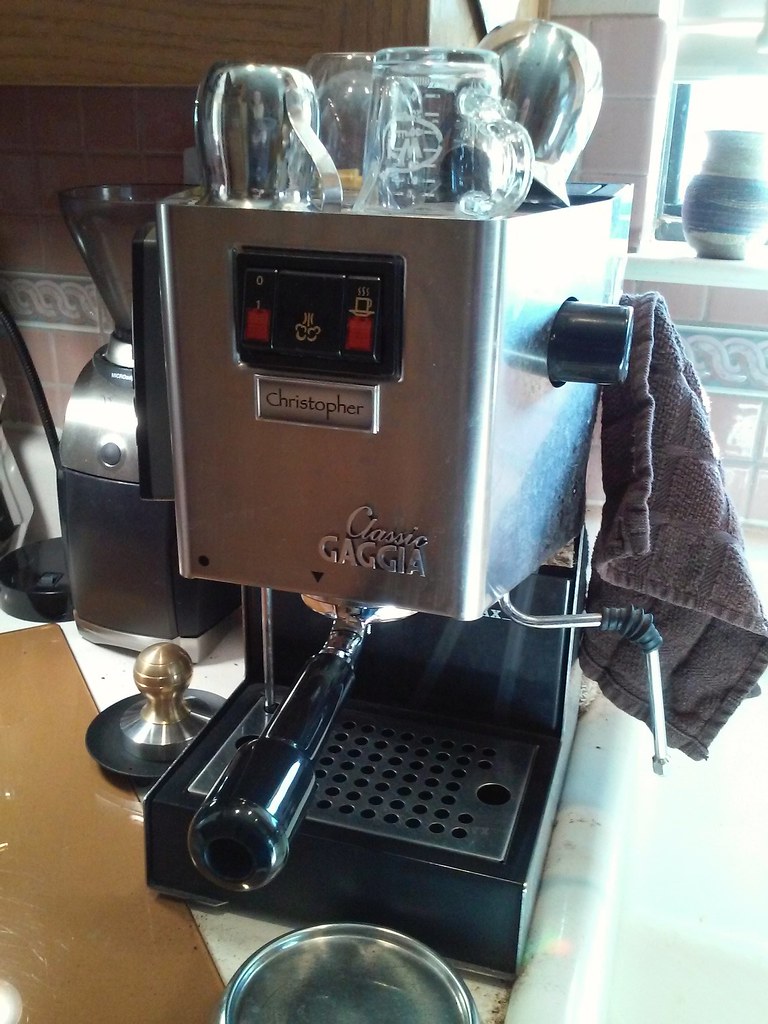
A damaged boiler moves up the list when the leak is traced to the boiler body itself, there is visible cracking/pitting at the source, or there is a credible mechanism such as freeze or service damage. It should not be the default answer to an unidentified puddle.
Generation matters here too. Gaggia’s current Evo/E24 parts diagram lists different boiler assemblies depending on model/region. Confirm what your machine actually has before following an older aluminum-boiler repair thread.
For corrosion evidence use the boiler-corrosion guide; if replacement is genuinely indicated, use the boiler replacement guide.
8. A safe leak-isolation sequence
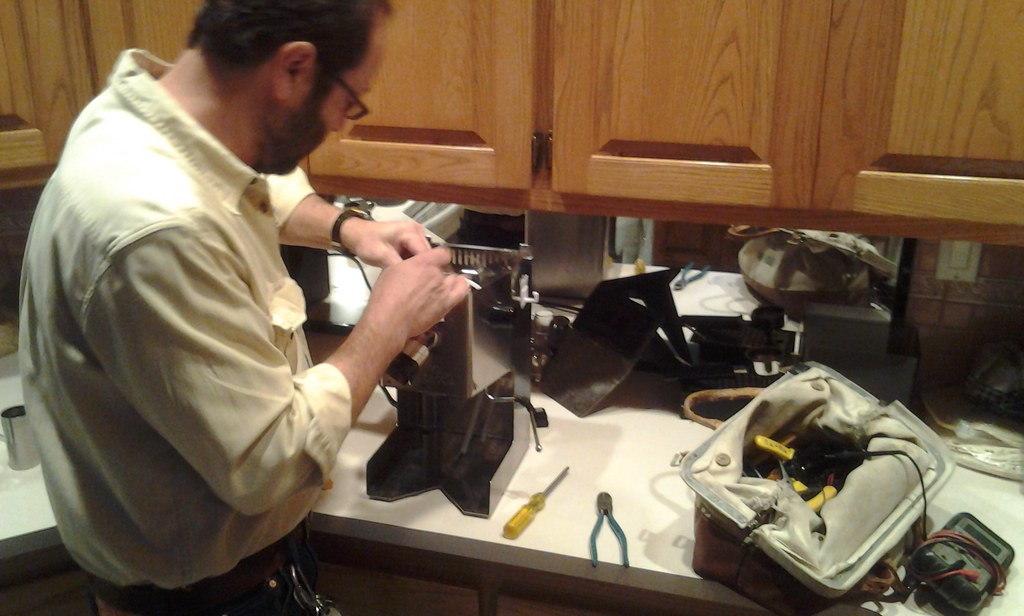
- Identify: record model code, voltage, market and generation.
- Dry: tank recess, tray, chassis and counter.
- Off test: fill/seat the tank and leave the machine off.
- Heat-only test: warm normally with the case closed; note whether leakage begins before pump use.
- Brew test: run a short normal group-flow/brew cycle and note whether leakage follows pump operation.
- Steam test: separately note whether opening the steam valve triggers leakage.
- Power down: unplug and let the machine cool.
- Inspect: if competent to remove the top, look for the newest wet/mineral trail at documented hose, clamp, steam-faucet or boiler-joint locations.
- Match: identify the exact part/seal in the official diagram before ordering.
- Escalate: if locating the source requires a powered open-machine test, use qualified service.
If the leak started immediately after descaling or internal work, inspect what was disturbed first. If the machine is new or under warranty, contact the seller/Gaggia support before dismantling major hydraulic assemblies.
9. What should you record before buying parts?
| Record | Why it matters |
|---|---|
| Model / voltage / region | Selects the correct parts/hydraulic diagram |
| Leaks while off? | Separates tank/gravity-side from pressure-side |
| Leaks during heat-up? | Shows heat-dependent behavior |
| Leaks only with pump? | Raises hose/fitting/joint branch |
| Leaks only with steam valve? | Raises steam-faucet/path branch |
| Visible starting point | More useful than final puddle location |
| Recent OPV/PID/boiler/descale work | Identifies disturbed connections |
| Mineral/rust trail | Shows repeated moisture path |
The goal is to turn one vague symptom—water under the machine—into a reproducible location and operating condition. Once you have that, the correct repair becomes much easier to verify.
References
- Gaggia — Classic 2019 / Classic Evo Pro Service Manual, Rev.04
- Gaggia — Classic Evo/E24 official parts diagram
- Whole Latte Love — Gaggia Classic Pro leak troubleshooting
- Owner case — water collecting inside a Classic Pro, June 2026
- Owner case — orange brew-hose leak under pressure, January 2025
Evidence note: official documents establish the hydraulic components, seals, model boundaries and safety limits. Owner cases show confirmed real-world leak locations; they are not treated as universal diagnoses.