
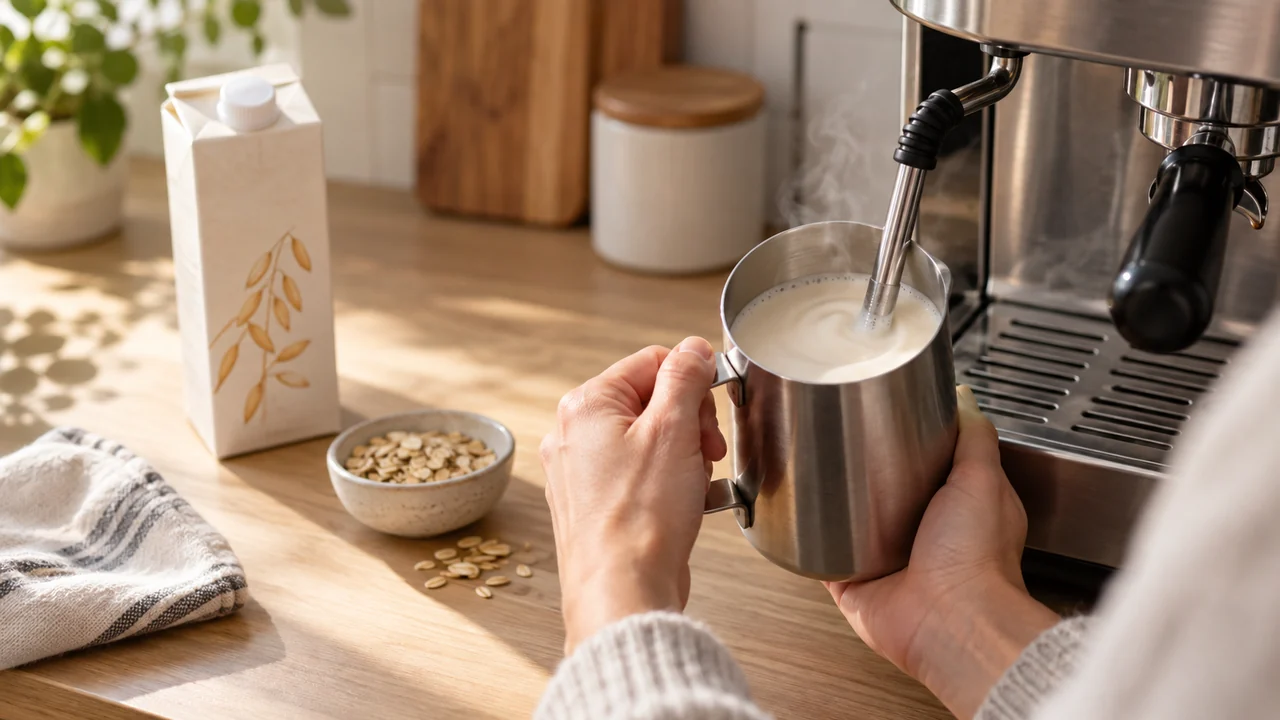
Oat milk can froth, but the carton and the steaming sequence both matter. Start with cold barista-style oat milk, shake the carton, add air near the beginning, then lower the steam tip slightly and keep the milk rolling. Stop around 60–65°C (140–149°F), polish the pitcher with a firm swirl, and pour before the foam separates.
Using a handheld whisk, automatic frother or French press? See the method for your tool below. A handheld whisk adds air but does not heat the milk.
If the milk stays flat, change one thing at a time. Try a barista formula before blaming the machine. If every milk struggles to form a vortex, the steam supply or pitcher setup deserves attention.
Why oat milk stays thin or turns bubbly
Thin oat milk usually means too little air entered before the milk became hot. Big, dry bubbles point to the opposite problem: the steam tip spent too long above the surface or pulled in air too aggressively. A weak or broken vortex leaves those large bubbles sitting on top instead of folding them into the milk.
The formula matters too. Oat drinks vary in protein, fat, acidity control and processing. A carton that tastes good cold may still make fragile foam. Barista versions are designed for hot coffee and are the sensible first test when a regular carton repeatedly collapses.

| What you see | Most likely first issue | Change for the next pitcher |
|---|---|---|
| Almost no volume increase | Not enough air, or the carton foams poorly | Use cold barista oat milk and aerate a little longer at the start |
| Large bubbles and stiff foam | Steam tip too high or air added too late | Use quieter, shorter sips of air, then submerge the tip slightly |
| Foam forms but separates fast | Weak rolling action or a fragile formula | Hold a steady vortex, then compare a different barista carton |
| Milk gets hot before it gains texture | Warm starting milk or too little early aeration | Start colder, use the right fill level and stop reheating the same milk |

When the same technique fails with one carton, test the milk before you test the machine.
The oat milk carton matters before technique changes
Use a carton labeled for barista use when you want pourable microfoam. Keep it refrigerated, shake it before pouring, and start each comparison with the same pitcher fill. That gives the steam wand enough time to add air and roll the milk before it reaches the stopping temperature.
Do not judge a formula by protein alone. Oatly’s current US Barista Edition and Oatly Original both list 3 g of protein per cup. The Barista Edition has 3% fat rather than 2% and is formulated for hot beverages. That is one brand’s formulation, not a rule that every higher-fat carton will froth better.

Photograph by Shixart1985, CC BY 2.0.
Pour enough milk to cover the steam tip while leaving room for expansion. If the pitcher amount is uncertain, use the fill guidance in our frothing pitcher guide before adjusting steam technique.
How to froth oat milk without a steam wand
A handheld whisk is a useful first choice if you already have a way to warm the milk. An automatic frother is more convenient when you want one appliance to heat and foam it. A clean French press can make foam with equipment you already own. For latte art, keep practicing the steam-wand method below: a large cap of foam from another tool may not pour the same way.
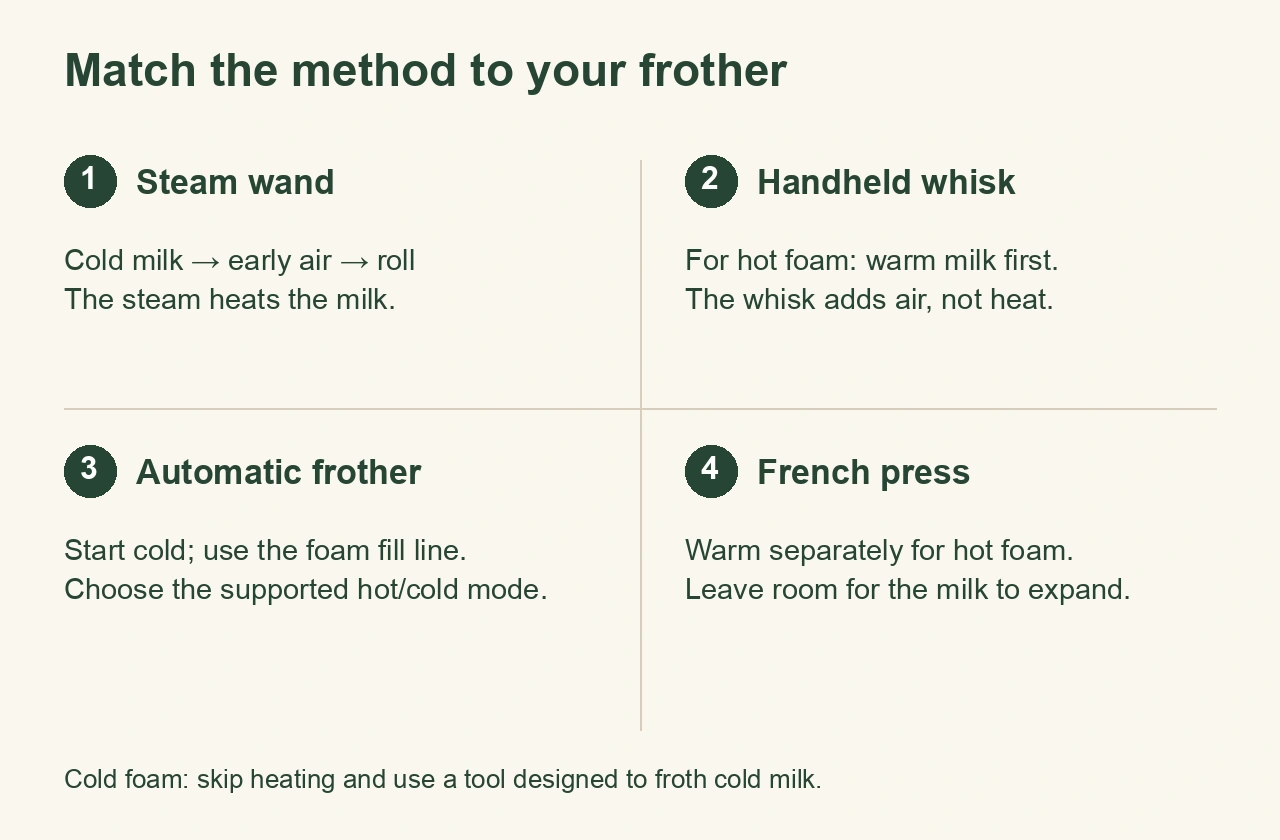
Handheld whisk: for a hot drink, warm the milk separately first. Zulay's oat-milk instructions use about 140°F (60°C), then 20–30 seconds of whisking. Use a tall vessel with room for expansion, put the whisk beneath the surface before switching it on, and keep it in the milk as it runs. Stop when the foam is uniform; a longer run is not automatically better. Switch it off before lifting it out, then swirl and pour.
Automatic frother: start with cold, shaken oat milk and follow your model's frothing fill line, which may be lower than its heating-only maximum. Choose a hot-foam program for a warm drink, or a supported cold-foam program for iced coffee. Use the machine's stated cycle and milk guidance; the same time, fill level and temperature do not apply to every model.
French press: clean the carafe and mesh thoroughly. Warm the milk separately for a hot drink, then use a heat-safe press with space for expansion. Pesado's method starts no more than one-third full and pumps the plunger to incorporate air. Work in short sets and check the texture instead of chasing maximum volume. A thick foam cap suits a spooned topping, but it can be awkward for a controlled latte-art pour.
For cold oat-milk foam, skip the heating step and use a handheld whisk, French press or the frother's cold program. Compare cartons if the foam collapses quickly. Cold foam and steamed microfoam serve different drinks, so judge the result in the cup you intend to make.

Try the tools you own before buying another frother.
The steam tip's two separate jobs
Purge the wand first so trapped water does not enter the pitcher. Place the tip between the center and wall of the pitcher. Start with the holes just under the surface, turn on full steam, then lower the pitcher until you hear brief paper-tearing sounds. That is the aeration stage.
Once the milk has expanded, raise the pitcher a little so the tip sits below the surface. Stop adding air and hold a rolling vortex. The roll breaks larger bubbles into a finer texture and keeps the pitcher from developing a cap of foam over thin liquid.

If you hear loud screeching with no volume increase, the tip may be too deep. If milk spits from the pitcher, the tip is too high. Make small height changes instead of pumping the pitcher up and down.
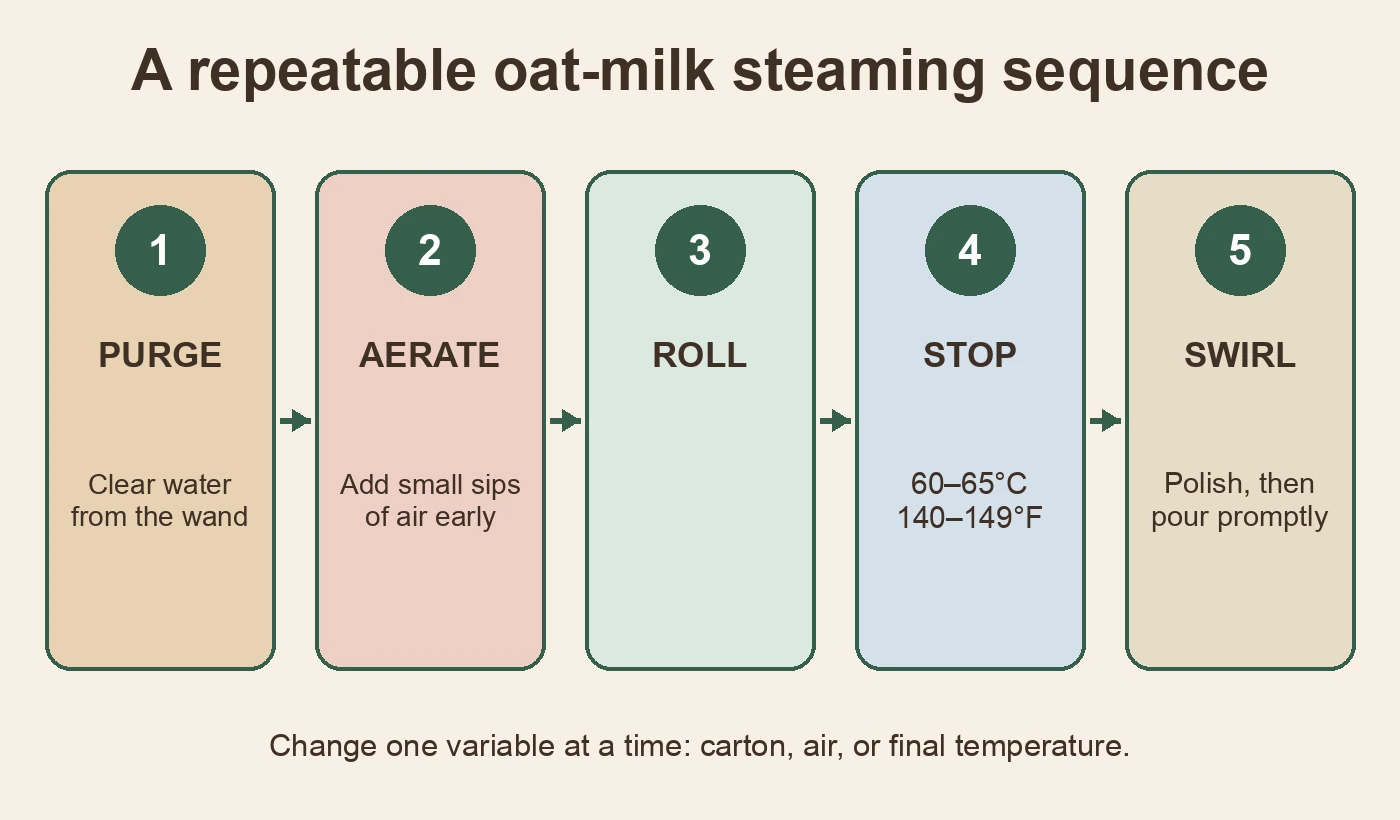
Steaming oat milk in five repeatable steps
- Purge. Clear condensation, then bring the wand up to steady steam.
- Aerate early. Let in small sips of air while the milk is still cold. If the last pitcher stayed thin, add a little more air at this stage. If it formed a dry cap, add less and start rolling sooner.
- Roll. Submerge the tip slightly and keep the milk spinning. Do not keep adding air as the pitcher gets hot.
- Stop at 60–65°C (140–149°F). This range comes from MILKLAB’s oat-milk training. Treat it as a practical starting point and follow a carton’s own guidance when it differs.
- Polish and pour. Tap out any visible surface bubbles, swirl until the milk looks glossy, then pour while the texture is still integrated.
After steaming, wipe the wand and purge it according to your machine’s instructions before milk dries on the tip.
MILKLAB’s demonstration also suggests a 15–20 second pause before swirling and pouring its oat milk. That can make the surface foam more defined, but do not leave the pitcher untouched long enough for a stiff cap to separate from the liquid.
Common oat milk foam symptoms and their causes
Keep the carton, dose and stopping temperature steady for one test. Change the air stage first. If the foam is still thin, add one or two seconds of early aeration. If it is dry, shorten the air stage and start rolling sooner.
If a stable vortex never forms, check the fill level and pitcher angle. A nearly empty pitcher can spin too violently, while an overfilled one heats slowly and leaves little room for expansion. The pitcher guide above gives a repeatable starting volume.
Use a second barista oat milk if the first formula repeatedly separates despite controlled steaming. This is a better test than changing the steam tip, temperature and milk at the same time. A 2025 KRÜSS comparison of nine commercial plant drinks found the widest formulation-dependent foam variation in the oat group. The report points to the combined effects of proteins, fat and hydrocolloids. It supports a carton comparison, but it does not prescribe one home steaming temperature for every product.
For foam that is already too thick, use the corrections in our microfoam guide. It separates over-aeration from weak rolling and shows what the finished texture should look like.
Pouring while the milk still moves as one texture
The finished oat milk should look glossy rather than meringue-like. Swirl until the foam and liquid move together. Start the pour high enough to combine milk with espresso, then bring the spout closer when you want the lighter foam to mark the surface.

Oat milk can lose definition sooner than the dairy milk you are used to. A clean pour matters more than forcing a complicated pattern. If you are deciding how much foam the drink needs, compare the milk-to-coffee and texture differences in our flat white, latte and cappuccino guide.
When every milk fails: the machine as the cause
Switch from milk diagnosis to machine diagnosis when a known-working barista oat milk and dairy milk both fail to roll at a sensible fill level. Purge the wand and watch what comes out. A brief release of water is normal after the wand sits, but sustained spitting, rapidly fading steam or blocked tip holes can prevent a stable vortex.
Use the guide for your exact machine rather than copying a steam-tip change from another model. Start at Espresso Skills or the machine diagnosis library and choose the matching model. Clean removable tip holes only according to the maker’s instructions, and let the machine cool before removing parts.
References
- MILKLAB: How to steam perfect oat milk. Cold start, fill, aeration and rolling; 60–65°C at 1:55 and the rest-and-swirl sequence at 2:04.
- Oatly US: Barista Edition and Original. Same-brand formulation and nutrition comparison.
- KRÜSS Application Report AR302: Foaming Behavior of Plant-Based Milks. September 2025, nine commercial formulations; oat-foam variation and the limits of transferring laboratory results to home steaming.
- Zulay Kitchen: How to Froth Oat Milk with a Milk Frother. Handheld and automatic methods, hot and cold foam.
- Pesado: How to Froth Oat Milk With a Frother, a French Press, & a Blender. French-press fill guidance and handheld technique.