
Espresso Skills
Espresso Skills is the HomeBaristaMods learning path for dialing in coffee—not buying more parts. Start with a measured recipe, learn what each variable changes, then diagnose taste and flow one step at a time.
The goal is repeatability: change one variable, pull another shot, taste what changed, and keep the parts of the recipe that work.
The five-step espresso learning path

1. Understand Brew Ratio
Learn what 1:2 actually means, why 18 g in / 36 g out is a useful starting point, and when a shorter or longer ratio makes more sense.
Read: What Does a 1:2 Espresso Ratio Mean?
2. Know Whether to Change Dose or Grind
Keep dose fixed for normal dial-in and use grind to control flow. Change dose when basket fit, headspace or the recipe itself is the problem.
Read: Should You Change Dose or Grind First?
3. Define Your Shot-Time Clock
Learn why pump-on and first-drop timing produce different numbers, and how pre-infusion changes what a “30-second shot” actually means.
Read: When Should You Start the Espresso Shot Timer?
3. Diagnose Taste Without Chasing the Timer
A 30-second shot can still taste sour. Keep the recipe measurable, then test grind, yield, temperature, puck prep and the coffee itself.
Read: Why Does Espresso Taste Sour Even When Shot Time Looks Right?
4. Fix Channeling and Uneven Flow
Learn what visible spraying means, why pretty bottomless shots can still extract unevenly, and how distribution and tamping affect resistance.
Read: Espresso Channeling — How to See It & Fix It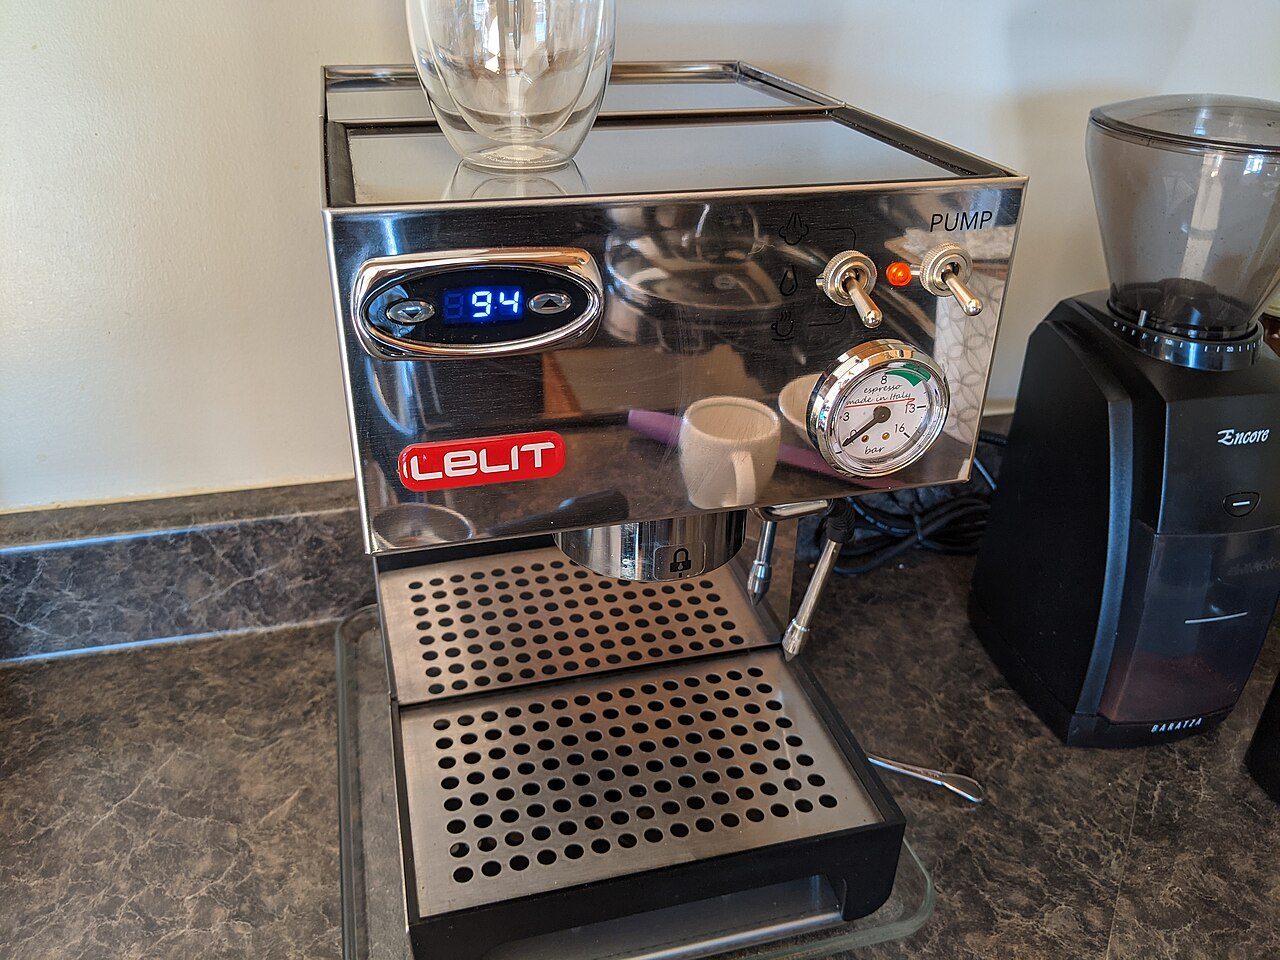
5. Add Pre-Infusion Only After the Basics Repeat
Separate pre-brew, true pre-infusion and pressure profiling. Learn why low-pressure wetting can help—and why timing is machine-specific.
Read: What Is Espresso Pre-Infusion?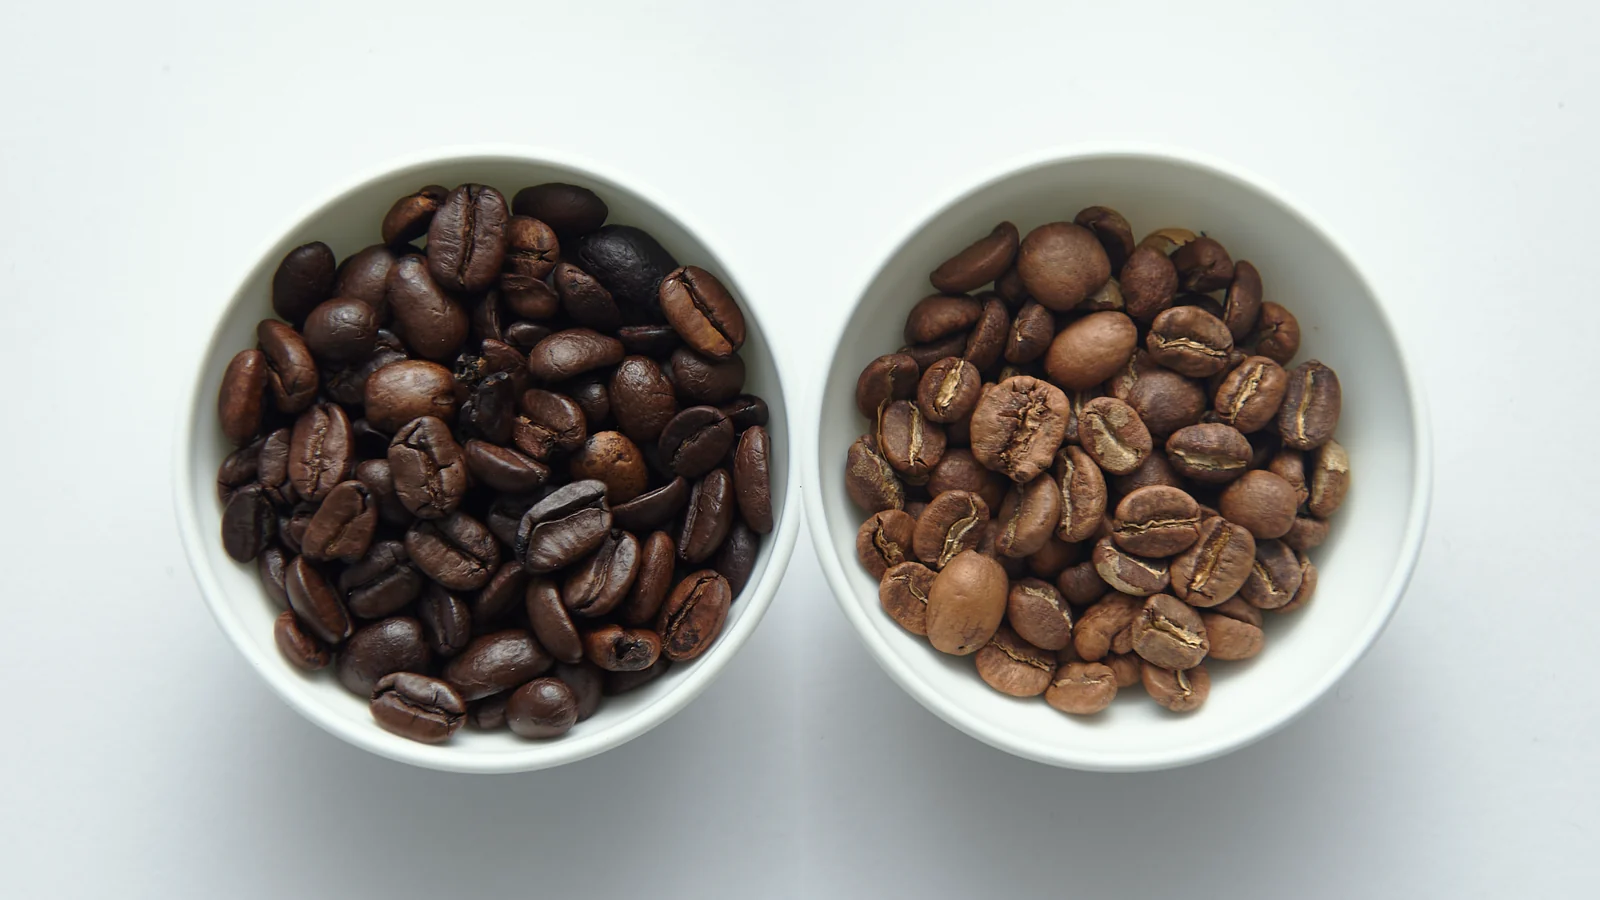
The basics applied to light roast espresso
Use ratio, grind, temperature and pre-infusion in a controlled order so bright acidity stays sweet and clear instead of thin and sharply sour.
Read: How to Dial In Light Roast Espresso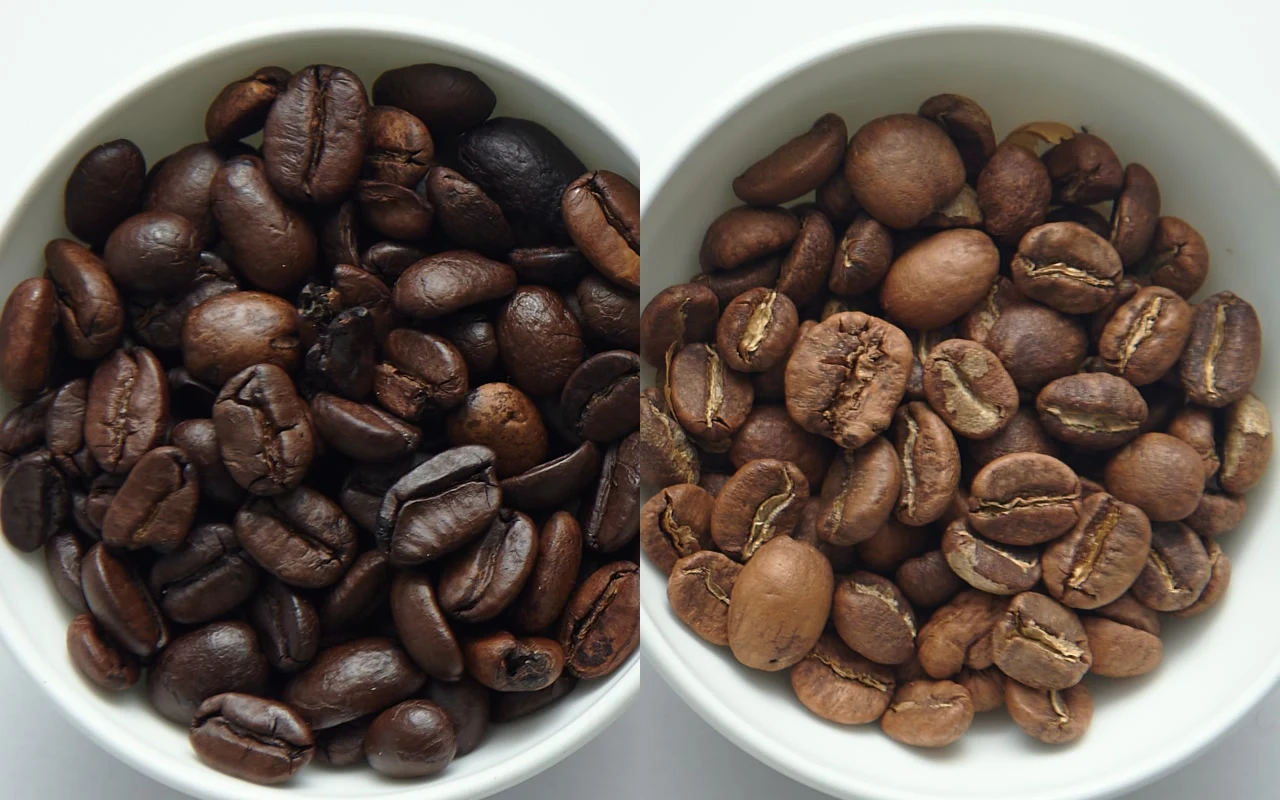
Then Compare Dark Roast Espresso
Use a gentler extraction strategy—lower temperature, shorter ratios and controlled flow—to keep syrupy body without pushing the cup into dry, ashy bitterness.
Read: How to Dial In Dark Roast Espresso
6. Define Your Shot-Timer Start Point
Learn why pump-on time and first-drop time are both useful but not directly interchangeable—especially when pre-infusion is involved.
Read: When Should You Start the Espresso Shot Timer?
7. Check Puck Headspace
Understand the dry gap above the puck, why screen contact matters, and why a wet spent puck is not automatically a bad shot.
Read: Espresso Headspace — How Much Room Should Be Above the Puck?
8. Keep a Dial-In Log
Record only the variables that help the next decision: coffee, dose, yield, grind, shot-time convention and a short taste note.
Read: Espresso Dial-In Log — What Should You Record?
9. Read Crema Without Overrating It
Learn what crema can reveal about freshness and coffee type—and why thick foam is not a quality score.
Read: Espresso Crema — What It Tells You
Then Check the Variables Outside the Puck
If the recipe and puck prep repeat but the cup still feels wrong, water, bean age and machine temperature can become the next layer of diagnosis.
Water: Distilled & RO Water for EspressoCoffee: How Long Should Beans Rest?
Quick rules worth remembering
Where this topic grows next
Espresso Skills will continue into extraction temperature, basket behavior, repeatability experiments and advanced taste diagnosis. Machine-specific repair and compatibility content stays separate so the learning path does not turn back into a parts catalog.
